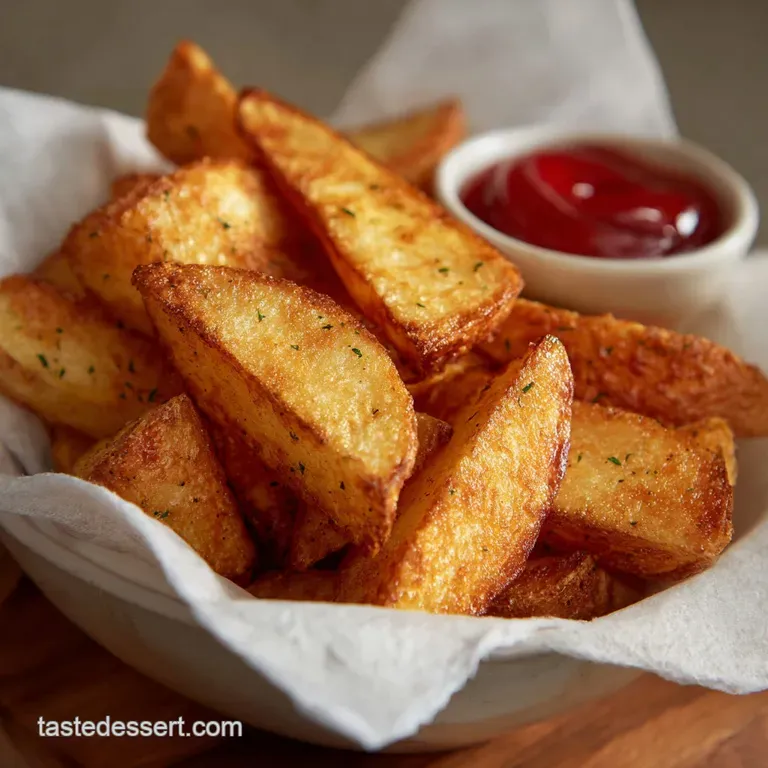
Air Fryer Beginner Recipes Foolproof Pubstyle Chips the Ultimate Starter Recipe
- The Ultimate Starting Line: Why Air Fryer Chips are the Key to Crispy Success
- Mastering the Basics: The Best Air Fryer Beginner Recipes Start Here
- Essential Toolkit and Simple Ingredients for Perfect Chips
- Selecting the Right Spud: Potato Varieties and Cuts
- Step and by-Step Guide to Your First Air Fryer Triumph
- The Dual and Phase Cook: Achieving Maximum Crispiness
- Elevating Your Skills: Troubleshooting Common Air Fryer Beginner Recipes Issues
- Expanding Your Air Fryer Horizons: Fast & Frozen Favorites
- Recipe FAQs
- 📝 Recipe Card
The Ultimate Starting Line: Why Air Fryer Chips are the Key to Crispy Success
Let’s be honest. You just bought an air fryer (or maybe you’ve had it sitting in the box since Christmas) and you’re feeling a bit intimidated. Right? I get it. The sheer volume of "air fryer easy recipes" out there is overwhelming.
You try one, it’s mushy, and suddenly you’ve relegated this sleek machine to the back of the cupboard next to the spiralizer. Don’t do that! Seriously, don’t.
I spent the first few months making terribly uneven, slightly greasy chips that tasted only marginally better than those sad, pale fries you pull from a typical oven tray. But I cracked the code. And the absolute best way to fall head over heels for your air fryer is to master the perfect, thick and cut chip.
This isn't just an "air fryer starter recipe"; it’s the training wheels for all future crispy food happiness. Once you nail this, you’ll be making fast easy air fryer meals without blinking. Trust me.
Mastering the Basics: The Best Air Fryer Beginner Recipes Start Here
The air fryer is a compact convection oven, not a fryer at all, despite the confusing name. Its magic comes from moving super and hot air around a small space very, very quickly. That intense circulation is why we get the crisp.
Most people try to jump straight to elaborate things, but the fundamental concepts prep, heat flow, and shaking are best taught using the humble potato.
Moving Beyond Soggy Oven Fries Forever
If you’re used to the sheet and pan method for fries (where you toss them with oil and lay them on a flat tray), you know the outcome: half of them are soft, and the ones around the edge are okay, but never truly crispy. That’s because they’re essentially steaming in their own moisture.
They can't breathe! The air fryer basket allows air to hit all surfaces, including the bottom, solving the soggy problem immediately. It’s a total game and changer for achieving that satisfying crunch.
Understanding Your Air Fryer's Heat Circulation
Think of the air fryer like a tiny, aggressive washing machine for hot air. Because the heating element is usually at the top, and the fan is constantly moving, the heat attacks the food from all sides. That’s why overcrowding the basket is the cardinal sin.
If you stack things too high, the air can’t get to the lower layers, and those bottom pieces steam. If you only remember one thing from this entire post, make it this: when cooking these air fryer basic recipes, never overcrowd the basket.
The Secret Weapon: Achieving Perfect Fluff Inside
Okay, so we want crisp on the outside, but what about that glorious, fluffy interior? That’s where starch removal and the dual and phase cook come in. Starch is necessary, sure, but too much surface starch turns into a sticky, gummy mess when heated quickly.
Removing that excess surface starch via soaking (we’ll get to that in a minute) ensures the potato cooks cleanly and evenly, giving you that cloud and like interior texture we all dream about.
Essential Toolkit and Simple Ingredients for Perfect Chips
You don't need much. This is why this particular recipe works so well as an air fryer easy recipe for kids (or adults!) to try. The ingredients are dirt cheap and accessible. But having the right tools makes the process smoother and ensures a crispier final result.
Selecting the Right Spud: Potato Varieties and Cuts
Choose a starchy potato. I know everyone loves those waxy little potatoes, but they hold their structure too well and don’t give you the fluffy texture we’re after. You want Russets, Idaho potatoes, or in the UK, Maris Pipers or King Edwards.
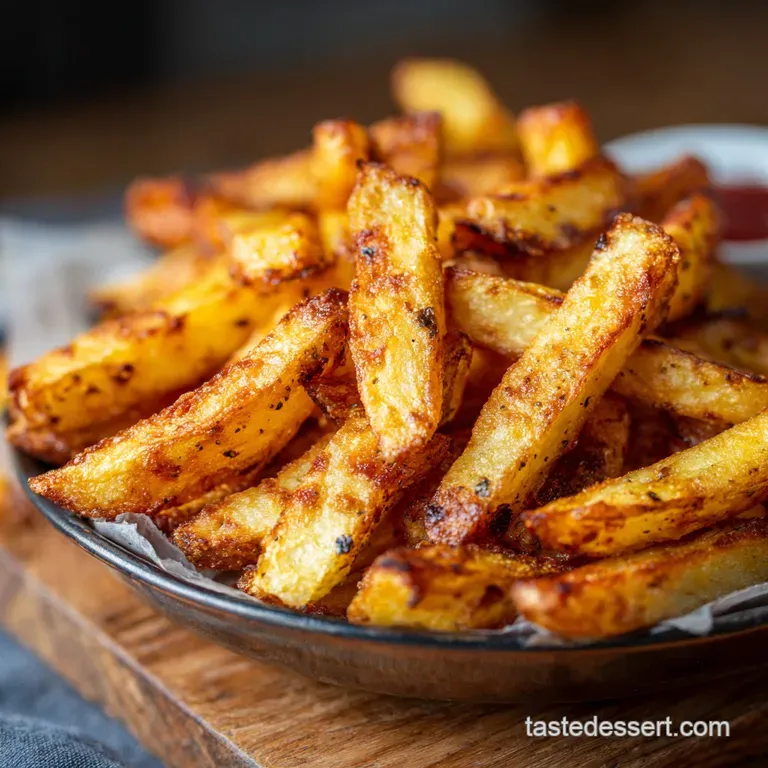
These fall apart slightly on the inside when cooked, which is exactly what makes them feel luxurious. Cut them into thick, uniform batons about the width of your pinky finger. Consistency means they finish cooking at the same time. Nothing worse than a basket full of tiny burnt ends and massive raw centres.
The Mandatory Soak: Why Water is Your Friend
This is the non and negotiable step. Cut your chips, put them immediately into a big bowl, and fill it with cold water. Let them hang out for at least 30 minutes. You’ll see the water get cloudy. That’s the starch!
Draining that water away means you’re removing the sticky stuff that inhibits crisping and causes chips to stick together. Honestly, if you skip the soak, you might as well go back to the oven. It’s that important.
Sourcing the Best Oil for over High heat Frying
We only use a tablespoon, but it matters. Skip the fancy extra and virgin olive oil here it has a low smoke point and can start tasting burnt in the 400°F heat. You need a neutral, high smoke point oil: rapeseed (canola), sunflower, or basic vegetable oil.
We’re not deep and frying, so the oil’s job is just to carry the seasoning and aid in the browning process, not to cook the chip itself. A spray bottle works beautifully if you want to minimize oil even further.
Must and Have Gadgets: Tongs, Shakers, and Sprayers
- Tongs: Please, invest in silicone and tipped tongs. They won't scratch the non and stick coating on your basket, and you need tongs to remove hot foods without burning yourself.
- A Container for Shaking: After the oil, I toss my chips in a large plastic takeaway container with a tight lid instead of a bowl. It coats everything evenly without me getting my hands oily. Less mess, maximum efficiency.
- The Power of Paper Towels: You need kitchen towels, and a lot of them, for the drying stage. This isn't a gadget, but it is the most critical piece of equipment.
Quick Spice Boosts: Adding a Hint of Heat
Keep it simple for your first try: salt and pepper are plenty. But once you’re comfortable, try adding things like smoked paprika, garlic powder, or a dash of cayenne before cooking. They stick better when mixed into the oil, rather than dusted on afterward.
Related Recipes Worth Trying
- Breaded Eggplant Sticks UltraCrispy Parmesan Fries Baked or AirFried — These Breaded Eggplant Sticks are guaranteed crispy Learn the chefs secret sweating the eggplant for perfect baked breaded eggplant sticks every time They...
- Air Fryer DeepFried Oreos Crispy Gooey and GuiltFree — Learn how to make Air Fryer DeepFried Oreos that taste just like the carnival classic This easy recipe achieves perfectly crispy Deep Fried Oreos Air Fryer...
- Popular Skinnytaste Recipes Glazed Turkey Meatloaf Muffins Under 250 Cals — Popular Skinnytaste Recipes prove comfort food can be healthy These top skinnytaste recipes feature lean glazed turkey meatloaf muffins perfect for...
Step and by-Step Guide to Your First Air Fryer Triumph
Right then, let's get cooking. These air fryer beginner recipes are all about following the temperature changes precisely.
The Dual and Phase Cook: Achieving Maximum Crispiness
The core technique here is using two different temperatures. Low and slow (well, relatively slow) to cook the inside through, and then a fast, hot blast to build that crust. This mimics the professional deep and frying technique called "blanching."
The Prep Phase: Drying Potatoes Like a Pro
After the soaking is done, drain the chips completely. Then, lay them out in a single layer on clean kitchen towels or paper towels. Now, pat them down. Hard. Every single surface needs to be dry. This might take 5- 10 minutes, and yes, it’s tedious.
CRUCIAL WARNING:
If the potatoes still feel damp to the touch, they will absolutely steam, not crisp. Do not proceed to seasoning and cooking until they are bone dry. This is where most beginners fail.
Once dry, toss them with just 1 Tbsp of oil, pepper, and a pinch of salt until they are evenly coated but not dripping wet .
Initial Cook Time and Essential Basket Shaking Technique
Preheat your air fryer to 180°C (360°F). Load the basket. If you’re cooking a big batch (more than 500g), you’re going to have to load them a bit high, but that means you must be militant about shaking. Cook at 180°C for 15 minutes.
At the 7 minute mark, pull the basket out and shake it hard not gently stir, but vigorously shake, ensuring the chips on the bottom are brought up to the top. This redistributes the oil and exposes new surfaces to the heat.
Monitoring Internal Temperature for Optimal Readiness
You can test doneness with a simple fork, but an instant and read thermometer is your best friend for any fast easy air fryer meals. For a perfect chip, you want the interior to reach about 95°C (203°F). Once they’re soft inside, it's time for the crunch phase.
Post and Fry Finish: Seasoning While They’re Hot
Increase the temperature to 200°C (400°F). Cook for another 5 to 10 minutes. Watch them closely now the last few minutes happen fast! Shake again every 3- 4 minutes until they are a deep golden brown and you can hear that satisfying, dry rattle when you shake the basket.
Remove them immediately and toss them with the remaining flaky sea salt. The heat of the chips melts the salt right onto the surface, which is ideal.
Elevating Your Skills: Troubleshooting Common Air Fryer Beginner Recipes Issues
| Problem | Cause | Quick Fix |
|---|---|---|
| Chips are sticking together | Too much starch left over; too little oil. | Increase soaking time; ensure thorough drying. |
| Chips are dry and hard (not fluffy) | Too much initial heat; cut too thin. | Cook initially at a lower temp (350°F) for longer. |
| Chips are soft and pale | Overcrowding the basket; not dry enough. | Cook in smaller batches; dry rigorously. |
Expanding Your Air Fryer Horizons: Fast & Frozen Favorites
Once you’ve mastered the fresh chip, you’ve unlocked a whole new world of best foods for air fryer cooking. It’s not just about raw ingredients!
From Frozen to Fabulous: Handling Pre and Cut Fries
Frozen fries are the easiest "air fryer easy recipes healthy" entry point because the manufacturers have already pre and blanched and partially oiled them. You don't need to soak or dry them. Just throw them straight in! Cook at 200°C (400°F) for 15 to 20 minutes, shaking frequently.
If they look frosty, shake off any excess ice crystals first. That’s it. Seriously, they come out better than any restaurant version.
Next Level Beginner Proteins: Quick Chicken and Egg Options
Now that you know how the machine works, start testing simple proteins. Chicken tenders (or small, boneless chicken breasts) tossed with a bit of seasoning and oil are sensational. Cook at 190°C (375°F) for 12- 15 minutes, flipping halfway.
If you want air fryer easy recipes dinner options, try making a batch of hard and boiled eggs in the air fryer— 16 minutes at 135°C (270°F). They peel like a dream.
Reheating Leftover Chips Safely and Effectively
I refuse to eat cold, soggy leftover takeout chips. But the air fryer saves them! Put them in the basket (no oil necessary) and blast them at 190°C (375°F) for about 4 to 6 minutes. They come out hot and unbelievably crispy, practically as good as fresh.
It’s the only way to reheat pizza and spring rolls, too.
The Pecan and Crusted Rule: Adapting Breading for the Air Fryer
Traditional breading (flour, egg, breadcrumbs) often doesn't brown well in the air fryer unless you spray it heavily with oil, which defeats the purpose. The trick is to use panko breadcrumbs they are naturally lighter and crispier and mix them with a small amount of oil before coating your protein.
For example, if you're making chicken, toss the panko with a spoonful of oil and your seasoning, then dredge the chicken. This pre and oiled method ensures the coating turns golden brown, not sad and dusty. It’s what separates the good air fryer cooks from the great ones.

Recipe FAQs
My chips always come out a bit floppy, like they’ve lost their will to live. What's the biggest secret to getting that proper pub crisp?
The single greatest factor is thorough drying; after soaking, ensure your potatoes are bone dry before oiling, as any remaining moisture turns to steam and prevents proper crisping. Also, strictly follow the two-stage cooking method (low heat first, then a high heat blast).
I'm cooking for the whole family; can I just pile all my chips into the air fryer at once?
Good heavens, no! Overcrowding is a rookie mistake that significantly traps steam and lowers the overall temperature, ensuring flabby results; if you must cook a large batch, do it in two separate rounds to allow air circulation.
I’ve only got sweet potatoes or waxy spuds on hand. Will this Air Fryer Beginner Recipes guide work for those?
Yes, but you must adjust; waxy potatoes (like new potatoes) don’t need the soaking step, and sweet potatoes require a shorter cook time and much closer monitoring, as their sugars burn quickly.
If I manage to have any leftovers (unlikely!), how should I store these chips, and can I reheat them without them turning into misery?
Store cooled leftovers in an airtight container in the fridge for up to three days, and to reheat them back to their glorious crispness, simply pop them back into the air fryer at 190°C (375°F) for 4 6 minutes.
The recipe calls for oil, but I'm trying to cut back. Do I absolutely need oil to make these chips work?
While oil vastly improves the crunch and flavour, you can substitute the liquid oil with a light cooking spray; just ensure every chip has a fine, thin coating to achieve that satisfying golden colour and exterior bite.
Air Fryer Beginner Recipe Perfect Pub Chips

Ingredients:
Instructions:
Nutrition Facts:
| Calories | 300 calories |
|---|---|
| Fat | 10 g |
| Fiber | 4 g |
