Apple Pie Recipe: the Chefs Classic All-Butter Flaky Crust
- Decoding the Ultimate All and Butter Apple Pie Technique
- Sourcing and Preparing the Components of a Great Apple Pie
- Step and by-Step Execution: From Dough to Fully Formed Pie
- Mastering the Oven: Baking Times and Heat Control
- Shelf Life, Storage, and Common Apple Pie Questions
- Storing, Serving, and Enhancing Your Baked Apple Pie
- Recipe FAQs
- 📝 Recipe Card
Decoding the Ultimate All and Butter Apple Pie Technique
If you are reading this, you probably love apple pie as much as I do. But maybe you’ve had a few heartbreaks along the way. I certainly have. I've endured cracked tops, fillings that ran everywhere, and yes, that most egregious of crimes, the soggy bottom.
This homemade apple pie approach cuts through all the noise. We are going back to basics. We use an all and butter crust because, frankly, the flavour is unparalleled, and we focus heavily on structure.
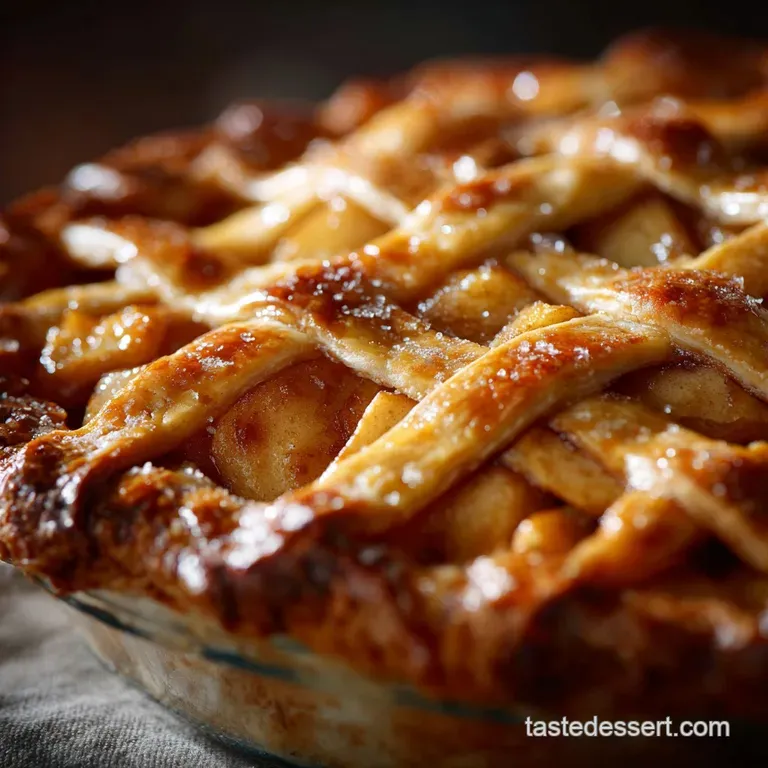
This isn't just an apple pie recipe easy to follow, it’s a blueprint for perfection. The goal is a crust so flaky it shatters when you slice it, holding a filling that is sweet, spiced, and perfectly set.
Mastering the Chill: Your Foundation for Flaky Pâte Brisée
This is the secret. It’s not complex, but it requires patience. Cold butter is non and negotiable. When you mix the cold butter into the flour, you are creating tiny, separate pockets of fat. When the pie hits the hot oven, the moisture in those fat pockets instantly converts to steam.
That steam pushes the layers of flour apart. Result? Flakiness. Warm butter just melts into the flour and you end up with a dense, sad cracker instead of a light, golden crust. I often pop my flour into the freezer for ten minutes before I start. Crazy? Maybe. But it works.
The Secret Weapon: Preventing the Dreaded Soggy Bottom
Right, let’s talk sogginess. The enemy. You have two main allies here. First, the thickening agent in your filling (flour or cornstarch) needs sufficient time and heat to activate and absorb the apple juices. Second, you must aggressively attack the bottom of the pie with heat immediately.
Crucial Tip: Always place your assembled, chilled pie onto a preheated baking sheet, positioned on the lowest rack of the oven. This supercharges the heat transfer, setting the bottom crust quickly before the filling juices have time to seep through. It’s brilliant.
If you are feeling particularly paranoid (and honestly, sometimes I am), you can lightly brush the bottom crust with a beaten egg white right before adding the filling. It acts as a liquid barrier.
Essential Kitchen Gear for Achieving Pie Perfection
You don't need fancy gadgets. But certain things make life much easier and the results more consistent.
- A Pyrex or ceramic pie dish is superior to metal. Why? Metal conducts heat quickly, often scorching the bottom edges before the centre is done. Glass and ceramic heat slower but retain the heat beautifully, baking the crust evenly.
- A pastry blender saves your hands from melting the butter. If you don't have one, two dinner knives or a food processor on pulse work just fine.
- A baking sheet . I know I mentioned it before, but seriously, use one. It catches drips and prevents the soggy bottom.
Sourcing and Preparing the Components of a Great Apple Pie
A great apple pie is nothing more than great ingredients treated with respect. Don't skimp on quality here. This is the difference between "good" and "Best Apple Pie Recipe Ever."
Selecting the Optimum Apples for Filling Consistency
Never, ever use soft, sweet dessert apples like Red Delicious. They turn into sweet apple mush and ruin the filling’s texture entirely. What we need is a blend: structure and flavour.
| Apple Type | Primary Role | Notes |
|---|---|---|
| Granny Smith | Structure & Tartness | High acidity; maintains shape beautifully when baked. |
| Honeycrisp/Braeburn | Sweetness & Firmness | Excellent flavour balance; a perfect counterpoint to the Granny Smith tartness. |
I recommend a 50/50 split. Six apples total, sliced about 1/4 inch thick. Too thin and they dissolve; too thick and the filling doesn't settle.
Understanding Your Pastry Fats: Cold Butter is Non and Negotiable
We’re making an all and butter crust here. You can use half shortening (like vegetable fat) if you want the absolute flakiest result, but you sacrifice the incredible dairy flavour that butter provides.
For me, that rich, golden butter taste is what makes a proper easy apple pie crust recipe worthwhile. Make sure the butter you use is unsalted, European and style if you can find it (it has a higher fat content), and, you guessed it, absolutely freezing cold.
Pantry Staples and Flavor Enhancers
We are doing more than just cinnamon. A really complex apple pie filling recipe requires a few layering spices. A small addition of nutmeg adds warmth, and a barely noticeable pinch of ground clove or cardamom can make people scratch their heads and say, "What is that incredible flavour?" It's the complexity.
Never forget the salt in the filling either. It’s not just for savoury dishes; it brightens the sweetness and makes the apple flavour pop.
Step and by-Step Execution: From Dough to Fully Formed Pie
The Art of Incorporating Fat into Flour (Rubbing In)
If you're using your hands, you need to be lightning fast. Cubing the butter small (about half an inch) helps. Start rubbing the cold butter into the flour mixture, lifting the flour high to incorporate air.
You want the final result to look like a mix of coarse sand, with about 25% of the mixture still visible as pea and sized butter pieces. Those peas are your future flaky layers. Once the ice water goes in, stop mixing as soon as the dough holds together. Seriously, stop.
Overworking creates gluten, and gluten creates toughness.
Structuring the Filling: Preventing Collapse During Baking
My biggest mistake when I was starting out? Not using enough thickener. You need at least three full tablespoons of flour or cornstarch for this quantity of apples, especially if the apples are particularly juicy.
I also let my apples sit with the sugar and spice mixture for about 15 minutes before assembly. This draws out some liquid, which then gets mixed back in, ensuring the flour is thoroughly hydrated before baking.
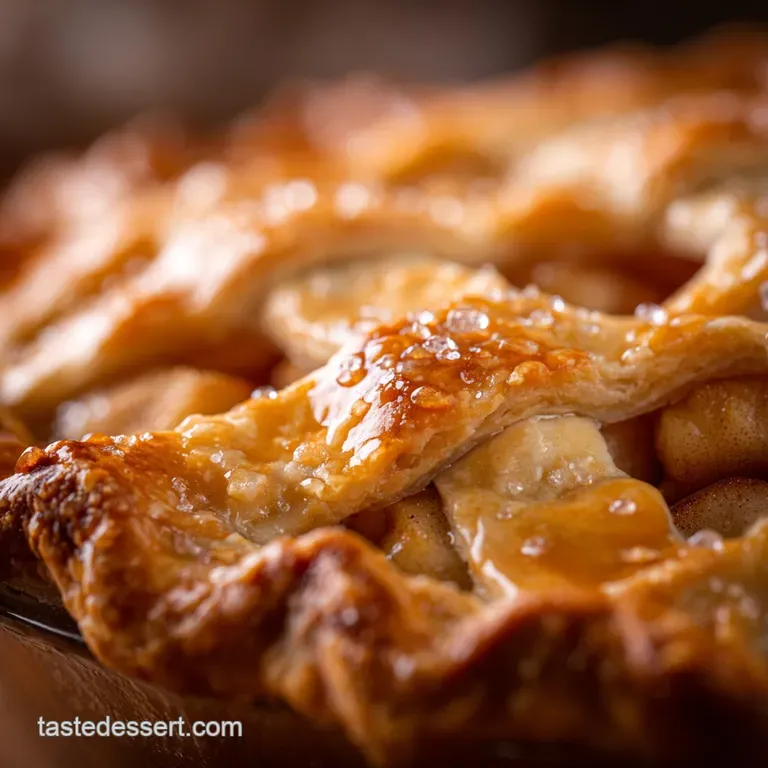
Lattices, Vents, and Washes: Finishing Touches
Venting is essential. If you don't cut steam vents (or construct a lattice top), your pie will explode. The steam needs somewhere to go. For the egg wash, I mix one beaten egg with a splash of milk or cream. This provides protein (for shine) and fat (for rich, dark colour).
Brush it evenly over the cold crust, then sprinkle with granulated sugar for a lovely crunchy texture.
Related Recipes Worth Trying
- Apple Pie: Classic Double Crust Recipe for the Flakiest Bake — This Apple Pie recipe guarantees a perfect, non-soggy, flaky double crust and rich filling. Master this Classic Apple Pie with our expert temperature...
- Apple Pie Recipe: Best Homemade Flaky Crust (Butter Shortening) — This truly great Apple Pie recipe guarantees a sublimely flaky, buttery crust and an intensely spiced filling. Master the technique for the Best Homemade...
- Mini Pumpkin Pies Easy Creamy Recipe for Individual Fall Treats — Mini Pumpkin Pies are the ultimate individual dessert for Fall Use this easy mini pumpkin pie recipe baked in a muffin tin for Thanksgiving Desserts No...
Mastering the Oven: Baking Times and Heat Control
Troubleshooting Hot Spots and Ensuring Even Browning
That initial over high heat blast (220°C / 425°F) is critical. It sets the crust structure rapidly, creating those layers we worked so hard for, and it activates the thickener in the filling.
After 15 minutes, we reduce the temperature significantly (180°C / 350°F) to allow the filling to cook through without burning the top. If the edges of the crust start getting too dark before the rest of the pie, simply take small strips of aluminium foil and tent them over the dark edges.
Problem solved. Sometimes I rotate the pie halfway through the low and temperature bake, too, just to counteract uneven oven temperatures.
Shelf Life, Storage, and Common Apple Pie Questions
Troubleshooting the Bake: Saving a Pie That Is Too Wet or Browned
If you slice the pie after cooling and the filling is too runny, it means the flour didn't fully activate or there wasn't enough used. Next time, add a tiny bit more flour. If you have an already baked pie that's too wet, you can try gently reheating it in a 150°C (300°F) oven for about 20 minutes to try and evaporate some moisture and activate any remaining thickener.
If the top browned too fast, you needed to apply that foil tent sooner. Don't worry about it. It still tastes great. Just scrape off any truly burnt bits and vow to be quicker next time. That's how we learn.
Storing, Serving, and Enhancing Your Baked Apple Pie
Safe Handling: Does This Classic Dessert Need Refrigeration?
Because apple pie contains a high concentration of sugar and acid (from the apples and lemon juice), which inhibit bacteria growth, it can safely be stored at room temperature for up to two days, provided it's kept covered tightly.
If you need to keep it longer than that, or if your kitchen runs very hot, move it to the fridge. Storing it in the fridge can slightly stiffen the butter crust, making it a bit less flaky, but it extends the life for up to five days.
Reheating Techniques for Restoring That Freshly Baked Texture
Microwaves are great for speed, but they ruin the crust. They soften it into submission. If you want that flake back, slice the pie and reheat individual pieces on a baking sheet in a 160°C (325°F) oven for 10 to 15 minutes. It re and crisps the bottom and warms the filling perfectly.
Flavor Variations: Adding Spices Beyond Cinnamon
I encourage everyone to make their own apple pie spice blend. Cinnamon is essential, obviously. But go further. Try adding 1/4 teaspoon of black pepper to the filling mix. Wait, hear me out. The pepper doesn't make it spicy; it gives the whole flavour profile a warm, floral lift.
- 1.5 tsp Ground Cinnamon
- 0.5 tsp Ground Nutmeg (freshly grated is divine)
- 0.25 tsp Ground Cardamom or Ginger
- Pinch of black pepper
- Pinch of salt
Optimal Cooling Time: When is Apple Pie Ready to Slice?
I know the smell drives you insane. You want to dive in immediately. But if you cut it too soon, the temperature is still high enough to keep the juices liquid, and the entire pie will collapse. It will be runny, and your beautiful crust will turn wet where the lava filling touches it. You need to wait.
Two hours minimum, preferably three. This allows the heat to dissipate and the flour/starch thickener to completely set the liquid. Patience is the final, agonizing ingredient in the perfect sweet apple pie recipe . Enjoy it!

Recipe FAQs
How do I avoid a disastrous soggy bottom on my pie crust?
To achieve that perfect, crisp base, ensure you preheat your baking sheet and place the pie on it immediately before baking; the direct heat shock sets the bottom pastry instantly. Additionally, avoid overfilling the crust and always use the thickener (flour/cornstarch) specified for the apples.
My apple pie filling always ends up too runny, what’s the secret to a firm slice?
The secret lies in sufficient thickening and crucial cooling time; make sure the filling is visibly bubbling while baking, which activates the flour, and then allow the completed Apple Pie to cool for a full two hours so the juices can properly gel.
I’m popping down to the shops, which apples are best for proper baking?
For optimal flavour and texture, use a mix try firm, tart varieties like Granny Smith or Braeburn (they hold their shape beautifully) paired with a sweeter option like Honeycrisp for complexity.
Can I freeze this pie, and how long will leftovers keep?
Leftover slices keep well covered at room temperature for 2 days, or chilled in the fridge for up to 4 days; freezing is best done unbaked simply wrap the fully assembled pie tightly and bake straight from frozen, adding about 20 minutes to the cook time.
I need a variation can I make this dairy-free or gluten-free easily?
Yes, swapping the dairy butter for a high-quality, cold vegan block margarine works perfectly for a dairy-free crust, or you can use a 1:1 gluten-free flour blend for a suitable pastry without changing the filling ingredients.
Classic All Butter Apple Pie Recipe

Ingredients:
Instructions:
Nutrition Facts:
| Calories | 380 calories |
|---|---|
| Fat | 18 g |
| Fiber | 3 g |
