Yellow Cake Recipe: the Ultimate Classic Buttery Moist Birthday Cake
- Baking the Cornerstone: Why Every Baker Needs This Yellow Cake Recipe
- The Science of Moist and Tender: Unlocking the Secret to a Superior Crumb
- Essential Ingredients for the Best Yellow Cake (and Smart Swaps)
- Step-by-Step: The Creaming Method for an Airy Yellow Cake Batter
- Troubleshooting and Expert Adjustments: A Baker’s Guide
- Preserving Perfection: Storage and Make-Ahead Instructions
- Elevating Your Serve: Pairing & Finishing the Classic Yellow Cake
- Recipe FAQs
- 📝 Recipe Card
Baking the Cornerstone: Why Every Baker Needs This Yellow Cake Recipe
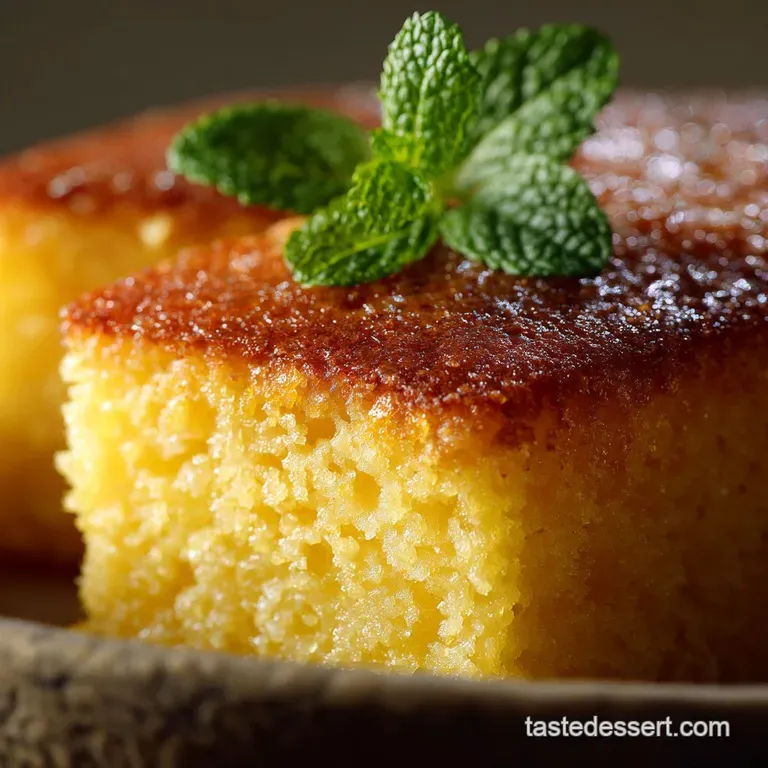
Seriously, the smell of butter and vanilla wafting out of the oven when this cake is baking is pure, unfiltered magic. That perfect golden crumb, springy to the touch and just begging for a thick layer of chocolate frosting, is exactly what every wonderful birthday memory is made of.
It is the definition of classic comfort baking that never goes out of style.
This ultimate classic yellow cake recipe isn't fussy or demanding of weird ingredients. It uses pantry staples and comes together quickly, making it the ultimate weeknight hero or last minute celebration saviour. We achieve professional, high-quality results without needing a culinary degree.
I've spent years (and, believe me, ruined many attempts) perfecting the science behind this bake, especially the crucial creaming method. Trust me when I say this is the one you save. Let's crack on and talk about the real secrets to achieving an incredibly moist, beautifully buttery homemade yellow cake.
The Science of Moist and Tender: Unlocking the Secret to a Superior Crumb
The best Yellow Cake isn't just about flavour; it's about physics, my friends. We are aiming for a cake structure that is sturdy enough to hold heavy frosting yet delicate enough to melt instantly in your mouth. The secret sauce here involves precise ratios, careful temperature management, and the power of acid.
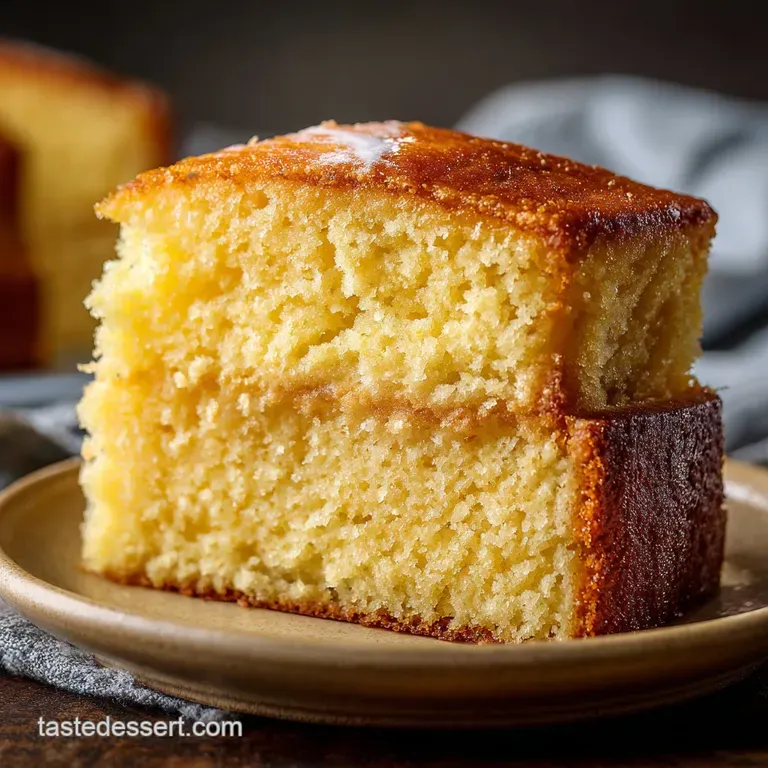
Defining the Perfect Crumb: Texture vs. Flavour
A great yellow cake should have a tight, velvety crumb that still feels incredibly light. Many recipes rely solely on chemical leaveners (baking powder), but here, we add lift through careful aeration, trapping air into the butter during the creaming stage. This physical lift is what separates a dense brick from a heavenly pillow. If you prefer a cake that’s denser and fruit filled, like my recipe for Apple Walnut Cake: The Moist, Spiced Autumnal Bake with Lemon Glaze , you’d use a different technique altogether.
The Importance of high-quality Dairy in Classic Baking
Because this recipe is so basic, every single ingredient is forced to pull its weight. Using high-quality unsalted butter is non-negotiable for achieving that signature rich, buttery yellow cake flavour. The fat content contributes directly to the overall richness and moisture level of the final product.
Tools of the Trade: Essential Equipment for Layer Cakes
You absolutely need an electric mixer for the creaming stage; trying to achieve that airy lightness by hand will wear you out before you even get the eggs in. Use a stand mixer with the paddle attachment if you have one, or a powerful hand mixer if you don't. And please, use parchment paper rounds in your tins!
Mastering Emulsification: The Role of Room Temperature Butter and Eggs
This is the hill I will die on: room temperature ingredients are essential. Cold butter and eggs simply cannot combine harmoniously with sugar, leading to a lumpy, split batter.
When the ingredients are soft and warm, the fats and liquids emulsify perfectly, creating a stable, homogenous mixture that traps air beautifully.
Acid Activation: Buttermilk and Baking Soda Synergy
Our recipe calls for buttermilk, which is slightly acidic. This acidity reacts instantly with the baking powder, providing an extra boost of reliable lift and ensuring the ultimate moist yellow cake. This tangy acid also breaks down gluten slightly, preventing the cake from becoming tough.
Preventing Overmixing: Why Gentle Folding is Key to Tenderness
Once the flour hits the wet ingredients, we switch from mixing to simply combining . Gluten starts developing the second flour is hydrated, and overmixing creates too much gluten, resulting in a dense, chewy cake.
Stop your mixer immediately when you see the last streaks of flour disappear, then finish with a gentle hand fold.
Essential Ingredients for the Best Yellow Cake (and Smart Swaps)
Every great homemade moist yellow cake starts with the correct ingredients. I always weigh my flour now, but if you measure using cups, use the spoon and level method.
Flour Finesse: Choosing the Right Protein Level
All-purpose flour works perfectly here, giving us a tender but sturdy crumb. If you want that ultra fine, velvety texture often found in wedding cakes, you can definitely swap to cake flour. Just remember that cake flour is lower in protein, meaning you need to handle the batter even more delicately.
Clarifying Buttermilk and Sour Cream Substitutions
Buttermilk is ideal, but life happens, and sometimes the carton is empty. Luckily, we have easy fixes!
| Ingredient | Standard Use | Smart Substitution |
|---|---|---|
| Buttermilk | Adds moisture and tenderizes | 1 cup whole milk + 1 Tbsp white vinegar (rest 5 min) |
| Unsalted Butter | Flavour and fat | high-quality flavourless vegetable shortening |
| Baking Powder | Leavening agent | Do not substitute (if old, test it first!) |
Pure Vanilla Extract vs. Vanilla Bean Paste
Because the flavour profile of a classic yellow cake is so simple, the vanilla stands center stage. Ditch the artificial stuff! I prefer vanilla bean paste because the little specks look fancy, but a high-quality pure vanilla extract will give you a stunning aroma.
Weighing vs. Measuring: Achieving Ingredient Accuracy
I implore you: get a cheap digital scale! Volume measurements (cups) are wildly inconsistent, especially for flour, which is the number one cause of dry cake. Weight measurements (grams) are precise every time.
Chef's Note: The extra egg yolk in this recipe is not a mistake! It increases the fat content slightly, boosting both the golden colour and the overall richness, ensuring your cake truly lives up to the name "Yellow Cake."
step-by-step: The Creaming Method for an Airy Yellow Cake Batter
Preparing Your Pans: The Dual Method for Non-Stick Assurance
Before you preheat the oven to 350°F (175°C), prep those 8 inch pans. I always use a dual method: first, grease them well with butter, then sprinkle with flour, shaking out the excess. Finally, line the bottom with a cut-out circle of parchment paper.
This technique guarantees your cakes will slide right out.
Achieving the 'Light and Fluffy' Creaming Stage
This is the most critical step for aeration. Beat the room temperature butter until smooth, then add the sugar gradually. Now, beat it! You need to beat this mixture on medium high speed for a full 5 to 7 minutes until the texture transforms.
It must look significantly paler, almost white, and airy that's when you know you've successfully incorporated air bubbles.
Integrating Dry and Wet Ingredients Alternately
Once the eggs are slowly added and fully incorporated, we must balance the liquids and the flour. Add the dry ingredients and the buttermilk mixture in three alternating additions , always starting and ending with the flour.
The pattern is: 1/3 Flour, 1/2 Buttermilk, 1/3 Flour, 1/2 Buttermilk, 1/3 Flour. This alternating method keeps the batter stable and prevents overworking the gluten.
Monitoring Doneness: The Skewer Test vs. Springback
Bake for 30– 35 minutes, depending on your oven. Don’t trust the timer alone! The easiest way to tell if it’s done is the classic toothpick test: a skewer inserted into the centre should come out clean or with a few moist crumbs attached.
I also like the gentle springback test; if the cake gently springs back when touched lightly in the middle, it’s done.
Troubleshooting and Expert Adjustments: A Baker’s Guide
Avoiding the ‘Sunken Middle’: Correct Oven Temperature Calibration
Did your beautiful layer cake collapse in the centre? The culprit is usually an uneven or incorrect oven temperature. Invest in a cheap oven thermometer because most home ovens lie about their true temperature.
Also, never, ever open the oven door until the final five minutes of baking, or you will release the steam holding that delicate structure up!
Why Your Cake is Dry: The Danger of Measuring Flour by Volume
If your cake is consistently dry and dense, you’re almost certainly adding too much flour. Flour settles in the container, meaning scooping it directly packs it down, adding 20 30% more than the recipe intends. Use the spoon and level method or, better yet, use a scale.
Handling Curdled Batter (And How to Fix It Instantly)
If your butter mixture looks curdled or grainy after adding the eggs, it means one of your ingredients was too cold (usually the eggs). Don’t panic! Simply add 1 to 2 tablespoons of the measured flour mixture to the batter and mix briefly.
This dry buffer absorbs the excess liquid and helps the fat emulsify again immediately.
Preserving Perfection: Storage and make-ahead Instructions
Freezing Unfrosted Cake Layers for Optimal Freshness
This is my absolute favourite hack for preparing ahead. Once the cakes are completely cooled, wrap each layer individually and tightly in plastic wrap, then wrap again in aluminium foil. They can be frozen for up to 3 months. Thaw them overnight, still wrapped, on the counter before frosting. If you trim your cakes for level layers, those scraps make great Easter Egg Cake Pops: The Ultimate Cute Easter Dessert Idea !
Best Practices for Storing Iced Yellow Cake
If the cake is frosted with traditional buttercream (like the vanilla pairing suggested), it can be stored at cool room temperature (below 75°F/24°C) for 2 days, or in the refrigerator for up to 5 days. Always cover it to prevent drying out.
If the frosting contains highly perishable dairy (like cream cheese), refrigeration is mandatory.
Thawing and Serving Temperature
Always serve your yellow cake at room temperature. If you stored it in the fridge, take it out at least two hours before serving. Cold cake tastes dense, and the buttery flavour is completely muted. We want maximum flavour impact!
Elevating Your Serve: Pairing & Finishing the Classic Yellow Cake
The beautiful golden colour and buttery flavour of this cake make it a phenomenal canvas for almost any topping.
For the ultimate celebration cake, I highly recommend pairing the moist yellow cake layers with a rich, dark chocolate frosting. If you love a contrasting texture and zingy flavour, try pairing it with a rich chocolate ganache and a side of my Chocolate Cupcakes with Sour Cream Frosting: The Ultimate Tangy, Moist Bake . The slight tang of sour cream cuts the richness perfectly.
If you’re serving this cake during the warmer months, keep the toppings light. A simple dusting of powdered sugar and a side of fresh berries is elegant and refreshing. You could even serve individual slices alongside something easy and fruit focused, like my Red White and Blue Fruit Skewers with Cheesecake Y: No-Bake, Easy Summer Dessert . Whatever you choose, enjoy the moment. You just baked the perfect yellow cake from scratch!

Recipe FAQs
Why did my yellow cake turn out dry and dense instead of light and airy?
This is often caused by overmixing the batter once the flour is added, which overdevelops the gluten and leads to a tough, dense crumb. Ensure you mix only until the last streaks of flour disappear, stopping immediately when the batter is homogenous.
Also, always use butter and eggs that are perfectly at room temperature to facilitate proper emulsification and air incorporation during the crucial creaming stage.
I don't have buttermilk. Is there a suitable substitution I can use?
Absolutely. Buttermilk is crucial for flavor and moisture, but you can create a simple substitute by combining 1 cup of regular whole milk with 1 tablespoon of white vinegar or lemon juice. Let this mixture sit for 5 to 10 minutes until it slightly curdles before adding it to your batter.
This provides the necessary acidity to react with the baking powder and yield a tender cake.
What is the best way to store or freeze unfrosted yellow cake layers?
Unfrosted cake layers can be wrapped tightly in plastic wrap while still slightly warm (but not hot) to lock in existing moisture. Once wrapped, they can be stored at room temperature for up to three days, or placed inside an airtight freezer bag for up to two months.
Thaw frozen layers overnight in the refrigerator before decorating.
My cake layers always dome significantly in the center. How can I bake flatter layers?
Domed layers usually indicate that the edges of the cake are setting too quickly due to high oven heat. Try reducing your oven temperature by 25°F and extending the baking time slightly to allow the entire structure to rise evenly.
Alternatively, you can purchase dampened baking strips that wrap around the outside of the pan, insulating the edges and promoting uniform baking.
Can I substitute vegetable oil for the butter in this recipe?
While oil will create an incredibly moist cake, substituting it entirely will compromise the signature buttery flavor and the structural integrity built during the creaming process. The creaming of butter and sugar incorporates essential air bubbles that help lift the cake.
For the best "classic" yellow cake flavor and texture, use high-quality butter as specified.
What exactly is the "creaming method" and why is it so vital for this cake?
The creaming method involves beating softened butter and sugar together until the mixture is lightened in color and significantly increased in volume. This process mechanically incorporates tiny air bubbles into the butterfat, which are then expanded by the leavening agents during baking.
This aeration is essential for achieving the light, fluffy texture characteristic of a great yellow cake.
Can I successfully adapt this recipe to make cupcakes instead of a layer cake?
Yes, this yellow cake recipe adapts beautifully into cupcakes. Simply line your muffin tins and fill the cups about two-thirds full with batter. The baking time will be significantly reduced, generally requiring 18 to 22 minutes at 350°F (175°C), or until a toothpick inserted into the center comes out clean.
Classic Moist Yellow Cake From Scratch

Ingredients:
Instructions:
Nutrition Facts:
| Calories | 380 kcal |
|---|---|
| Fat | 16 g |
| Fiber | 1 g |
