Creme Brulee Cheesecake Cupcakes Recipe
- Time: Active 20 minutes, Passive 22 minutes, Total 42 minutes
- Flavor/Texture Hook: Silky cheesecake meeting a shatter crisp caramel crust.
- Perfect for: Dinner parties, holiday spreads, or impressive weekend baking.
- The Ultimate Creme Brulee Cheesecake Cupcakes
- Techniques for a Silky Finish
- Crucial Timing and Temperature Benchmarks
- Sourcing the Best Recipe Elements
- Essential Precision Baking Tool Kit
- Detailed Process for Golden Results
- Solving Common Texture Hurdles
- Flavorful Swaps and Smart Alternatives
- Optimal Storage and Freshness Tips
- Perfect Pairings for Your Dessert
- Recipe FAQs
- 📝 Recipe Card
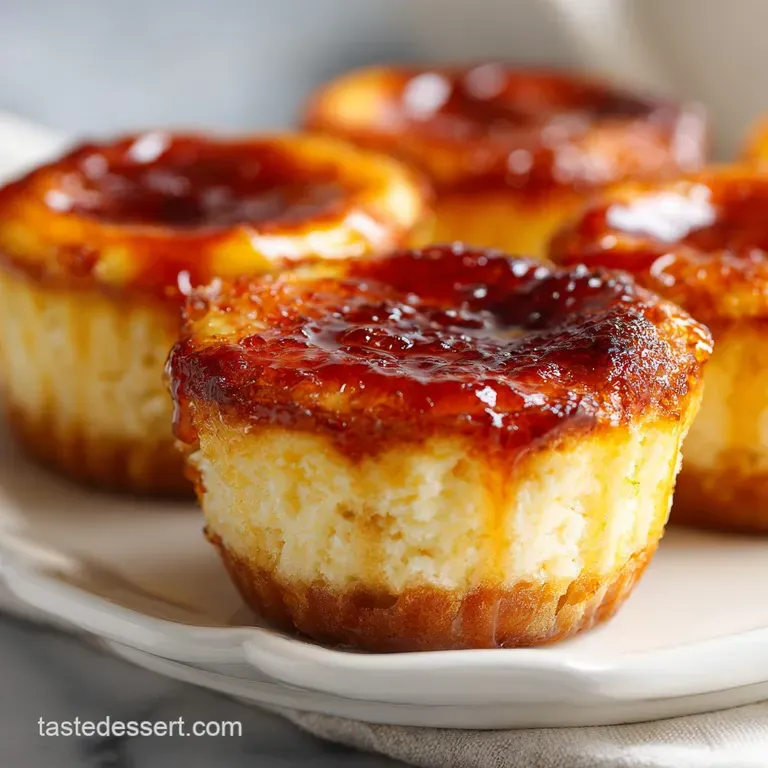
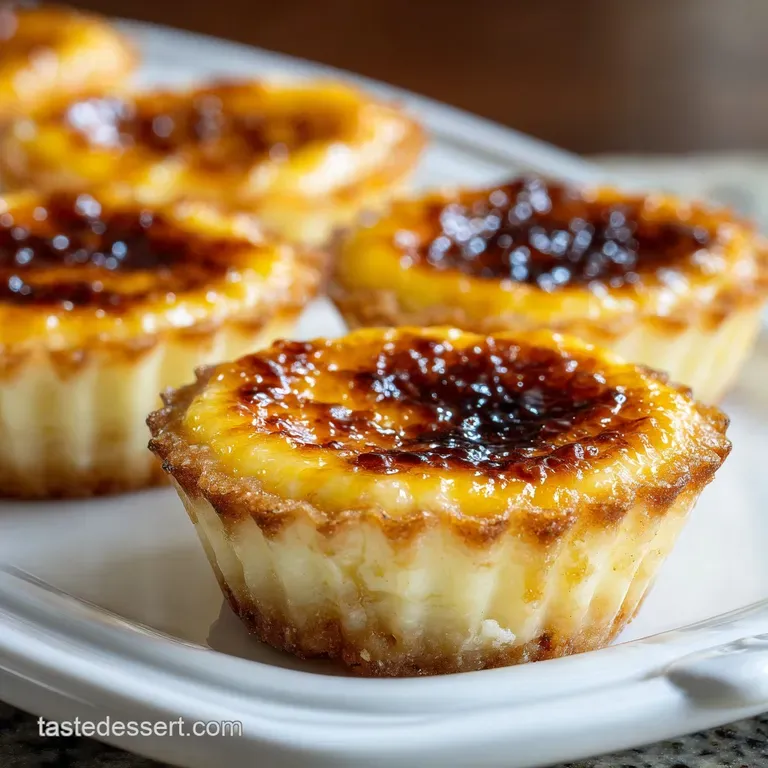
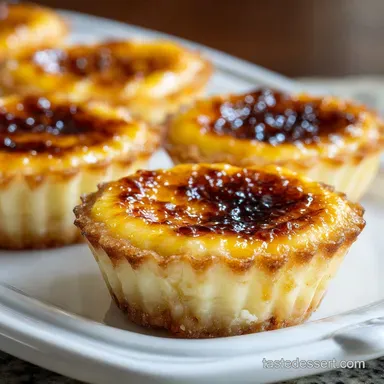
The Ultimate Creme Brulee Cheesecake Cupcakes
Picture this: you’re holding a small, elegant cupcake, and as your spoon makes contact, there’s a distinct, audible snap. That sound is the hallmark of a great brûlée.
Underneath that warm, burnt sugar shell lies a cool, luscious cream cheese filling flecked with tiny black vanilla seeds. I first tried making these for a New Year's Eve party when I realized I didn't have enough ramekins for traditional custard. I panicked, grabbed a muffin tin, and honestly?
I’ve never looked back. The graham cracker crust adds a salty, honeyed depth that a standard brûlée just doesn't have.
We’ve all been there trying to torch sugar only to have it turn into a sticky, syrupy mess, or pulling a cheesecake out of the oven only to see a canyon sized crack down the middle. I've ruined more than my fair share of batches learning the hard way.
But through those scorched sugars and lumpy batters, I found the tricks that actually work. This version is designed to be approachable but high end. You don't need a professional pastry kitchen; you just need a few specific techniques to ensure that velvety texture and a perfect crackle.
It's brilliant how these come together. The tang of the cream cheese cuts through the sweetness of the caramelized sugar, while the vanilla bean paste provides a floral aroma that extract simply can't match.
We’re going to walk through the exact steps to get that flat top (essential for the sugar to sit right) and how to handle the torch without turning your kitchen into a smoke show. Trust me on this, once you hear that first shatter, you’ll be hooked on making these forever.
Techniques for a Silky Finish
The Physics of the Crunch: When you apply high heat to superfine sugar, it undergoes pyrolysis, breaking down sucrose into complex aromatic compounds while creating a hard, glass like molecular structure upon cooling.
This solid "shield" protects the soft custard below while providing the signature bitter sweet snap.
| Method | Texture Result | Best For |
|---|---|---|
| Kitchen Torch | Instant, glass like shatter | Maximum precision and aroma |
| Oven Broiler | Soft, chewy caramel | Batch cooking without a torch |
| Stovetop Syrup | Thick, hard candy shell | When you want a pre made "lid" |
If you’re looking for a slightly different take on this profile, you might enjoy the classic approach in my Mini Creme Brulee recipe. Both methods rely on that over high heat sugar transformation, but the cheesecake base here offers a bit more structural integrity for a handheld treat.
Crucial Timing and Temperature Benchmarks
Getting the temperature right is the difference between a grainy mess and a velvety dream. I always tell my friends to treat their ingredients like they’re going to a spa they need to be relaxed and at room temperature.
Cold cream cheese will fight the whisk every step of the way, leaving you with tiny white dots of unmixed fat that will never melt away in the oven.
Chef Tip: Freeze your butter for 10 minutes before melting it for the crust. This small temperature dip helps the graham cracker crumbs absorb the fat more evenly, leading to a base that doesn't crumble the second you peel off the paper.
Precision Checkpoints for Success
- Room Temp Standard: Ensure cream cheese is exactly 21°C (70°F) before mixing; it should feel like soft butter when pressed.
- The Jiggle Test: Pull the cupcakes when the edges are set but the center 1 cm still wobbles like firm gelatin.
- The Cooling Phase: Let them sit at room temperature for 30 minutes before moving to the fridge to prevent thermal shock cracks.
Sourcing the Best Recipe Elements
| Component | Science Role | Pro Secret |
|---|---|---|
| Cream Cheese | Provides structure and fat | Use full fat blocks only; tub spreads contain too much air and water. |
| Vanilla Bean Paste | Flavor and aesthetics | The seeds sink slightly, creating a beautiful gradient of flavor. |
| Superfine Sugar | Rapid caramelization | Smaller crystals melt faster under a torch, preventing the cheesecake from melting. |
For the foundation, we use 1.5 cups graham cracker crumbs mixed with 3 tbsp granulated sugar and 5 tbsp melted unsalted butter, plus a pinch of 0.25 tsp salt. This creates a sturdy, salty sweet base.
The filling relies on 16 oz full fat cream cheese and 0.5 cup granulated sugar for that classic tang. Using 2 large eggs at room temperature is non negotiable for emulsification.
I highly recommend 1 tsp vanilla bean paste over extract for those gorgeous black specks. We also add 0.25 cup heavy cream and 1 tbsp all purpose flour to keep the texture stable. Finally, you’ll need 0.25 cup superfine sugar specifically for the topping. If you can't find superfine, just pulse regular sugar in a blender for 5 seconds. This is a trick I use often, similar to the prep in my Vanilla Bean Crème recipe.
Essential Precision Baking Tool Kit
You don't need a warehouse of gadgets, but a few specific items make this a breeze. A standard 12 cup muffin tin is the star here. You’ll want high-quality paper liners; I prefer the greaseproof ones so the crust doesn't stick to the paper.
A hand mixer or a stand mixer (like a KitchenAid) is essential for getting that cream cheese completely smooth.
The one "specialty" item is the culinary torch. While you can use a broiler, a torch gives you control. You can see the sugar bubbling and browning in real time. If you use a broiler, you risk cooking the cheesecake further, which we definitely want to avoid.
A small offset spatula is also your best friend for spreading the sugar in a perfectly even, thin layer before the flame hits it.
Detailed Process for Golden Results
Step 1: The Foundation
Preheat your oven to 180°C (350°F). Combine your graham crumbs, 3 tbsp sugar, salt, and melted butter in a medium bowl until it looks like wet sand. Press about 1.5 tablespoons into each liner, using the bottom of a small glass to pack it down tight.
Bake for 5 minutes until the kitchen smells like toasted honey.
Step 2: Preparing the Vanilla Core
In a large bowl, beat the 16 oz cream cheese and 0.5 cup sugar until completely smooth. Add the vanilla bean paste. Note: Mixing the vanilla in now ensures even distribution before the eggs go in.
Step 3: Gentle Emulsification
Add the 2 eggs one at a time, mixing on the lowest speed just until combined. Overmixing at this stage incorporates air, which causes the cupcakes to rise and then collapse.
Step 4: Final Batter Smoothing
Fold in the heavy cream and flour with a spatula. The flour acts as a safety net, holding the structure together even if your oven temperature fluctuates slightly.
Step 5: The Gentle Bake
Divide the batter among the 12 liners. Lower the oven to 150°C (300°F). Bake for 17-22 minutes until the edges are puffed and the centers have a slight, controlled wobble.
Step 6: The Cooling Cycle
Turn the oven off and crack the door for 10 minutes. Remove the cupcakes and let them reach room temperature on a wire rack. Chill in the fridge for at least 4 hours, though overnight is much better for the flavor to develop.
Step 7: The Sugar Topping
Just before serving, pat the tops of the cheesecakes with a paper towel to remove any moisture. Sprinkle a thin, even teaspoon of superfine sugar over each one. Note: Moisture is the enemy of a crisp brûlée.
Step 8: The Finishing Torch
Hold your torch about 3 inches away and move it in circular motions. Watch the sugar until it liquifies and turns a deep, amber gold. Let it sit for 2 minutes to harden before serving.
Solving Common Texture Hurdles
Why Your Cheesecake Cracks
This usually happens because of a sudden temperature drop or too much air in the batter. If you beat the eggs at high speed, you're basically making a souffle that will inevitably fall and crack.
Using the "oven crack" method where you leave the door ajar allows the cupcakes to cool down slowly, keeping the structure intact.
Troubleshooting the Sugar Crackle
| Problem | Root Cause | Solution |
|---|---|---|
| Soft, sticky top | Moisture on the cheesecake | Pat the tops dry with a paper towel before adding sugar. |
| Burnt sugar smell | Torch held too close | Maintain a 3 inch distance and keep the flame moving constantly. |
| Grainy sugar layer | Sugar layer too thick | Use a small offset spatula to level the sugar; thin layers melt better. |
- ✓ Common Mistakes Checklist:
- ✓ Using cold cream cheese (results in permanent lumps)
- ✓ Skipping the "pat dry" step (sugar won't caramelize, it will just dissolve)
- ✓ Overbaking until the centers are firm (leads to a rubbery texture)
- ✓ Torching too far in advance (the sugar will soften in the fridge)
- ✓ Adding eggs all at once (prevents proper emulsification)
Flavorful Swaps and Smart Alternatives
If you want to play around with the flavors, it's quite easy to swap the base or add an infusion. Just remember that changing the fat or moisture content can affect the bake time.
| Original Ingredient | Substitute | Why It Works |
|---|---|---|
| Graham Crackers | Biscoff Cookies | Adds a deep cinnamon, caramelized flavor. |
| Vanilla Bean Paste | Scraped Vanilla Bean | More intense flavor. Note: Use one whole bean for this recipe. |
| Superfine Sugar | Brown Sugar | Creates a deeper, molasses heavy crust. Note: It burns much faster. |
If you’re out of graham crackers, digestive biscuits work beautifully too. Just make sure to keep the crumb to butter ratio the same so the base doesn't get greasy. For those who love a bit of citrus, adding the zest of one lemon to the cream cheese mixture provides a bright contrast to the heavy custard.
Optimal Storage and Freshness Tips
These cupcakes are best eaten the day they are torched. Once you caramelize that sugar, the clock starts ticking. The moisture from the cheesecake will eventually seep into the sugar layer, turning your beautiful crackle into a soft syrup within a few hours.
- Fridge: Store the untopped cheesecakes in an airtight container for up to 4 days.
- Freezer: You can freeze the baked and cooled cheesecakes (without sugar) for up to 2 months. Thaw in the fridge overnight.
- Zero Waste: If you have leftover graham cracker crumbs, toss them with a little extra butter and bake them off to use as a crunchy topping for yogurt or ice cream.
Perfect Pairings for Your Dessert
Because these are so rich and decadent, I usually pair them with something that has a bit of acidity. Fresh raspberries or a tart strawberry coulis on the side works wonders. If you're serving these at a party, a dry sparkling wine like a Brut Champagne or a crisp Prosecco helps cleanse the palate between those creamy, sugary bites.
If you’re doing a full dessert spread, these look stunning next to something darker, like a Fudge Brownie recipe. The contrast between the golden brûlée and a deep chocolate bake is always a crowd pleaser. Just remember to keep the cheesecakes chilled until the very last second before you torch them to maintain that temperature contrast that makes this dessert so legendary.

Recipe FAQs
Can I use cupcake liners for crème brûlée?
Yes, use greaseproof liners for best results. The liners hold the crust in place and prevent sticking, acting as miniature, flexible ramekins.
What are common cheesecake cupcake mistakes?
Overmixing the batter after adding eggs is the biggest pitfall. Incorporating too much air causes the cupcakes to rise rapidly and then sink or crack dramatically upon cooling.
What is a creme brulee cheesecake?
It is a hybrid dessert combining a baked cheesecake filling with a torched sugar crust. The structure is often stabilized with flour, allowing it to hold its shape better than traditional custard, as seen in our How to Bake recipe.
Do cheesecake cupcakes need a water bath?
No, a traditional bain marie is usually unnecessary for cupcakes. Because the volume is small, baking at a lower temperature (300°F/150°C) provides gentle, even heat, minimizing the risk of cracks.
How do I get the sugar topping to crackle instead of getting sticky?
Ensure the cheesecake tops are completely cool and dry before sprinkling sugar. Moisture causes the sugar to dissolve rather than caramelize into a hard shell.
How to prevent the graham cracker crust from being greasy?
Chill the melted butter slightly before mixing it with the crumbs. This subtle temperature control helps the crumbs absorb the fat evenly, leading to a firmer base that doesn't bleed oil.
Is it true that the sugar must be torched immediately before serving?
Yes, this is crucial for texture preservation. Once the sugar is hardened, refrigerator moisture will soften the brittle glass like layer, destroying the signature snap.
Creme Brulee Cheesecake Cups
Ingredients:
Instructions:
Nutrition Facts:
| Calories | 318 kcal |
|---|---|
| Protein | 4.2 g |
| Fat | 21.6 g |
| Carbs | 27.8 g |
| Fiber | 0.4 g |
| Sugar | 20.2 g |
| Sodium | 250 mg |
