Easy Marshmallow Cheesecake Recipe
- Time: Active 20 minutes, Passive 4 hours, Total 4 hours 20 mins
- Flavor/Texture Hook: Cloud like velvety filling with a buttery shatter crisp crust
- Perfect for: Summer potlucks, beginner bakers, or late night sugar cravings
Master the Ultimate Easy Marshmallow Cheesecake
I remember standing in my kitchen at 10:00 PM on a Tuesday, staring at a block of cream cheese and a jar of marshmallow fluff. I had a disastrous attempt at a traditional baked cheesecake earlier that week the kind where the top cracks like a dry desert and you end up hiding it under a mountain of canned cherries.
I was determined to find a way to get that tangy, rich fix without the stress of water baths or oven timers. I tossed the fluff into the mixer, and as it swirled into the cheese, the aroma of toasted vanilla and sweet sugar filled the room.
The result was a revelation. It wasn't just a "hack," it was better than the original in many ways. The way the crust would shatter under the weight of the fork, followed by the silent, velvety sink into the marshmallow infused center, changed everything for me.
My friends now request this specific Easy Marshmallow Cheesecake every time we have a BBQ. They think I spend hours on it, but honestly, the hardest part is waiting for it to set in the fridge while I'm tempted to just eat the filling with a spoon.
If you have ever struggled with the rubbery texture that gelatin based no bake cakes often have, this is your solution. The fluff provides a natural, soft stability that feels like biting into a cloud. There is no grit, no weird aftertaste, just pure creaminess.
Let's get into why this works so well and how you can nail it on your first try.
The Sticky Secret of Structural Sugar
The sugar and egg whites in the marshmallow fluff act as a pre stabilized matrix that traps air from the whipped cream. This chemical bond creates a "semi solid foam" that stays upright at room temperature without the need for heat activated proteins or starches.
Chef's Tip: Freeze your metal mixing bowl and whisk attachment for 15 minutes before whipping the heavy cream. The colder the equipment, the faster the fat globules in the cream will trap air, leading to a much more stable filling that won't wilt.
Essential Recipe Numbers
Before we start mixing, it helps to know exactly what we are aiming for in terms of the final product. While this is a no bake wonder, if you ever crave a traditional baked version, you should try my New York Style recipe. For this marshmallow version, precision with your temperatures and chilling times is what separates a "pudding in a crust" from a professional looking cheesecake.
| Method | Time | Texture | Best For |
|---|---|---|---|
| No Bake (This Recipe) | 4 hours 20 mins | Cloud like, silky, and soft | Hot weather and effortless prep |
| Traditional Oven | 6 hours + | Dense, rich, and slightly dry | Formal holidays and classic fans |
| Stovetop (Water Bath) | 5 hours | Ultra creamy, custard like | Those wanting a middle ground |
The major difference you will notice is the lack of "egginess" in our no bake version. Since we aren't using heat to set a custard, the flavor of the vanilla and the tang of the cream cheese really shine through. It is a brighter, more refreshing experience on the palate.
When you are melting the butter for the crust, listen for the sound. The butter will sizzle gently as it hits the pan before you pour it over the crumbs. This ensures the butter is hot enough to penetrate the dry graham crumbs, creating a crust that stays together when you slice it later.
Sourcing Your Creamy Ingredients
For this Easy Marshmallow Cheesecake, the quality of your dairy is everything. Do not even look at the "low-fat" or "whipped" cream cheese options. We need the full fat bricks for the structure.
| Ingredient | Science Role | Pro Secret |
|---|---|---|
| Cream Cheese | Fat structure and tang | Use room temp blocks to avoid tiny white lumps |
| Marshmallow Fluff | Aerated stabilizer | Fold it in gently to keep the air bubbles intact |
| Heavy Whipping Cream | Volumetric lift | Whip to "stiff peaks" so the cake doesn't sag |
- 150g Graham Cracker Crumbs: These provide the structural base.
- Substitute: Digestive biscuits or Biscoff cookies. Why this? Biscuits provide a similar dry, crumbly texture that absorbs butter effectively.
- 65g Granulated Sugar: Adds a little extra crunch to the base.
- Substitute: Brown sugar. Why this? Adds a deep molasses note that pairs well with the vanilla.
- 85g Unsalted Butter, melted: This is the glue for your crust.
- Substitute: Salted butter (just skip any extra salt). Why this? Butter solidifies when chilled to hold the crumbs together.
- 0.5 tsp Ground Cinnamon: Provides a warm, woody aroma.
- Substitute: Nutmeg or pumpkin spice. Why this? Adds complexity to an otherwise very sweet profile.
- 450g Full fat Cream Cheese, softened: The main body of the cake.
- Substitute: Mascarpone cheese. Why this? Mascarpone is even creamier and less tangy than cream cheese.
- 198g Marshmallow Fluff: The secret to that iconic Marshmallow Cheesecake flavor.
- Substitute: Melted marshmallows (cooled). Why this? Provides the same sugar and air structure required for setting.
- 1 tsp Pure Vanilla Bean Paste: For those beautiful little black flecks.
- Substitute: Vanilla extract. Why this? Vanilla rounds out the sweetness of the marshmallows perfectly.
- 240ml Heavy Whipping Cream, chilled: For a light, airy finish.
- Substitute: Full fat coconut cream. Why this? Provides the fat needed for aeration, though it adds a coconut flavor.
- 50g Mini Marshmallows: These are for the final texture on top.
- Substitute: Chocolate chips or crushed nuts. Why this? Adds a visual cue for the flavor inside.
Necessary Tools for Success
You don't need a professional bakery setup for this, but a few specific tools make the process much smoother. A springform pan is non negotiable if you want to show off the clean sides of your cheesecake. If you use a regular pie dish, you will have to scoop the cake out, which is still velvety but less impressive.
I personally use a stand mixer (like a KitchenAid) because it handles the aeration of the heavy cream more consistently than I can by hand. If you are using a hand mixer, just be patient.
You want to see the cream transition from liquid to soft waves, and finally to peaks that stand up on their own when you lift the beaters.
Another trick I've learned over the years is to use a flat bottomed measuring cup to press the crust down. Your fingers are uneven and warm, which can melt the butter prematurely. The flat cup ensures a dense, even layer that won't crumble when the fork hits it.
This is how you get that satisfying "shatter" with every bite.
step-by-step Preparation Guide
- Prep the base. Combine 150g graham cracker crumbs, 65g granulated sugar, and 0.5 tsp ground cinnamon in a bowl.
- Bind the crumbs. Pour 85g melted butter over the mixture and stir until it looks like wet sand.
- Form the crust. Press the mixture firmly into the bottom of a 23cm springform pan. Note: Use a flat cup to get the edges tight.
- Cream the cheese. Beat 450g softened cream cheese and 1 tsp vanilla bean paste in a large bowl until it is completely smooth and velvety.
- Incorporate the fluff. Add 198g marshmallow fluff to the cream cheese and beat on medium speed until no white streaks remain.
- Whip the cream. In a separate chilled bowl, whip 240ml heavy cream until stiff peaks form. Note: Stop as soon as it holds its shape to avoid making butter.
- Fold it in. Gently fold the whipped cream into the marshmallow mixture using a spatula. Note: Use a "cut and fold" motion to keep the air in.
- Final assembly. Pour the filling over the crust and smooth the top with an offset spatula.
- Top it off. Sprinkle 50g mini marshmallows over the top. Press them slightly into the cream so they stay put.
- The long chill. Place the pan in the fridge for at least 4 hours until the center is firm to the touch.
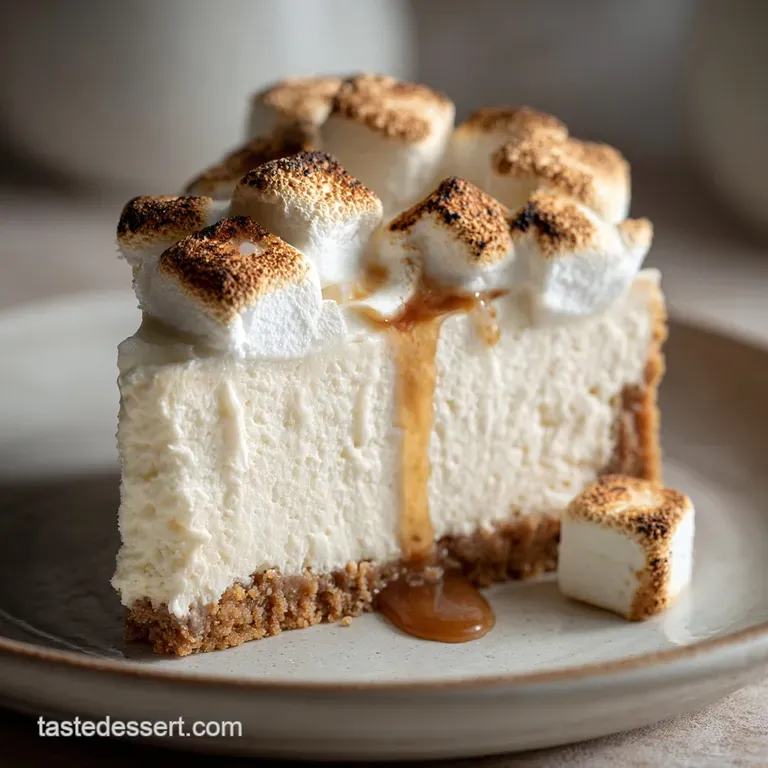
Chef's Tip: If you want a gourmet look, use a kitchen torch to lightly toast the mini marshmallows on top just before serving. It adds a smoky, bonfire aroma that is absolutely intoxicating.
Solving Common Texture Issues
Even with an Easy Marshmallow Cheesecake, things can go sideways if the temperature of your ingredients isn't right. The most common mistake is using cold cream cheese. If the cheese is cold, it will break into tiny grains that are impossible to smooth out once you add the liquid cream.
Why is my filling runny?
If the cheesecake hasn't set after four hours, it usually means the heavy cream wasn't whipped long enough or the cream cheese was a low-fat variety. High fat content is what allows the mixture to solidify in the cold. If this happens, don't panic.
You can stick it in the freezer for an hour to firm it up, then serve it as a "semi freddo" style dessert.
Why is the crust crumbly?
A crust that falls apart usually lacks enough "glue." This happens if the butter wasn't fully incorporated or if the crumbs were too large. Make sure your crumbs are a fine powder before adding the melted butter.
| Problem | Root Cause | Solution |
|---|---|---|
| Lumpy Filling | Cream cheese was too cold | Let cheese sit at room temp for 2 hours before mixing |
| Soggy Crust | Butter was too hot or crust wasn't pressed | Let melted butter cool slightly; press down with a heavy cup |
| Filling is grainy | Sugar didn't dissolve | Beat the cream cheese and fluff longer at high speed |
Common Mistakes Checklist
- ✓ Soften cream cheese fully (this is the #1 rule for a velvety finish)
- ✓ Use full fat ingredients (the fat is the structural "rebar" of the cake)
- ✓ Chill the bowl for whipping cream (helps the fat globules trap air)
- ✓ Press the crust with a flat bottomed tool (prevents the "shatter" from becoming a "crumble")
- ✓ Don't skip the 4 hour chill (the marshmallow needs time to bond with the dairy)
Creative Flavor Variations
Once you have mastered the basic No Bake Marshmallow Cheesecake, the possibilities are endless. To really master different textures, you can also learn How to Bake recipe for a trio of creamy delights. But if you want to stay in the marshmallow realm, here are some fun twists.
- The S'mores Special: Use chocolate graham crackers for the crust and add a layer of chocolate ganache between the crust and the filling. Top with toasted marshmallows and a drizzle of Hershey's syrup.
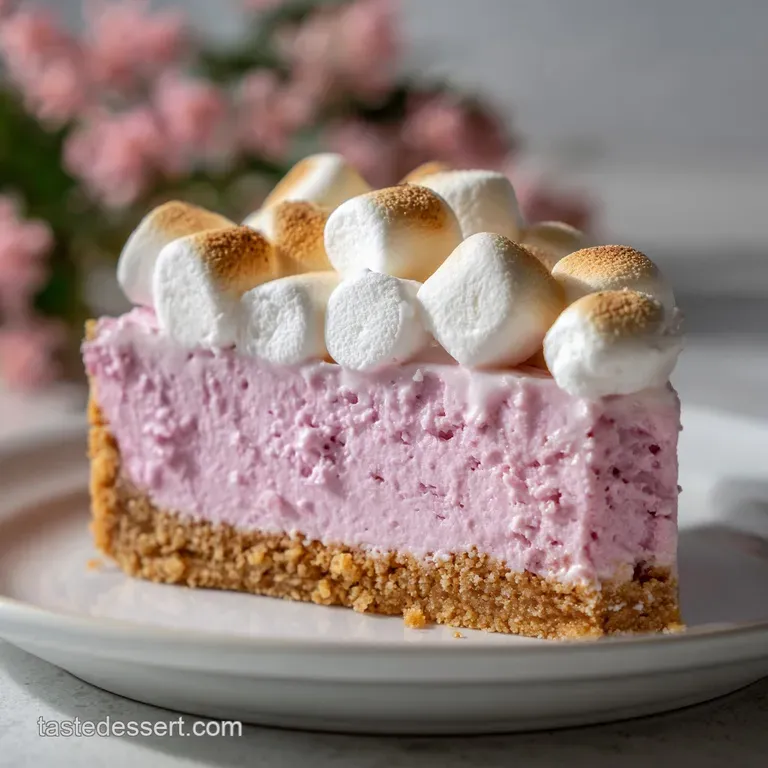
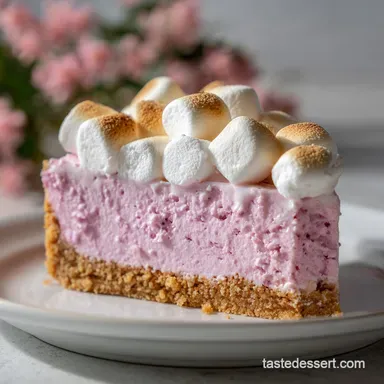
- The Berry Cloud: Swirl in 50g of seedless raspberry jam into the filling before chilling. The tartness of the berries cuts through the sugary fluff beautifully.
- Peanut Butter Fluff: Add 60g of smooth peanut butter to the cream cheese mixture. It creates a salty sweet balance that is incredibly addictive.
If you want to scale this recipe down for a date night, you can easily halve all the ingredients and use a 15cm pan. The chilling time will remain about the same because you still need that chemical set to happen.
If you are scaling up for a party (double batch), use two separate 23cm pans rather than one giant one, as the center of a very large cake may never fully firm up.
Storage and Waste Tips
This Simple Marshmallow Cheesecake is a champion of longevity in the fridge. Because it doesn't contain eggs, it stays fresh and safe to eat for up to 5 days. Just make sure to keep it covered with plastic wrap or in an airtight container so it doesn't pick up "fridge smells" like onions or leftovers.
You can actually freeze this cheesecake too! Wrap the entire pan (or individual slices) in a double layer of plastic wrap followed by aluminum foil. It will keep for up to 2 months. To eat, just thaw it in the fridge for about 3 hours.
It actually tastes great partially frozen, like a rich ice cream cake.
For a zero waste approach, if you have leftover graham cracker crumbs, don't throw them away. Toss them with a little sugar and butter and bake them for 5 minutes. You can use these "sweet croutons" as a topping for yogurt or oatmeal the next morning.
If you have leftover fluff, it makes a great "frosting" for a quick batch of brownies.
Plating and Serving Ideas
When it comes time to serve your Homemade Marshmallow Cheesecake, presentation is what takes it from "home cook" to "pro baker." I love to serve this on a dark slate board or a bright white porcelain plate to let the snowy white filling pop.
For the cleanest slices, keep a tall glass of hot water and a clean towel nearby. Dip your knife into the hot water, wipe it dry, and make one clean cut. Wipe the knife clean after every single slice. This prevents the sticky marshmallow filling from dragging and ruining the sharp edges of the next piece.
- Rustic vibe
- Serve it in wide mouth mason jars instead of a pan.
- Elegant finish
- Garnish with a single fresh mint leaf and a few silver sugar pearls.
- Childhood nostalgia
- Add a sprinkle of rainbow crushed cereal on top for a "cereal milk" flavor profile.
There is a common myth that you can't over beat a no bake cheesecake. That's false. If you continue to beat the mixture after adding the heavy cream, you can actually "deflate" the air bubbles you worked so hard to create. Once the cream is folded in, stop. Another myth is that the marshmallows on top will get soggy.
Actually, they stay quite soft and pillowy because the sugar in them prevents them from absorbing too much moisture from the filling. Trust the process, and you'll have a dessert that everyone will be talking about for weeks. Enjoy every velvety, marshmallowy bite!

Recipe FAQs
Can you use regular marshmallows instead of marshmallow cream (fluff)?
Yes, but it requires an extra step. You must melt the regular marshmallows gently with a splash of water or milk until completely smooth, then allow the mixture to cool slightly before folding it into the cream cheese base.
Is melting marshmallows the same as using marshmallow fluff?
No, fluff provides a superior, stable texture. Fluff already contains whipped egg whites and stabilizers, which directly contribute to the cheesecake's airy structure, something you must mimic manually when melting whole marshmallows.
How to make a 3-ingredient no-bake cheesecake?
Combine one block of softened cream cheese, one cup of whipped heavy cream, and powdered sugar to taste. Beat until smooth, then chill for four hours until firm.
What is the secret to making good cheesecake that doesn't crack?
For baked versions, the secret is low and slow cooking with temperature consistency. For no-bake like this, the secret is using a stable aerating agent like marshmallow fluff, which locks air in without requiring heat.
Can I make this cheesecake ahead of time for a party?
Yes, making it ahead is highly recommended for the best results. The cheesecake needs a minimum of four hours to fully set, so prepare it the day before and keep it covered tightly in the refrigerator.
My crust is crumbly after chilling, what went wrong?
The butter either wasn't hot enough or you didn't press firmly enough. Ensure the melted butter completely saturates the crumbs so they bind when chilled; mastering this binding technique is key, similar to making a good Southern Pecan Pie Recipe crust.
If I fold the whipped cream too vigorously, will the cake deflate?
Yes, aggressive folding will deflate the air trapped in the cream. Use a large spatula and employ a gentle "cut down the middle and sweep up the side" motion until just combined to retain maximum volume.
Easy Marshmallow Cheesecake
Ingredients:
Instructions:
Nutrition Facts:
| Calories | 466 kcal |
|---|---|
| Protein | 4.5 g |
| Fat | 32.7 g |
| Carbs | 40.4 g |
| Fiber | 0.5 g |
| Sugar | 29.8 g |
| Sodium | 184 mg |
