Indulgent Homemade Cake Pops – Just Like Starbucks!
- A Sweet Journey into Cake Pops
- The Story Behind Cake Pops
- Sweet Benefits of Cake Pops
- Transition to Ingredients
- Essential Ingredients Guide: Your Go-To for Delicious Cake Pops
- Indulgent Homemade Cake Pops – Just Like Starbucks!
- Pro Tips & Secrets for Making Cake Pops Like a Pro
- Perfect Presentation for Your Cake Pops
- Storage & Make-Ahead for Cake Pops
- Creative Variations
- Complete Nutrition Guide
- Conclusion: Get Baking!
- Frequently Asked Questions
- 📝 Recipe Card
A Sweet Journey into Cake Pops
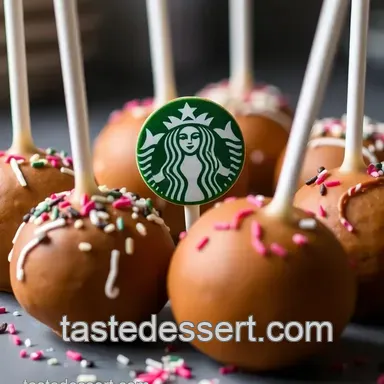
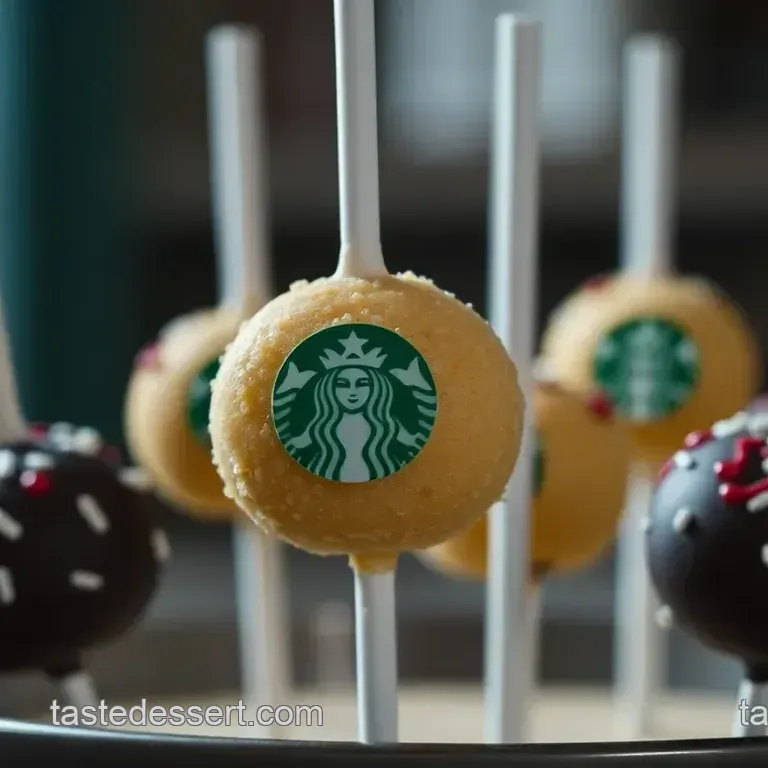
Oh my gosh, do you remember that first bite of a Starbucks cake pop? That little ball of joy, all coated in chocolate and making your taste buds dance? It’s like a mini party in your mouth! Honestly, it got me thinking: how much is a Starbucks cake pop these days? Turns out, they're around two bucks each!
So why not whip up some homemade versions right in your kitchen? Let's dive into the world of indulgent homemade cake pops it’s easier than you think and just as tasty!
The Story Behind Cake Pops
Cake pops have become a modern day sensation, but their history is a bit more nuanced. originating in the early 2000s, they emerged as a creative way to use up leftover cake and frosting.
Fast forward to today, and you’ll find them at every party and celebration! they're perfect for any occasion birthdays, baby showers, or just a cozy friday night in with a movie and your favorite snacks.
Thinking about making these at home? the beauty is, they're easy ! you’ll need just a little over an hour to have them ready, with minimal fuss involved.
Trust me, if i can do it, so can you! plus, they yield about 12 cake pops, so share or hoard them your choice!
Sweet Benefits of Cake Pops
Now, let’s chat about the benefits. these little creations aren’t just adorable; they come with some cool health perks too.
When you balance your cake with delicious cream cheese frosting, you can actually savor a sweet treat while keeping it somewhat lighter than a slice of regular cake.
They also pack a sugary punch that can lift your mood! seriously, what’s better than a slice of cake in a bite sized wonder?
And let’s be real, nothing says “party” like cake pops. they’re always a hit at gatherings, bringing a sense of joy and nostalgia with every bite.
Compared to traditional cake, there's no messy slicing or serving just grab a stick and go! it’s an absolute game changer when entertaining.
Transition to Ingredients
Ready to jump into making these delicious starbucks pop cakes ? let’s gather our ingredients, roll up our sleeves, and make some magic happen in the kitchen! whether you need a sweet pick-me-up or a fun activity to share with friends or kids, these cake pops can make any moment a little sweeter.
Here’s what you’ll need...
Essential Ingredients Guide: Your Go-To for Delicious Cake Pops
Let’s dive into the essentials of whipping up those delicious homemade starbucks cake pops that everyone’s raving about! you’re gonna want to keep this guide handy because it lays down the key ingredients, some nifty storage tips, and smart substitutes to make your baking a breeze.
Trust me, it's all about keeping it simple and tasty here!
Premium Core Components: Know Your Ingredients
When it comes to your ingredients, knowing the right measurements is crucial. for our cake pops, you'll need about 1 cup (120g) of flour, 1 cup (200g) of sugar, and 1/2 cup (115g) of softened butter, among others.
If you're measuring in metric, just remember it’s usually a one-to-one conversion for simple stuff like flour and sugar.
Quality indicators: Look for flour that’s fresh and has no clumps. Sugar should be airy, not hard packed. Butter? Stick with unsalted; it gives you control over your flavors.
Storage guidelines: keep your flour in a cool, dry place to prevent bugs. sugar should be in an airtight container.
And those cake pops? well, they can chill in the fridge for about a week before they start to lose their pizazz.
Signature Seasoning Blend: Spice Up Your Game
Now, let’s chat about taste ! for cake pops, you won’t need the spice cabinet overload. just a little vanilla extract packs a punch.
But if you want that “wow” factor, go for a pinch of almond extract. you can even jazz things up by throwing some cinnamon or nutmeg into your cake batter.
And speaking of ‘signature blends,’ think about your cake pop flavor. Want a chocolate dipped version? Use chocolate cake mix over vanilla! Experiment, and don’t sweat the small stuff.
Smart Substitutions: Baking Made Easy
If you're knee deep in baking and realize you’re out of something, fear not! Common alternatives are your best friends. No buttermilk? Use regular milk with a bit of vinegar it’s practically magic!
For those going gluten-free, i’m all about using almond or coconut flour for a twist. and if you're itching for something sweeter, a spoon of honey or maple syrup can replace sugar in a pinch.
Emergency replacements can save your day in the kitchen, so don't be shy about improvising!
Kitchen Equipment Essentials: Tools of the Trade
Now, you can’t get too far without your kitchen tools . luckily, you don’t need an industrial size setup. a mixing bowl , whisk , and baking pan will get you through most of this.
You can even use a basic microwave safe bowl to melt your chocolate coating, making things super simple. looking for storage solutions ? parchment paper is a game changer.
It keeps your baked goods from sticking, and trust me, your future self will thank you for it!
Wrapping Up Your Cake Pop Journey
So, there you have it a quick rundown of everything you'll need to perfect your indulgent homemade Starbucks cake pops! With a solid understanding of how to make this popular treat, as well as helpful substitutions and storage tips, you’re set for sweet success!
And hey, speaking of sweet treats, if you're wondering how much is a starbucks cake pop , they typically range from $1.
50 to $2.00 depending on the flavor. that’s a lot of bucks for a little bite!
So whether it’s for birthday parties or just a sweet pick-me-up for yourself, these cake pops won’t disappoint. make sure to stay tuned for the next section where we break down the step-by-step instructions on how to make these delightful bites.
Trust me, once you try your hand at this recipe, you’ll feel like the baking superstar of your kitchen!
Indulgent Homemade Cake Pops Just Like Starbucks!
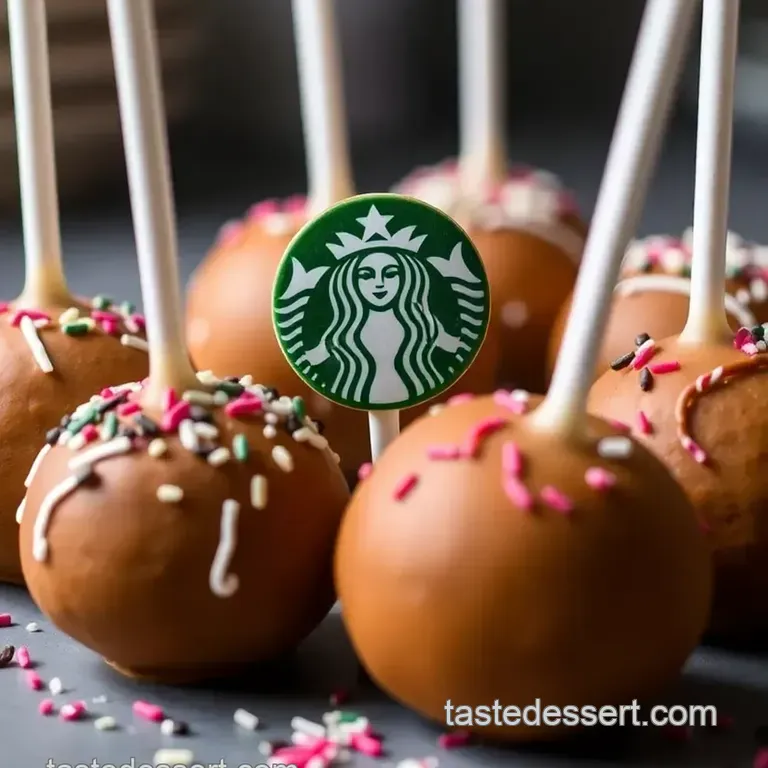
Oh my gosh, who doesn’t love cake pops ? those little bites of joy that starbucks sells? honestly, they can be a little pricey.
Like, have you ever asked yourself, how much is a starbucks cake pop? it’s kind of wild when you realize you can whip them up right in your own kitchen! seriously, this homemade starbucks cake pops recipe copycat is going to rock your world and is perfect for stuff to get for your birthday, parties, or just indulging your sweet tooth.
So, let’s dive in!
Essential Preparation Steps
Before we get into the nitty gritty of making those delicious treats, let's talk mise en place . seriously, get your ingredients ready.
You’re going to need all-purpose flour, sugar, eggs, and more, so line everything up like you’re getting ready for a high stakes cooking show!
Time management is also key. you’re looking at about 15 minutes of active prep time , plus 30 minutes chilling .
Make sure you start your oven preheating at 350° f ( 175° c) while you prep. this way, you’re not stuck waiting for your oven to catch up.
And let’s not forget about safety considerations . Make sure to watch your fingers when chopping and keep an eye on that oven. Nothing ruins a party faster than burnt cake pops.
Step-by-step Process
Here’s the deal: we want to keep this simple. Follow these steps closely, and you’ll have cake pops that’ll make your friends say, “Dude, these are way better than Starbucks!”
Bake the Cake:
- Preheat that oven to 350° F ( 175° C) . You're gonna want a nice fluffy cake.
- Grease and flour your baking pan. Seriously, don’t skip this; nobody wants a stuck cake.
- Cream butter and sugar like it's your job. Add in those eggs one at a time and mix in the milk and vanilla afterwards.
- Combine your dry ingredients, and fold them into that lovely wet mixture. Bake for 25 minutes or until you can poke it with a toothpick and it comes out clean.
Make the Frosting:
- Mix cream cheese with powdered sugar until it’s smooth. Easy peasy, right?
Combine Cake and Frosting:
- Once your cake cools, crumble it up in a bowl. Mix in your frosting until it looks like the most scrumptious dough ever!
Form the Cake Balls:
- Roll mixture into 1 inch balls and put them on a parchment lined baking sheet. Chill them for 30 minutes . This is essential!
Melt the Coating:
- Melt your chocolate candy melts according to package instructions in the microwave. This stuff should be smooth and ready to coat those pops.
Coat the Cake Pops:
- School yourself in that dipping technique! Dip your lollipop stick into melted chocolate, then poke it into a cake ball. Coat that bad boy fully and let the excess drip off. Sprinkles are totally optional, but why not?
Chill and Serve:
- Stick those coated cake pops back in the fridge until they’re set. They’ll be all set for whatever occasion you have in mind!
Expert Techniques
Here’s where i like to throw in my own two cents. quality checkpoints include making sure your cake pops are chilled properly.
If they're too soft, they won't hold up well when you dip them.
And if your cake pops start falling apart, don’t freak out. Just pop them back in the fridge for a bit longer to firm up.
Success Strategies
Look, I’ve made my share of mistakes. One time, I didn’t chill the balls long enough and they fell apart. Ugh. So one major tip? Always chill those pops!
Check the quality assurance of your chocolate coating. If it’s lumpy, toss it and start again. The smoother, the better!
And hey, make-ahead options are your friends here. You can freeze these bad boys before coating. Just remember to let them thaw before you dip. Enjoy, friends!
Now that you've got some keen insights into making those fantastic cake pops, let’s move on to a bit of additional information for when you want to jazz things up.
How about some recipe ideas sweet ? or perhaps more about how to make cake pops step by step? the options are endless! happy baking, and enjoy your homemade starbucks bliss!
Pro Tips & Secrets for Making Cake Pops Like a Pro
Alright, friends! let’s dive into the yummy world of homemade starbucks cake pops . if you're looking to impress your buddies or simply treat yourself, these little bites of joy are where it’s at.
I mean, who hasn’t wondered how much is a starbucks cake pop ? now you can make them at home for a fraction of the price! so here are some insider secrets to get you started.
Chef's Personal Insights
Honestly, the secret to making these pops perfection is all in the frosting-to-cake ratio . too much frosting and they get mushy; too little, and they crumble.
Aim for about one part frosting to three parts cake . it’s like cake pop algebra! just mix until it’s cohesive but don’t go crazy with the blending.
Time Saving Techniques
If you want to speed up the process, prep your cake a day before! just bake it, let it cool, and then pop it in the fridge.
The next day, mix it with frosting and roll into balls. trust me, it saves a ton of time, especially when you’re juggling snacks for a birthday party or a cozy get-together.
Flavor Enhancement Tips
Bored with vanilla? Spice things up by adding a teaspoon of almond extract or even some citrus zest. These little additions can transform your cake pops from “meh” to “YUM!” You can also mix in cocoa powder for a chocolatey vibe; the world is your oyster!
Presentation Advice
Now, let’s talk presentation . cake pops need to look as good as they taste. use colorful sprinkles to jazz them up, or drizzle some contrasting chocolate on top.
If you’re feeling fancy, get those pops on a tiered cake stand for a wow factor. remember, we eat with our eyes first!
Perfect Presentation for Your Cake Pops
There's an art to plating, folks. Here’s how to make those Starbucks inspired treats pop on your table.
Plating Techniques
Keep it simple yet delightful! a cute arrangement on a platter with a few cake pops stood tall on lollipop sticks will surely steal the show.
You can even use crumpled parchment paper underneath to add some flair.
Garnish Ideas
If you’ve got some mint leaves lying around, toss them in as a garnish for a touch of color. or use fresh fruit , like strawberries or raspberries, for a gorgeous contrast and freshness.
Color Combinations
Play around with color! If you’re dipping in white chocolate, think about vibrant sprinkles or edible glitter on top. It’ll make your cake pops look like they came from a bakery instead of your kitchen!
Visual Appeal Tips
Take a cue from those fancy dessert shops. Arrange your pops in a tall glass vase or even a small floral arrangement. It’s all about making them look irresistible .
Storage & make-ahead for Cake Pops
So you’ve made your cake pops and they’re amazing now what? Storage can be a game changer.
Storage Guidelines
For best results, store your cake pops in an airtight container in the fridge. They can last about a week, but let’s be honest, they’ll probably be gone sooner!
Preservation Methods
If you wanna freeze them for later, just make sure they're well wrapped in plastic wrap before tossing them in a freezer safe bag.
They can last for about a month in the freezer. just remember to bring them back to room temperature before indulging!
Reheating Instructions
No reheating necessary for these bad boys! They’re best served chilled, so just grab them from the fridge when you're ready to serve.
Freshness Duration
For optimal freshness, enjoy them within the first week. After that, the flavors start to fade. Trust me, you don’t want to miss out on their glory days!
Creative Variations
Cake pops can adapt quicker than your favorite pair of jeans! Here’s how to mix it up.
Flavor Adaptations
Why not use carrot cake batter or red velvet cake ? Ooh, I can already taste it! Swap out ingredients to better suit your friends' preferences.
Dietary Modifications
To make these gluten-free, just pick the right flour! There are plenty of great options available nowadays. And for vegan friends, plant based butter and non-dairy milk work well.
Seasonal Twists
During the holidays, think peppermint or gingerbread flavors. It’s like a festive party in your mouth!
Regional Variations
Feeling adventurous? Take a cue from a region’s favorite dessert. Imagine a lemon meringue cake pop ! Now that’s a twist that will surprise and delight.
Complete Nutrition Guide
Now, I’m not saying cake pops are the healthiest snack on the block, but let’s break it down a bit.
Detailed Breakdown
Each cake pop will generally pack around 150 calories , with a solid combination of carbs, fats, and a sprinkle of protein.
Health Benefits
And hey, cake pops can provide a little pick-me-up when you need it. Just don’t overdo it!
Dietary Considerations
Suitable for vegetarians, but make sure to check your ingredients for any hidden surprises if you have specific dietary needs.
Portion Guidance
One or two cake pops usually hits the spot. Take your time savoring the flavors; it’s about indulging, not devouring!
Conclusion: Get Baking!
So, whether you’re planning a birthday bash or just treating yourself, these homemade starbucks cake pops will definitely do the trick.
Life is too short not to enjoy a tasty dessert now and then! and hey, now you can say you know how to make starbucks cake pops ! so roll up those sleeves, grab your mixing bowl, and let’s get this party started! happy baking, friends!
Frequently Asked Questions
How much is a Starbucks cake pop?
The price of a Starbucks cake pop can vary by location, but they generally range from $1.50 to $3.00 each. It's not uncommon to find different flavors or seasonal options, which might affect the price a tad.
If you're looking to enjoy these sweet treats without the cafe price tag, making them at home is a fantastic alternative!
Can I make cake pops ahead of time?
Absolutely! You can prepare cake pops a few days in advance. After coating them in chocolate, simply store them in the fridge. They can last up to a week, so they're perfect for planning parties or gatherings ahead of time. Just make sure to keep them in an airtight container to maintain their freshness!
What are some variations I can try with my cake pops?
There are plenty of fun variations to explore! You can swap the vanilla cake for chocolate cake for a richer taste, or incorporate different flavor extracts like almond or lemon zest for a zing. For a fruity twist, adding some fruit puree to your frosting can be delightful. Fancy a crunch?
Roll them in crushed nuts or cookie crumbs before they set!
How do I store leftover cake pops?
Leftover cake pops should be stored in an airtight container in the fridge. If they’re not eaten within a week, they can be frozen for up to three months. Just ensure they’re individually wrapped or separated by parchment paper to prevent them from sticking together.
When you're ready to eat, let them thaw in the fridge for a few hours!
Are cake pops a healthier option compared to other desserts?
Cake pops can be guiltier than you might think! While they’re smaller and portion controlled, each cake pop can still pack around 150 calories and lots of sugar. If you're looking for a slightly healthier version, you can reduce the sugar in your cake mix or use lighter coatings.
It’s all about moderation, so enjoy them as a treat!
Indulgent Homemade Cake Pops Just Like Starbucks