Lemon Muffins: Bakery Style
- Time: Active 15 minutes, Passive 20 minutes, Total 35 minutes
- Flavor/Texture Hook: Tangy, velvety crumb with a shatter crisp glaze
- Perfect for: Weekend brunch, coffee pairings, or beginner bakers
- Brighten Your Morning With These Lemon Muffins
- The Science of Why it Works
- Ingredient Deep Dive Analysis
- Shopping List Breakdown for Success
- Essential Equipment for Every Baker
- The Step-by-Step Cooking Process
- Common Mistakes and Troubleshooting Fixes
- Flavor Variations to Mix It Up
- How to Scale This Recipe Properly
- Freezing and Reheating Guide for Later
- Presentation Tips for Better Photos
- Debunking Common Home Baking Myths
- Storage and Zero Waste Ideas
- Recipe FAQs
- 📝 Recipe Card
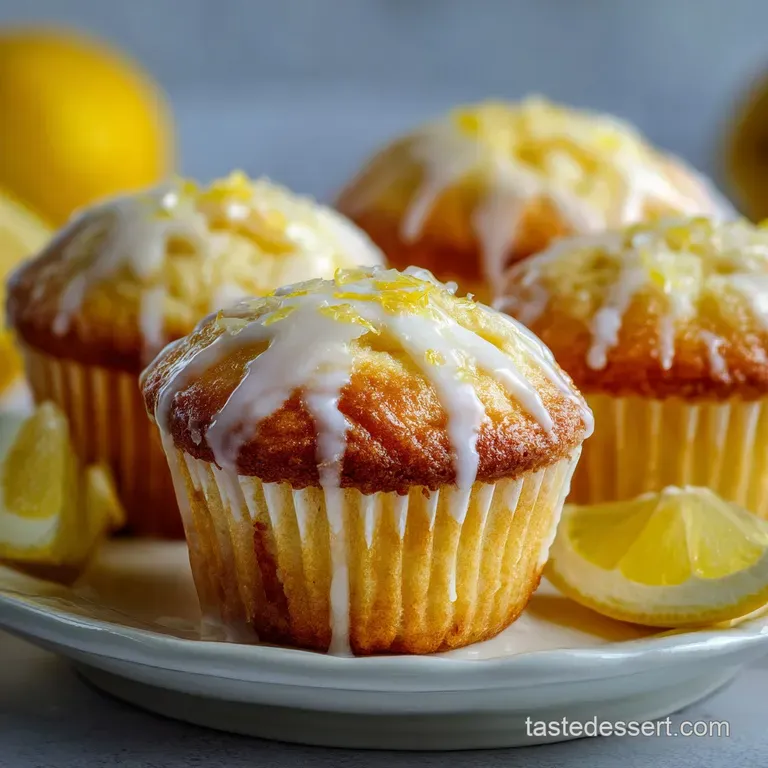
Brighten Your Morning With These Lemon Muffins
The scent of fresh lemon zest hitting hot sugar is enough to wake anyone up. I used to struggle with muffins that turned out like leaden hockey pucks, dry and sad. It was frustrating because I followed the box directions or basic recipes, but the results never matched that tall, fluffy, "shatter top" muffin you get at a professional pastry shop.
I finally realized that the secret isn't just in the ingredients, but in how you treat the citrus. We are not just adding juice, we are extracting the essential oils from the peel to create a deep, aromatic flavor that lasts.
This recipe is the result of many failed batches and one very sticky kitchen, but I promise it works every time.
You'll get 12 perfectly domed muffins that have a velvety interior and a bright, zingy finish. Whether you're making these for a rainy Tuesday or a fancy Sunday breakfast, they bring a little bit of sunshine to the table.
Let's get into the details of why this specific method produces such a different result than your average bake.
The Science of Why it Works
Essential Oil Extraction: Rubbing lemon zest into granulated sugar uses mechanical friction to rupture the fruit's oil sacs, scenting the entire batter.
Chemical Leavening: The lactic acid in Greek yogurt reacts with the baking soda to produce carbon dioxide, creating a rapid "oven spring" for tall domes.
Protein Denaturation: The acidity of the lemon juice weakens flour proteins, ensuring the crumb stays tender rather than tough and bready.
| Method | Time | Texture | Best For |
|---|---|---|---|
| Standard Bake | 20 minutes | Soft and uniform | Daily snacking |
| Two Stage Heat | 22 minutes | High dome, crisp edges | Bakery aesthetic |
| Cold Overnight | 12 hours | Deepest flavor profile | Weekend prep |
Choosing the right method depends on how much time you have. If you want that classic "mountain top" look, starting the oven at 220°C for five minutes before dropping it to 175°C creates a massive burst of steam that lifts the batter quickly.
Ingredient Deep Dive Analysis
| Ingredient | Science Role | Pro Secret |
|---|---|---|
| Greek Yogurt | Moisture & Acid | Use full fat only for a velvety, rich mouthfeel. |
| Granulated Sugar | Tenderizer | Rub it with zest until it looks like wet sand. |
| Melted Butter | Fat Source | Let it cool slightly to avoid scrambling the eggs. |
| Baking Soda | Rise Agent | Sift it to prevent soapy, metallic tasting clumps. |
The interaction between the yogurt and the leaveners is what makes these muffins so light. If you find your muffins usually come out flat, your baking powder might be expired, or you're over mixing the batter and crushing all those tiny air bubbles we worked so hard to create.
Shopping List Breakdown for Success
- 250g all purpose flour: Provides the structure for our muffin. Why this? It has enough protein for height but keeps the crumb soft.
- 200g granulated sugar: Sweetens and helps with browning. Why this? The crystals are abrasive enough to extract the lemon oils.
- 2 tbsp fresh lemon zest: The primary flavor driver. Why this? Zest contains the oils that give that "real lemon" punch.
- 1/4 cup fresh lemon juice: Adds acidity and tang. Why this? Fresh juice is more acidic than bottled versions.
- 2 tsp baking powder: Our main lifting agent.
- 1/2 tsp baking soda: Reacts with the yogurt for height.
- 1/2 tsp fine sea salt: Balances the sugar and brightens the citrus.
- 245g full fat Greek yogurt: Provides moisture and fat. Why this? Keeps the muffins moist for up to 3 days.
- 2 large eggs: Binds everything together. Make sure they are room temperature!
- 115g unsalted butter: Gives that classic rich, buttery flavor.
- 1 tsp vanilla extract: Rounds out the sharp citrus notes.
- 120g powdered sugar: For the final glaze.
- 3 tbsp fresh lemon juice (for glaze): Creates the tart finish.
- 1 tsp heavy cream: Thickens the glaze for a snow white look.
| Original Ingredient | Substitute | Why It Works |
|---|---|---|
| Greek Yogurt | Sour Cream | Similar fat and acid content. Note: Slightly richer flavor. |
| Unsalted Butter | Neutral Oil | Makes the muffin fluffier. Note: Loses that buttery taste. |
| All Purpose Flour | 1:1 gluten-free Blend | Rice based blends work best. Note: May be slightly grittier. |
If you are out of Greek yogurt, sour cream is your best friend. I have tried using low-fat versions, and honestly, don't even bother. You need that fat to prevent the flour from developing too much gluten, which is what leads to a tough muffin.
Essential Equipment for Every Baker
You don't need a professional kitchen, but a few specific tools make the process much smoother. A standard 12 cup muffin tin is obviously required, but I highly recommend using paper liners. They help the muffins retain moisture and make cleanup a breeze.
If you don't have liners, you'll need to grease the tin very well with butter and a light dusting of flour.
A microplane or fine zester is the other "must have." You want the zest to be almost like a powder. If the pieces are too big, they can be unpleasant to bite into. Also, a large cookie scoop (about 3 tablespoons) is the secret to getting even, professional looking muffins every time.
It ensures every tin has the exact same amount of batter, so they all finish baking at the same moment.
For mixing, a large whisk and a flexible silicone spatula are better than a stand mixer. We want to mix this batter by hand to avoid over working it. If you use a machine, it's too easy to go 10 seconds too long, which results in "tunnels" inside your muffins. If you're looking for more citrus inspiration, my Lemon Meringue Pie Recipe uses many of these same zesting techniques.
The step-by-step Cooking Process
1. Scenting the Sugar & Prep
Preheat your oven to 200°C. Line your muffin tin. In a large bowl, combine the 200g granulated sugar and the 2 tbsp lemon zest. Use your fingertips to rub the zest into the sugar for about 2 minutes until the sugar is moist and smells like a lemon grove.
Note: This step is non negotiable for maximum flavor.
2. The Wet to Dry Marriage
In a separate bowl, whisk together the 250g flour, 2 tsp baking powder, 1/2 tsp baking soda, and 1/2 tsp salt. In a medium jug, whisk the 245g yogurt, 1/4 cup juice, 2 eggs, 115g melted butter, and 1 tsp vanilla until the mixture is silky and pale yellow.
3. The Gentle Fold
Make a well in the center of the dry ingredients. Pour in the wet mixture. Use a spatula to fold the ingredients together using only 12-15 strokes. Stop when you can no longer see streaks of dry flour. Note: A few lumps are totally fine; don't chase a smooth batter.
4. Portioning the Batter
Use your scoop to fill the muffin liners. They should be nearly full, about 3/4 of the way up. This ensures the batter has enough "climbing" material to form a beautiful dome.
5. The Two Stage Bake
Slide the tin into the oven and immediately turn the heat down to 175°C. Bake for 18-20 minutes. You'll know they are done when the centers spring back when lightly touched and the edges are a pale golden brown.
6. The Cooling Phase
Let the muffins sit in the tin for 5 minutes. Then, move them to a wire rack. Cooling them in the tin for too long will lead to soggy bottoms from the trapped steam.
7. Preparing the Glaze
While the muffins cool, whisk together the 120g powdered sugar, 3 tbsp lemon juice, and 1 tsp heavy cream. It should be thick but pourable, resembling the consistency of warm honey.
8. Finishing with the Glaze
Dip the tops of the slightly warm muffins into the glaze. Let the excess drip off, then set them back on the rack. The warmth of the muffin will help the glaze set into a thin, crackly shell.
Common Mistakes and Troubleshooting Fixes
1. Why are my muffins dense or flat?
This usually comes down to one of two things: old leaveners or over mixing. If you stirred the batter until it was perfectly smooth, you've likely developed too much gluten and popped all the air bubbles. Next time, stop the second the flour disappears.
Also, check your baking powder by dropping a half teaspoon into hot water; if it doesn't fizz aggressively, throw it out and buy a fresh jar.
2. The muffins are sticking to the liners
If you try to peel the paper off while the muffins are piping hot, they will stick and tear. The steam is still settling into the crumb. Wait at least 15 to 20 minutes before attempting to unwrap them.
If you aren't using liners, make sure you are greasing the "lip" of the muffin tin as well as the cups, as the domes often spread out and stick to the top surface.
| Problem | Root Cause | Solution |
|---|---|---|
| Large holes/tunnels | Over mixing | Mix by hand with a spatula, never a whisk. |
| Dry, crumbly texture | Oven too hot | Calibrate oven with a thermometer; don't over bake. |
| Bitter aftertaste | Zested too deep | Only zest the yellow part; avoid the white pith. |
Common Mistakes Checklist
- ✓ Rub the zest into the sugar until it’s fragrant and damp.
- ✓ Use room temperature eggs to ensure proper emulsification.
- ✓ Don't over mix stop when the last bit of flour is just incorporated.
- ✓ Fill the muffin cups at least 3/4 full for high domes.
- ✓ Let muffins cool on a wire rack to avoid a soggy base.
Flavor Variations to Mix It Up
1. Lemon Muffins With Cream Cheese Filling
If you want something truly decadent, you can add a cheesecake like center. Mix 115g of softened cream cheese with 2 tablespoons of sugar and a splash of vanilla. Fill the muffin cups halfway, drop a teaspoon of the cream cheese mixture in the center, and cover with the remaining batter. It's like a surprise in every bite. This reminds me of the richness in my New York Style recipe for mini cheesecakes.
2. Healthy Lemon Muffins
For a lighter version, you can swap the 115g of butter for an equal amount of unsweetened applesauce. You can also replace half of the all purpose flour with whole wheat pastry flour. The texture will be slightly denser, but the lemon flavor still shines through beautifully.
You might lose that buttery "shatter" on the top, but it's a great trade off for a daily breakfast option.
3. Lemon Poppy Seed Muffins
This is the most classic variation. Add 2 tablespoons of poppy seeds to the dry ingredients. The seeds add a lovely crunch and a nutty undertone that pairs perfectly with the citrus. If you're a fan of those swirled flavors, you might see some similarities in the technique used for this Cinnamon Roll Cupcakes recipe.
How to Scale This Recipe Properly
When you want to feed a crowd, scaling up is relatively simple, but you have to be careful with the liquids. If you double the recipe to make 24 muffins, keep the salt and spices at about 1.5 times the original amount rather than a full double, as they can become overwhelming.
For the liquids, like the lemon juice and yogurt, a straight double works fine, but reduce the total liquid by about 10% to ensure the batter doesn't become too heavy to rise.
If you are scaling down to make just 6 muffins, things get a bit tricky with the eggs. Use one large egg and follow the rest of the measurements exactly halved. Use a smaller bowl to ensure you aren't losing too much batter to the sides of the container.
For baking, the time will remain roughly the same, but start checking for doneness at the 15 minute mark since a half filled oven can sometimes bake faster.
Baking for a large group usually means working in batches. If you have to do this, keep the remaining batter in the fridge between bakes. This actually helps the starch in the flour hydrate better, which can lead to an even softer muffin in the second batch.
Freezing and Reheating Guide for Later
These muffins freeze exceptionally well, which makes them perfect for meal prep. Once they are completely cool and the glaze has set, wrap each muffin tightly in plastic wrap. Place the wrapped muffins in a heavy duty freezer bag. They will stay fresh for up to 3 months.
To eat, simply let them thaw on the counter for about an hour.
If you want that "just out of the oven" experience, you can reheat them. I prefer using a toaster oven at 150°C for about 5 minutes. This crisps up the edges again without drying out the middle. If you're in a rush, a microwave works too, but only for 15 to 20 seconds.
Any longer and the glaze will melt into a sticky mess and the bread will become rubbery.
Presentation Tips for Better Photos
1. The Better Than Starbucks Aesthetic
To get those perfectly rounded tops that look like they came from a professional shop, the secret is the "every other hole" method. If you have two muffin tins, fill only 6 holes in each tin in a staggered pattern.
This allows the heat to circulate more evenly around each muffin, encouraging a higher, more uniform rise. It sounds extra, but trust me, the visual difference is huge.
2. The Garnish
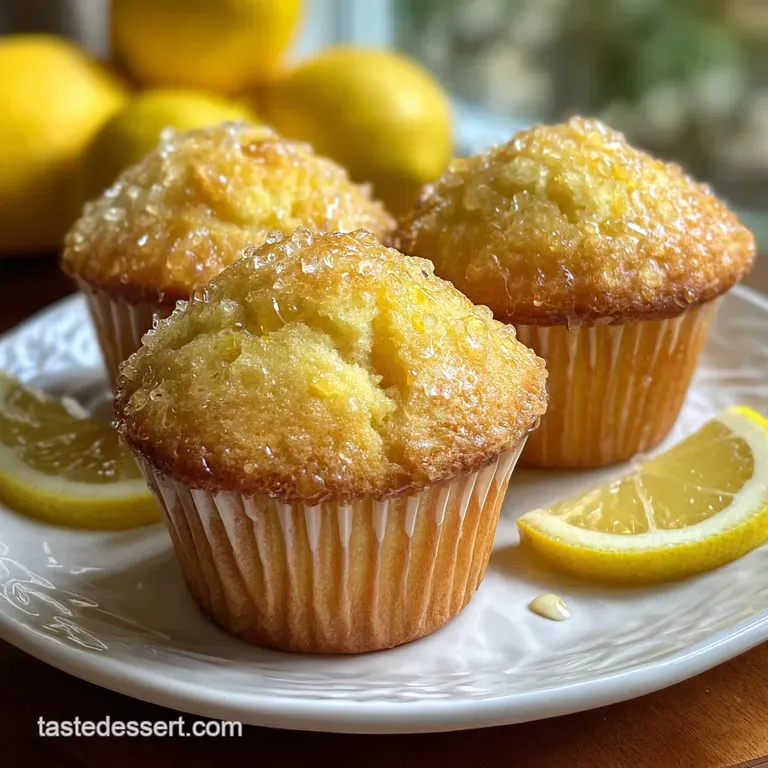
Before the glaze sets, you can add a little more visual interest. A tiny pinch of fresh lemon zest on top of the glaze looks beautiful. You can also use "sanding sugar" or coarse sparkling sugar. It adds a lovely crunch that contrasts with the soft muffin.
If you are feeling fancy, a thin half slice of a candied lemon tucked into the top makes these look like they cost $6 at a boutique cafe.
Debunking Common Home Baking Myths
One of the biggest myths in baking is that you need to over beat your eggs to get a good rise in muffins. In reality, muffins are a "quick bread," and over beating the eggs actually incorporates too much air that will collapse in the oven heat. You just want them combined.
The rise comes from the chemical reaction between the acid and the leaveners, not from whipped egg whites.
Another common misconception is that "fresh is always better" for every single component. While fresh lemon juice is king, some people think they should use fresh, warm milk instead of cold yogurt. Cold or room temperature dairy is actually better for muffins because it doesn't prematurely activate the baking powder.
If the leavener starts reacting while you're still mixing, you'll lose all that lift before the tin even hits the rack.
Storage and Zero Waste Ideas
Store your muffins in an airtight container at room temperature for up to 3 days. Do not put them in the fridge! The refrigerator environment actually accelerates the staling process of the starch, making the muffins dry and tough much faster than if they stayed on the counter.
If it's very humid, you can put a piece of paper towel in the container to absorb excess moisture and keep the glaze from getting tacky.
For a zero waste approach, don't throw away those squeezed lemon halves! You can toss them into a jar of white vinegar to make a citrus scented cleaning spray, or put them in your garbage disposal to freshen it up. If you have leftover glaze, it's fantastic drizzled over plain yogurt or even stirred into a cup of hot tea. If you happen to have any muffins that go stale, they make an incredible "Lemon Bread Pudding" if you cube them up and bake them with a simple custard. For more Southern inspired baking tips, check out my Southern Pecan Pie recipe.

Recipe FAQs
Can I use bottled lemon juice instead of fresh?
No, use fresh if possible. Bottled lemon juice often contains preservatives and lacks the bright, intense flavor of freshly squeezed juice, which is crucial for these muffins.
Why are my lemon muffins dense and flat?
This is usually due to old leavening agents or overmixing. Ensure your baking powder and soda are fresh, and be careful not to stir the batter until it's perfectly smooth; stop as soon as the flour streaks disappear.
How do I get tall, domed lemon muffins?
Bake at a higher initial temperature and don't overfill the cups. Start the oven at 200°C for the first 5 minutes, then drop to 175°C. Fill the liners about 3/4 full to give the batter room to climb.
Can I make these lemon muffins dairy-free?
Yes, but with adjustments for texture and flavor. You can substitute the Greek yogurt with a full fat, unsweetened coconut yogurt and use a neutral oil like canola instead of butter. This will alter the richness slightly.
How long do these lemon muffins stay fresh?
They remain moist and flavorful for up to 3 days at room temperature. Store them in an airtight container, and avoid refrigerating them, as it can dry them out faster.
Can I add other ingredients like blueberries or poppy seeds?
Absolutely, variations are welcome! For lemon poppy seed muffins, add 2 tablespoons of poppy seeds to the dry ingredients. If adding berries, gently fold about 1 cup of fresh or frozen berries into the batter at the very end.
What's the secret to the intense lemon flavor in these muffins?
Rubbing the lemon zest into the sugar is key. This process extracts the essential oils from the zest, infusing the sugar and subsequently the entire batter with a powerful, aromatic lemon scent and taste.
Lemon Muffins
Ingredients:
Instructions:
Nutrition Facts:
| Calories | 284 kcal |
|---|---|
| Protein | 5.2 g |
| Fat | 9.9 g |
| Carbs | 44.1 g |
| Fiber | 0.8 g |
| Sugar | 27.2 g |
| Sodium | 163 mg |
