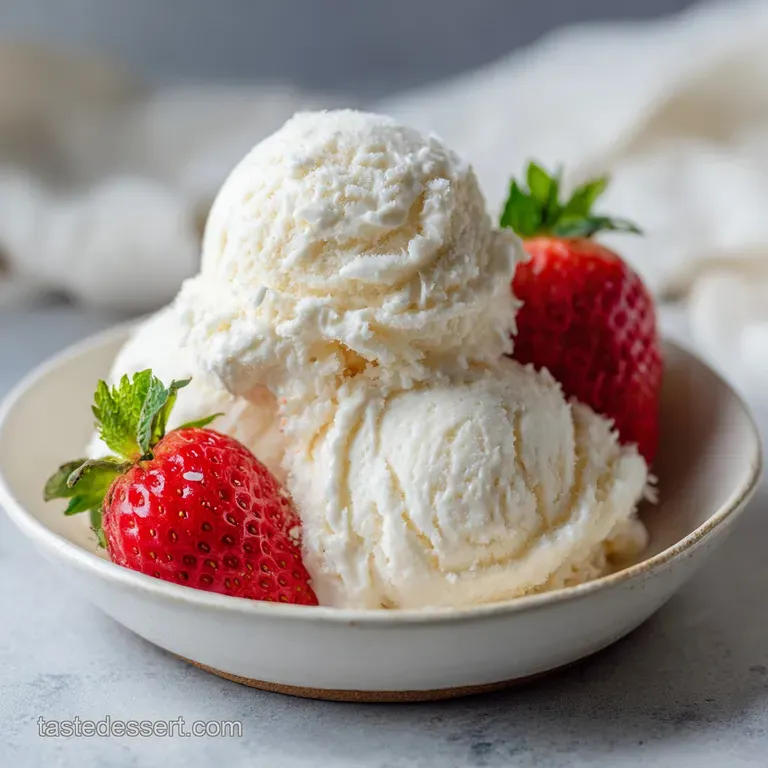
Silky No Churn Coconut Ice Cream
- Time: Active 15 minutes, Passive 6 hours, Total 6 hours 15 minutes
- Flavor/Texture Hook: Silky, tropical cream with a toasted coconut shatter
- Perfect for: Summer backyard parties or a quick low effort dessert
- Mastering Your Own Creamy Coconut Ice Cream
- The Physics of Frozen Fat
- Exact Yield and Timing
- Breaking Down the Ingredients
- Gear for Smooth Results
- Crafting the Base Perfectly
- Fixing Common Texture Problems
- Flavor Twists and Alternatives
- Kitchen Myths Debunked
- Proper Storage and Freezing
- Plating for Maximum Joy
- Recipe FAQs
- 📝 Recipe Card
Mastering Your Own Creamy Coconut Ice Cream
The first time I tried making a frozen treat at home, it was a total disaster. I thought I could just freeze a can of coconut milk and call it a day, but I ended up with a literal block of ice that could have broken a tooth.
I was chasing that specific, velvety mouthfeel you get at the high end shops, but my kitchen felt like a chemistry lab gone wrong.
Then I discovered the secret of the "no churn" method. It isn't just a shortcut; it's a completely different way of building flavor layers. By whipping air into heavy cream and folding in thick, sweetened condensed milk, we skip the need for a churning motor.
The result is so much better than anything I’ve ever pulled out of a grocery store tub.
Trust me, once you see those soft peaks transforming into a thick, snowy cloud, you'll never go back to the boxed stuff. We’re going to use real coconut cream to give it that authentic island punch. It’s the kind of homemade sweet that makes everyone at the table go silent after the first bite.
The Physics of Frozen Fat
The Air Matrix: Whipping the heavy cream creates a network of tiny air bubbles trapped by fat globules, which provides the light, airy structure.
Freezing Point Depression: The high sugar content in the condensed milk prevents the water in the cream from forming large, jagged ice crystals.
Fat Stabilization: Using both heavy cream and coconut cream ensures a high enough fat ratio to keep the scoop silky even at sub zero temperatures.
| Method | Effort Level | Texture Result | Best For |
|---|---|---|---|
| No Churn Shortcut | Very Low | Velvety and dense | Busy weeknights |
| Traditional Churn | High | Light and airy | Purists with gear |
| Frozen Fruit Base | Medium | Icy and sorbet like | Healthy alternatives |
Choosing the right method depends entirely on how much time you have. If you want that rich, custard like density without standing over a stove, the no churn route is your best friend. It creates a much more indulgent experience than the icy texture of a fruit only blend.
Exact Yield and Timing
Knowing exactly when your dessert is ready to scoop saves you from the heartbreak of a "soupy" center. We are aiming for a firm but yielding texture that holds its shape on a cone.
| Batch Size | Prep Time | Freeze Time | Serving Temp |
|---|---|---|---|
| 8 Servings | 15 minutes | 6 hours | 10°F (-12°C) |
| 4 Servings | 10 minutes | 4 hours | 10°F (-12°C) |
| 16 Servings | 25 minutes | 8 hours | 10°F (-12°C) |
Similar to the logic in my Homemade Banana Cream Pie recipe, the chilling time is non negotiable for the fats to fully set and the flavors to meld.
Breaking Down the Ingredients
Component Analysis
| Ingredient | Science Role | Pro Secret |
|---|---|---|
| Heavy Cream | Provides structure via fat | Must be cold from the fridge |
| Condensed Milk | Prevents ice crystals | Use full fat versions |
| Coconut Cream | Adds tropical lipids | Whisk before measuring |
- 2 cups heavy whipping cream, cold: This is your foundation. Why this? The high fat content (36%+) is required to hold air bubbles for volume.
- 14 oz sweetened condensed milk: This acts as our sweetener and softener. Why this? It has a low water content, which prevents that gritty, icy texture.
- 0.5 cup unsweetened coconut cream: Not to be confused with coconut milk. Why this? It provides an intense, fatty coconut hit that milk can't match.
- 1 tsp pure vanilla extract: A background note that rounds out the sweetness. Why this? Alcohol in the extract slightly lowers the freezing point for better scooping.
- 0.25 tsp sea salt: The most overlooked part of any sweet dish. Why this? It cuts through the heavy fat and makes the coconut flavor pop.
- 0.5 cup unsweetened shredded coconut: This provides the textural contrast. Why this? Toasting these flakes creates a delightful shatter in every single bite.
For more nut forward treats, my Sublime Pistachio Ice Cream recipe is a total winner if you enjoy this style of dessert.
Gear for Smooth Results
You don't need a machine, but having a few specific tools will make the process much easier. A large metal mixing bowl is a must have because metal retains the cold much better than glass or plastic.
If your cream gets too warm while you're whipping it, the fat won't stay stable, and you'll end up with a flat, greasy mess instead of a cloud.
I highly recommend using an electric hand mixer or a stand mixer (like a KitchenAid) for this one. Doing this by hand with a whisk is a serious workout that usually ends in "good enough" peaks rather than "perfect" peaks. Also, grab a 9x5 inch loaf pan.
It’s the ideal shape for getting those long, satisfying scoops once everything is frozen solid.
Chef Tip: Put your metal bowl and the beaters in the freezer for 20 minutes before you start. Cold equipment keeps the fat in the cream from melting, giving you 30% more volume!
Crafting the Base Perfectly
1. Chilling the Foundations
Place your 9x5 inch loaf pan in the freezer. Note: A cold pan stops the edges from melting while you're pouring the mixture in.
2. Toasting the Coconut
Add the 0.5 cup shredded coconut to a dry skillet over medium heat for 3 minutes until golden and smelling nutty. Note: This adds a toasted layer of flavor that raw coconut lacks.
3. Preparing Coconut Blend
In a medium bowl, whisk the 14 oz sweetened condensed milk, 0.5 cup coconut cream, 1 tsp vanilla, and 0.25 tsp sea salt until completely smooth and glossy.
4. Whipping to Stiff Peaks
Pour the 2 cups cold heavy cream into your chilled metal bowl. Beat on high speed for 3-5 minutes until the cream holds its shape firmly when you lift the beaters.
5. Folding with Precision
Add one third of the whipped cream into the coconut mixture and stir gently. Note: This "lightens" the base so you don't deflate the rest of the cream.
6. Combining the Layers
Gently fold the remaining whipped cream and half of the toasted coconut into the base using a spatula. Stop as soon as no white streaks remain.
7. Sealing and Freezing
Pour the mixture into your chilled loaf pan and sprinkle the rest of the toasted coconut on top. Cover tightly with plastic wrap, pressing it directly onto the surface to prevent ice crystals from forming.
8. The Hard Wait
Freeze for at least 6 hours, though overnight is even better for a firm set.
Fixing Common Texture Problems
Why Your Treat Is Icy
If you find your Coconut Ice Cream has crunchy bits of ice, it usually means the cream wasn't whipped enough or the container wasn't sealed properly. When air isn't trapped correctly, the water molecules in the dairy find each other and freeze into jagged crystals.
| Problem | Root Cause | Solution |
|---|---|---|
| Grainy Texture | Coconut cream was chunky | Whisk the cream separately before adding |
| Too Soft to Scoop | Not enough freeze time | Ensure freezer is set to 0°F (-18°C) |
| Greasy Mouthfeel | Over whipped the cream | Stop as soon as peaks are stiff; don't make butter |
Common Mistakes Checklist
- ✓ Never use "light" or "low-fat" condensed milk; you need the sugar/fat ratio.
- ✓ Always use a metal bowl for whipping cream to keep temperatures low.
- ✓ Don't skip the salt - it's the secret to making the coconut taste "bright."
- ✓ Ensure the coconut cream is the thick, canned version, not the refrigerated drink.
- ✓ Press the plastic wrap directly onto the cream surface to block out air.
Flavor Twists and Alternatives
If you want to change things up, this base is incredibly forgiving. You can transform the profile by adding different mix ins during the folding stage. My favorite trick is to add a tablespoon of lime zest and a squeeze of juice for a "Coconut Lime" vibe that is incredibly refreshing on a hot day.
| Original Ingredient | Substitute | Why It Works |
|---|---|---|
| Heavy Cream | Coconut Cream (Full Fat) | Makes it vegan. Note: Result will be denser and less airy. |
| Condensed Milk | Cream of Coconut | Adds more sugar and intense coconut punch. |
| Shredded Coconut | Toasted Macadamias | Adds a salty, buttery crunch instead of chew. |
Decision Shortcut
- If you want a lighter feel, fold in 1 cup of fresh whipped egg whites (meringue style).
- If you want it richer, add 2 egg yolks to the condensed milk mixture before folding.
- If you want it boozy, add 2 tablespoons of white rum (this will make it even softer!).
Kitchen Myths Debunked
One big myth is that you must have a machine to get "real" ice cream. People think the churning is what makes it smooth, but in reality, it's all about the fat to water ratio. If you have enough fat and sugar, the mixture simply cannot freeze into a solid block of ice.
The whipping we do with the hand mixer replaces the air that a machine would normally churn in.
Another misconception is that coconut milk and coconut cream are the same thing. They are definitely not! Coconut milk is much thinner and has a higher water content. If you use it here, you'll end up with a grainy, icy mess.
Always look for the small cans labeled "Coconut Cream" or use the thick layer that rises to the top of a can of full fat milk.
Proper Storage and Freezing
Storage: This treat will stay fresh in the freezer for up to 2 weeks. After that, it starts to pick up "freezer smells" and the texture can become a bit gummy. Always keep it in the back of the freezer where the temperature is most stable, rather than in the door.
Zero Waste: If you have leftover coconut cream in the can, don't throw it out! I freeze mine in ice cube trays and pop them into my morning smoothies or use them to thicken a curry. The leftover toasted coconut flakes are also brilliant on top of oatmeal or yogurt bowls the next morning.
Plating for Maximum Joy
When you're ready to serve, don't just dig in straight away. Homemade ice cream is much denser than the store-bought versions that are pumped full of extra air. Give it about 5-10 minutes on the counter to "temper." This lets the edges soften slightly, making it much easier to get that picture perfect round scoop.
I love serving this in a chilled bowl with a few extra toasted coconut flakes and maybe a drizzle of dark chocolate sauce. The bitterness of the chocolate against the tropical sweetness of the coconut is a match made in heaven.
If you're feeling fancy, a few slices of fresh mango on the side will make you feel like you're sitting on a beach in Thailand. Enjoy every single spoonful!

Recipe FAQs
Can I use canned coconut milk instead of thick coconut cream?
No, stick with full fat canned coconut cream. Coconut milk has a much higher water content, which will result in a brittle, icy texture rather than a smooth, creamy scoop.
How to prevent the ice cream from freezing rock hard in a standard freezer?
Ensure you use sweetened condensed milk and full fat dairy. The high sugar content depresses the freezing point, preventing large ice crystals from forming, keeping it scoopable even after 24 hours.
How to achieve the smoothest, airiest texture without an ice cream maker?
Whip the heavy cream to stiff peaks, then fold gently. You are trying to maximize the air matrix trapped in the fat globules; this aeration process replaces the churning action.
Is it true that chilling your bowl and beaters before whipping cream makes no real difference?
No, this is crucial for volume and stability. Cold equipment keeps the fat in the cream solidified longer, allowing you to trap more air before the fat starts to melt and collapse.
What is the best way to incorporate mix-ins like nuts or chocolate chips?
Fold mix-ins in during the final stage of combining the two bases. Use a light hand and only fold until just incorporated to avoid deflating the whipped cream structure.
If I want a richer flavor, can I add egg yolks to this no-churn base?
Yes, but you must temper them first for safety. Whisk the yolks into the condensed milk mixture before folding in the whipped cream; this technique of careful heat integration ensures a stable emulsion, similar to what you would use when preparing a custard base for a German Chocolate Cake recipe.
How to serve the ice cream immediately after it finishes freezing?
Allow the frozen base to temper on the counter for 5 to 10 minutes. Homemade frozen desserts are often denser than commercial versions, requiring a short period at room temperature to soften enough for easy scooping.
No Churn Coconut Ice Cream

Ingredients:
Instructions:
Nutrition Facts:
| Calories | 435 calories |
|---|---|
| Protein | 5.9 g |
| Fat | 33.1 g |
| Carbs | 30.1 g |
| Fiber | 0.9 g |
| Sugar | 21.3 g |
| Sodium | 159 mg |
