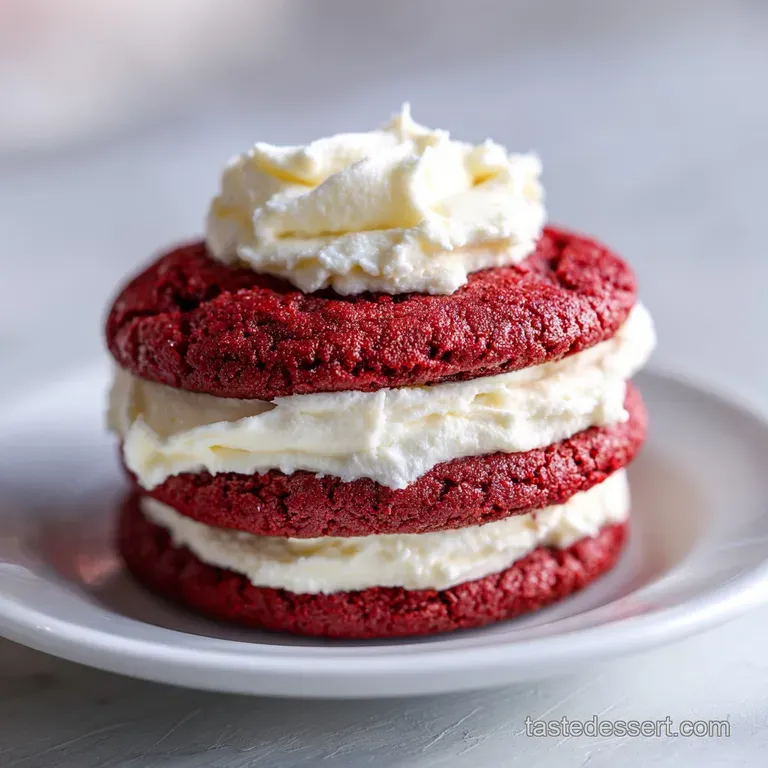
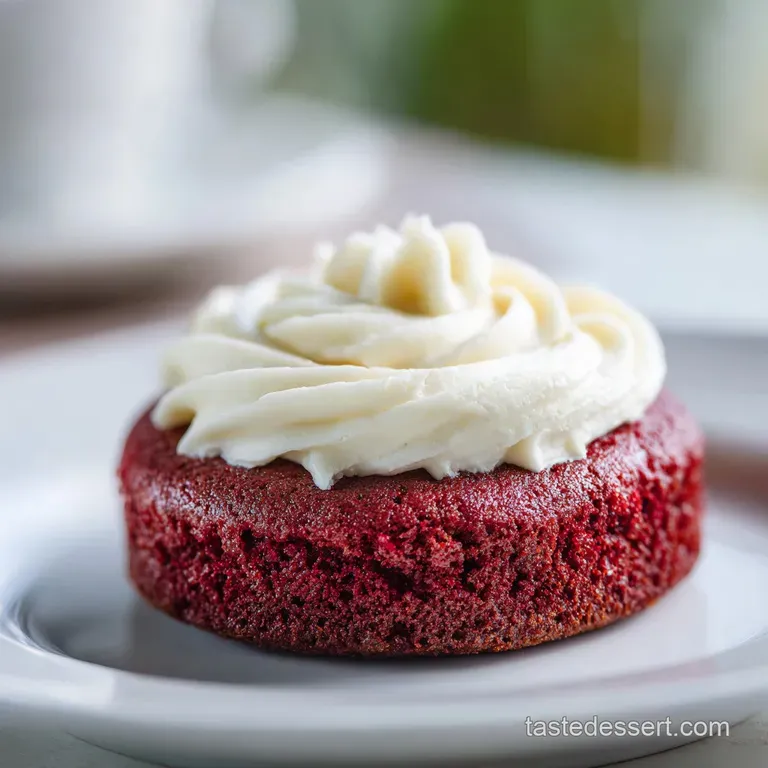
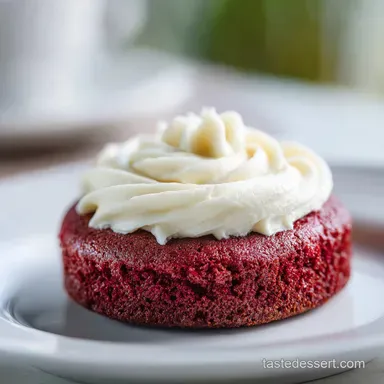
Red Velvet Cookie with Cream Cheese Frosting
- Time: Active 20 minutes, Passive 10 minutes, Total 30 minutes
- Flavor/Texture Hook: Fudgy cocoa center with velvety frosting
- Perfect for: Holiday parties or a weekend baking project
- The Chemistry Behind The Crumb
- Decision Guide: Fresh vs Shortcut
- Analyzing Component Interactions
- Measuring Success: Recipe Specs
- Curating High Quality Ingredients
- Essential Kitchen Tools Needed
- Mastering The Step Process
- Troubleshooting Your Cookie Batch
- Exploring Flavor Variations
- Scaling The Recipe
- Storage and Freshness Strategies
- Optimal Presentation Ideas
- Recipe FAQs
- 📝 Recipe Card
Indulge in this standout red velvet cookie recipe, complete with luscious cream cheese frosting. The first time I tried making these, I expected a standard chocolate cookie with a bit of dye, but the kitchen soon filled with that unmistakable scent of tangy vinegar and earthy Dutch processed cocoa.
It wasn’t just a cookie; it smelled like a celebration. I remember pulling the tray out of the oven, the cookies still soft and slightly puffed, glowing with that deep crimson hue that just demands a glass of cold milk.
The magic happens when you realize these aren't just "red cookies." They have a specific, velvety crumb that feels almost like a brownie cake hybrid. I’ve spent months tweaking the ratio of cornstarch to flour to ensure they don't just crumble when you bite into them.
We want that slight "shatter" on the outer edge followed by a center that stays moist and dense. Trust me, once you frost these with the vanilla bean flecked cream cheese, you'll never look at a boxed mix the same way again.
We're aiming for a balance that isn't cloyingly sweet. By using sea salt and a touch of Neufchâtel, we keep the flavors grounded and sophisticated. It's about transforming simple pantry staples into something that looks like it came from a high end boutique bakery.
Right then, let’s get into the mechanics of why this specific recipe hits the mark every single time.
The Chemistry Behind The Crumb
The Tangy Chemical Reaction: Vinegar reacts with the baking soda to create immediate carbon dioxide bubbles, which provides a light, "velvety" lift to an otherwise dense dough. This acidity also stabilizes the red color, preventing it from turning a muddy brown during the bake.
Starch Structural Integrity: Adding cornstarch weakens the gluten proteins in the all purpose flour. This results in a cookie that is soft and tender rather than chewy or bread like.
The Maillard Interaction: Dutch processed cocoa has been neutralized, allowing the red gel coloring to pop against the dark cocoa base without the interference of natural cocoa acidity.
Chef Tip: Freeze your butter for 10 minutes before creaming it with the sugar. This ensures the fat doesn't melt too quickly in the oven, preventing the dreaded "pancake spread" and keeping your cookies thick and fudgy.
Decision Guide: Fresh vs Shortcut
Choosing between a scratch made batch and a shortcut can be tough when you're in a hurry. Here is how they stack up in the kitchen.
| Feature | Fresh From Scratch | Boxed Mix Shortcut |
|---|---|---|
| Texture | Fudgy, dense, and velvety | Often airy and cake like |
| Color | Deep, customized crimson | Fluorescent or dull red |
| Flavor | Complex cocoa and vanilla | Heavy artificial vanilla notes |
It's tempting to grab a box, but the depth of flavor you get from using grass fed butter and vanilla bean paste is incomparable. If you've ever made my Red Velvet Marble recipe, you know that the tang of the frosting is what truly seals the deal.
Analyzing Component Interactions
Understanding the "why" behind your ingredients helps you become a more intuitive baker. We aren't just tossing things in a bowl; we are building a structure.
| Ingredient | Science Role | Pro Secret |
|---|---|---|
| Dutch processed Cocoa | Flavor and Color Base | Sift it twice to remove stubborn lumps |
| Neufchâtel Cheese | Fat and Tang in Frosting | Use at room temp for a silky finish |
| Red Gel Coloring | Concentrated Pigment | Avoid liquid dye; it thins the dough |
| Cornstarch | Moisture Retention | Keeps the center fudgy for 3 days |
While many people focus on the sugar, the distilled vinegar is the secret weapon here. It brightens the cocoa notes and ensures the texture stays consistent with the "velvet" name.
Measuring Success: Recipe Specs
Before you start preheating, let's look at the numbers. Precision is your best friend in baking, especially when working with temperature sensitive fats like butter and cream cheese.
- Yield: 18 cookies
- Serving Size: 1 cookie with frosting
- Oven Temp:350°F (180°C)
- Dough Weight: Aim for roughly 35g per cookie ball for even baking.
If you are planning a larger gathering, this recipe scales beautifully. For another crowd pleaser that uses a similar tangy topping, check out my Cinnamon Roll Cupcakes recipe.
Curating high-quality Ingredients
The ingredients listed here are specific for a reason. Substituting a lower fat butter or a different type of cocoa can completely change the outcome.
- 2 cups All purpose flour: The structural backbone.
- 3 tbsp Dutch processed cocoa powder: Provides the earthy base without the harsh acidity of natural cocoa.
- 1 tsp cornstarch: The secret to a soft, "cakey" bite.
- 1 tsp baking soda: Our primary leavening agent.
- 1/2 tsp sea salt: Balances the sugar and enhances the chocolate.
- 1/2 cup unsalted grass fed butter: Softened for better aeration during creaming.
- 3/4 cup granulated cane sugar: For sweetness and slight crisping on the edges.
- 1 large egg: Room temperature is vital for a smooth emulsion.
- 2 tsp pure vanilla extract: Adds depth to the dough.
- 1 tsp white distilled vinegar: Activates the soda and preserves the color.
- 2 tsp red gel food coloring: Provides that signature vibrant hue.
- 4 oz Neufchâtel cream cheese: A slightly lighter, tangier base for the frosting.
- 2 tbsp unsalted butter: For the frosting structure.
- 1 1/2 cups powdered sugar: Sifted to avoid grit.
- 1/2 tsp vanilla bean paste: For those beautiful speckles and intense flavor.
- 1 tsp skim milk: To adjust frosting consistency if needed.
| Original Ingredient | Substitute | Why It Works |
|---|---|---|
| Neufchâtel | Full fat Cream Cheese | Higher fat content; slightly less tangy |
| Dutch processed Cocoa | Natural Cocoa Powder | Note: Cookies will be lighter in color and more acidic |
| Granulated Cane Sugar | Light Brown Sugar | Adds moisture but makes the cookie spread more |
Essential Kitchen Tools Needed
You don't need a professional laboratory, but a few specific tools make the process much smoother. I personally use a stand mixer such as KitchenAid for the frosting to ensure there are zero lumps.
- Electric Hand Mixer or Stand Mixer: Necessary for creaming the butter and sugar until pale and fluffy.
- Fine Mesh Sieve: Essential for the cocoa and powdered sugar to ensure a velvety mouthfeel.
- Digital Kitchen Scale: Baking by weight is the only way to guarantee 18 identical cookies.
- Silicone Baking Mat: Prevents the bottoms from browning too quickly and makes cleanup a breeze.
Chef Tip: Use a cookie scoop to portion the dough. Not only does it keep your hands clean from the red dye, but it ensures every cookie finishes baking at the exact same second.
Mastering The Step Process
Let's walk through the flow of creating these. Timing is everything, especially ensuring your cookies are completely cool before the frosting touches them.
1. The Aeration Phase
In a large bowl, cream the 1/2 cup softened grass fed butter and 3/4 cup granulated sugar for 3 full minutes. Beat until the mixture looks pale and has a texture like wet sand. This incorporates tiny air pockets that help the cookies rise.
2. Emulsifying The Base
Add the egg, 2 tsp vanilla, 1 tsp vinegar, and 2 tsp red gel coloring. Whisk until the color is vibrant and uniform. If the mixture looks curdled, your egg was likely too cold; just keep mixing until it smooths out.
3. Folding and Shaping
Sift in the 2 cups flour, 3 tbsp cocoa, cornstarch, baking soda, and sea salt. Fold gently with a spatula until no white streaks remain. Over mixing at this stage will make the cookies tough. Scoop into 18 balls and place on a lined tray.
4. The Precision Bake
Bake at 350°F (180°C) for 10 minutes until the edges are set but the centers still look slightly soft. They will continue to firm up on the hot tray for 5 minutes after you pull them out.
5. The Silky Frosting
While the cookies cool, beat the 4 oz Neufchâtel, 2 tbsp butter, 1 1/2 cups powdered sugar, and vanilla bean paste. Whip until the frosting is light and holds its shape. Add the milk only if it feels too stiff to pipe.
Troubleshooting Your Cookie Batch
Even the best bakers run into a snag now and then. Red velvet can be finicky because of the dye and the acidity, but most issues have a very simple fix.
Excessive Cookie Spread
If your cookies come out looking like thin pancakes, your butter was likely too warm when you started. It can also happen if you over beat the dough after adding the flour. To fix this, chill your dough balls for at least 30 minutes before baking to solidify the fats.
Runny Frosting Solutions
If the frosting won't hold its peak, the cream cheese might have been too warm or you added too much milk. Don't panic. You can sift in another 1/4 cup of powdered sugar to stiffen it up, or pop the whole bowl in the fridge for 20 minutes to let the fats reset.
| Problem | Root Cause | Solution |
|---|---|---|
| Dry, crumbly cookie | Too much flour | Use a scale to measure 250g exactly |
| Brownish tint | Natural cocoa used | Stick to Dutch processed for better color |
| Grainy frosting | Sugar not sifted | Sift powdered sugar through a fine mesh sieve |
Common Mistakes Checklist
- ✓ Ensure the egg is at room temperature to prevent the butter from seizing.
- ✓ Sift the cocoa powder to avoid bitter, dark clumps in the red dough.
- ✓ Do not over bake; the cookies should look underdone in the center when pulled.
- ✓ Wait for cookies to be stone cold before frosting, or it will melt into a mess.
- ✓ Use gel food coloring, as liquid dye can alter the hydration of the dough.
Exploring Flavor Variations
Once you've mastered the classic Red Velvet Cookie with Cream Cheese Frosting, you can start getting creative with the format. The base is quite versatile.
Natural Color Variations
If you aren't a fan of artificial dyes, you can use 2 teaspoons of beet powder. Just keep in mind that the color will be more of a "muted burgundy" than a bright crimson. The flavor remains largely the same, but the science of the color stabilization is slightly different.
Stuffed Cookie Variation
For a real surprise, take a small teaspoon of the frosting, freeze it into little discs, and wrap the red velvet dough around it. Bake as directed. You'll end up with a molten cream cheese center that is absolutely delightful when served warm. It reminds me of the technical precision required for a Classic Homemade Éclairs recipe.
Decision Shortcut
- If you want crispy edges, bake for 12 minutes instead of 10.
- If you want extra tang, add a squeeze of fresh lemon juice to the frosting.
- If you want fudgy centers, chill the dough for 2 hours before baking.
Scaling The Recipe
If you are baking for a big event, doubling this recipe is straightforward, but there are a few adjustments to keep in mind for the best results.
Scaling Up (2x): You can double all ingredients exactly, but I recommend only using 1.5x the salt and spices to avoid overpowering the cocoa. Work in two batches for the baking phase so the oven temperature doesn't drop too much when you slide the trays in.
Scaling Down (1/2): This is easy since the recipe uses one egg. To halve it, crack the egg into a small bowl, whisk it, and use exactly half by weight (roughly 25g). Use a smaller mixing bowl so the beaters can still effectively cream the smaller amount of butter and sugar.
Storage and Freshness Strategies
Because of the cream cheese in the frosting, these cookies require a bit more care than your average chocolate chip variety. You want to keep that frosting silky and the cookie fudgy.
Storage: Store frosted cookies in a single layer in an airtight container. They must be kept in the fridge and will stay fresh for up to 4 days. If you need to stack them, place a piece of parchment paper between the layers, though the frosting might smudge slightly.
Freezing: You can freeze the un frosted cookies for up to 3 months. To eat, thaw them at room temperature and then frost fresh. I don't recommend freezing the frosted cookies as the texture of the cream cheese can become slightly grainy upon thawing.
Zero Waste Tip: If you have leftover frosting, it makes a fantastic dip for graham crackers or apple slices. Any broken cookie crumbs can be saved in a jar and used as a topping for vanilla ice cream or a cheesecake crust.
Optimal Presentation Ideas
Presentation is the final step in transforming a home baked good into a boutique experience. Since these cookies have a bold color, they look best on neutral colored platters.
I love to use a piping bag with a large round tip to create a perfect "cloud" of frosting on top. A tiny sprinkle of leftover cookie crumbs or a dusting of cocoa powder over the white frosting adds a professional touch.
If you're feeling fancy, a single white chocolate curl in the center makes them look stunning for a holiday dessert table.
Pair these with a hot cup of black coffee or a cold glass of oat milk. The bitterness of the coffee cuts through the richness of the cream cheese beautifully. If you're looking for more soft baked inspiration, my Cinnamon Rolls Homemade recipe offers that same comforting, tangy satisfaction. Happy baking, and I can't wait to see how your crimson creations turn out!

Recipe FAQs
Is it necessary to use both vinegar and baking soda in this recipe?
Yes, both are crucial for the texture. The vinegar activates the baking soda to create carbon dioxide bubbles, which is what gives the cookie its signature velvety, tender crumb structure.
How to ensure the cream cheese frosting remains smooth and doesn't get grainy?
Sift the powdered sugar before mixing. Always ensure your butter and cream cheese are perfectly at room temperature to create a smooth emulsion, preventing unincorporated sugar lumps.
What is the secret to preventing Red Velvet cookies from spreading too thin during baking?
Chill the dough balls for at least 30 minutes before baking. Solidifying the fat content prevents rapid spreading in the oven, resulting in a thicker, fudgier cookie center.
Can I substitute the Dutch processed cocoa powder with natural cocoa powder?
No, stick to Dutch processed for best color. Natural cocoa is acidic and will fight the red dye, often resulting in a dull, brownish cookie rather than the vibrant red you want.
How long can I safely store the frosted cookies, and should they be refrigerated?
Yes, refrigeration is required due to the frosting. Store frosted cookies in an airtight container in the fridge for up to 4 days; the texture of the cream cheese can become slightly grainy if frozen.
How to achieve a fudgy center while still getting set edges?
Pull the cookies when they appear slightly underbaked. Bake them until the edges are set but the center is still soft, letting them finish cooking on the hot baking sheet outside the oven.
What is the proper technique for incorporating the red gel coloring into the wet ingredients?
Mix the gel coloring with the room temperature egg and vinegar first. This pre-emulsifies the intense pigment before it meets the flour, ensuring uniform color distribution without overmixing the dough.
Red Velvet Cream Cheese Cookies
Ingredients:
Instructions:
Nutrition Facts:
| Calories | 200 kcal |
|---|---|
| Protein | 2.6 g |
| Fat | 8.3 g |
| Carbs | 29.7 g |
| Fiber | 0.7 g |
| Sugar | 18.3 g |
| Sodium | 155 mg |
