The Hidden Treasure Decadent Chocolate Cupcakes with Vanilla Cream Filling
- Unveiling the Ultimate Surprise: Why This Recipe Redefines CreamFilled Chocolate Cupcakes
- The Anatomy of Decadence: What Makes Our Chocolate Sponge Sing
- Procuring Perfection: Your Curated Shopping List for Success
- The Dual Components: Separating the Batter from the Beloved Filling
- Phase One: Creating the Rich Chocolate Foundation
- The Art of the Hidden Injection: Filling Your CreamFilled Chocolate Cupcakes
- Troubleshooting and Texture Tips for Cream Stability
- Recipe FAQs
- 📝 Recipe Card
Unveiling the Ultimate Surprise: Why This Recipe Redefines CreamFilled Chocolate Cupcakes
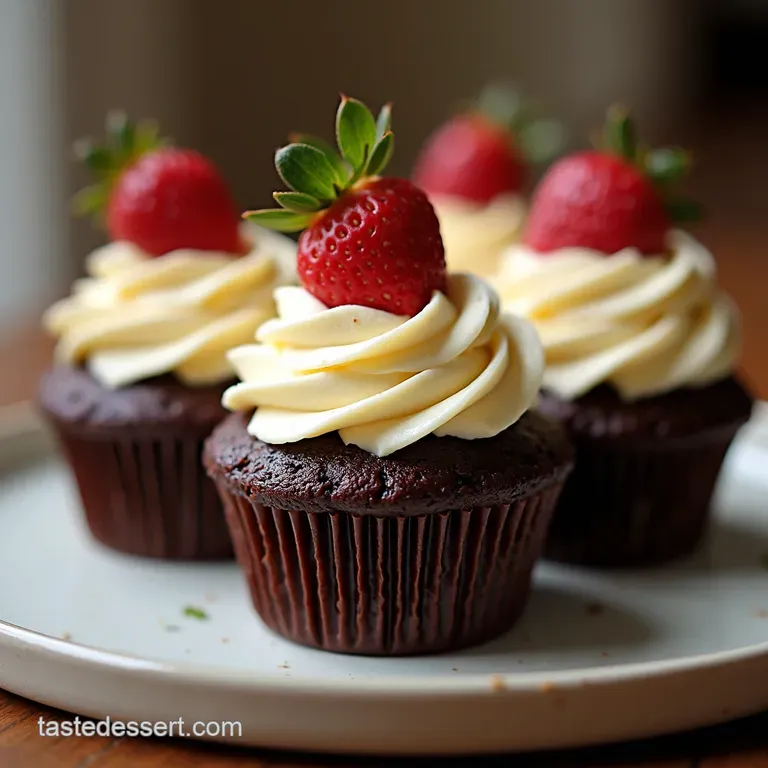
There are treats, and then there are experiences . Sinking your teeth into a perfectly executed, CreamFilled Chocolate Cupcake is firmly in the latter category.
It’s not merely a cake topped with frosting; it’s a culinary journey where a deep, dark chocolate shell gives way to a luscious, silky core. Forget those dry, dusty supermarket versions; this recipe is the real deal, inspired by classic bakery centre filled delights.
We are aiming for absolute decadence, ensuring every bite of these Chocolate Cupcakes Filled delivers profound moisture from the sponge and an impossibly smooth vanilla heart.
If you’ve been searching for Cupcake Recipes Chocolate that truly impress, your quest ends here.
The Anatomy of Decadence: What Makes Our Chocolate Sponge Sing
The success of these Gourmet Cupcakes hinges on two meticulously crafted components: a sponge so moist it almost melts, and a filling so light it feels ethereal. Achieving this balance requires attention to detail, especially when dealing with a cooked filling.
This recipe yields 12 spectacular servings, requiring about an hour and 45 minutes total time, making them surprisingly achievable for a home baker looking for Filled Cupcakes Easy execution, despite the slightly higher difficulty rating stemming from the filling preparation.
More Than Just Cake: A Deep Dive into the Silky Vanilla Core
The hidden treasure within these treats is a classic crème pâtissière , or pastry cream. This filling is richer than simple whipped cream but much lighter than buttercream, providing the perfect textural contrast.
Made from whole milk, egg yolks, sugar, and cornstarch, it sets up beautifully firm when chilled, yet remains wonderfully silken on the palate. We use vanilla bean paste for those visible flecks of flavour that truly scream quality.
This stable cream filling ensures that when you core the cupcake, the centre stays put beautifully, making these truly Whipped Cream Filled Chocolate Cupcakes (though technically pastry cream, the texture is delightfully light!).
Setting the Stage: Essential Equipment for Bakery Quality Results
To conquer this bake, having the right tools minimizes frustration. You will need a standard 12-cup muffin tin lined with paper cases. Crucially for the filling, a heavy bottomed saucepan is vital to prevent scorching the milk solids.
A good quality whisk is non-negotiable for tempering the eggs and ensuring that the pastry cream cooks evenly without lumps. Finally, for injecting the flavour perfectly, have a piping bag ready, ideally fitted with a long, narrow Bismark tip, which is the professional’s choice for filling Fun Cupcakes discreetly.
The Coffee Secret: Achieving Unbelievable Moisture Levels
The secret weapon for our intensely flavourful and unbelievably moist chocolate cake is hot, freshly brewed coffee. This isn’t about making the cupcakes taste like your morning brew; rather, the hot liquid "blooms" the high-quality Dutch processed cocoa powder.
This chemical reaction dissolves the cocoa solids completely, releasing their deepest flavour potential and ensuring a tender, dark crumb. This technique is essential for achieving the luxurious depth expected in sophisticated Dessert Cupcakes .
Procuring Perfection: Your Curated Shopping List for Success
Gathering your provisions strategically ensures a smooth workflow. For the sponge, you’ll need staples like sifted all-purpose flour, granulated sugar, baking soda, baking powder, and fine sea salt.
The wet components include two room temperature large eggs, room temperature buttermilk (which tenderizes the crumb), vegetable oil for superior moisture retention, and vanilla extract. The star, of course, is the cup of hot brewed coffee.
For the filling, stock up on whole milk, more sugar, four rich egg yolks, cornstarch for thickening, cold cubes of unsalted butter for richness, and premium vanilla bean paste. A simple semi sweet chocolate and heavy cream combination will suffice if you choose to top these beauties with a dark ganache frosting.
Related Recipes Worth Trying
- Chewy Peanut Butter Banana Chocolate Chip Oatmeal Bars — Tired of dry oat bars These supremely chewy Peanut Butter Banana Chocolate Chip Oatmeal Bars are foolproof and taste just like banana bread Get the recipe...
- The Oh My Goodness Homemade Dark Chocolate Truffles — Master the best homemade chocolate truffles using this foolproof ganache recipe Velvety smooth and dead simple
- The Jade Nut Gem Pistachio Green Tea Cupcakes with Matcha Frosting — Elevate your baking with these spectacular Pistachio Green Tea Cupcakes topped with a vibrant velvety Matcha Frosting A sophisticated yet easy matcha...
The Dual Components: Separating the Batter from the Beloved Filling

Because the filling requires cooking and subsequent chilling, we must tackle it first. Unlike typical frosting, this component must be entirely cool before it can be safely injected into the finished cake. The batter, while containing a few liquid elements, comes together quite quickly once the cream is set aside.
Mastering the Chocolate Cupcake Batter Roster
The cake assembly follows the classic "wet into dry" method, but with a crucial final addition. Ensure all liquid ingredients, barring the hot coffee, are at room temperature to guarantee a uniform emulsion when mixed.
The high ratio of sugar to flour, combined with the buttermilk’s acidity reacting with the leavening agents, guarantees a tall, springy rise.
Crafting the Luscious, Stabilized Cream Interior
This step requires focus. We create a slurry of egg yolks, sugar, and cornstarch until pale, a process known as whisking to the ribbon stage. We then carefully temper this mixture by slowly incorporating the hot milk, whisking constantly to gently raise the yolks' temperature without scrambling them.
The mixture is returned to the heat, where constant, vigorous whisking is maintained until the mixture thickens dramatically and slowly bubbles this sets the starch. Finishing with cold butter whisks in silkiness, and rapid chilling prevents a skin from forming.
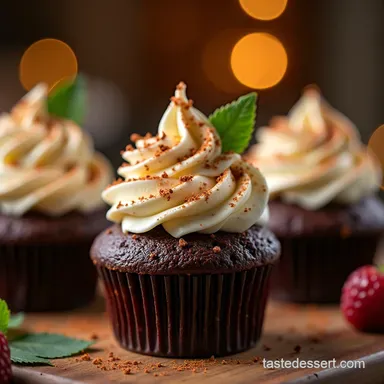
Optional Garnish Glory: Frosting and Finishing Touches
While these CreamFilled Chocolate Cupcakes are magnificent on their own perhaps just dusted with cocoa powder a simple chocolate ganache offers the perfect visual anchor. This topping involves melting finely chopped semi sweet chocolate into heated heavy cream.
Allowing this mixture to cool slightly until it reaches a spreadable consistency offers a rich, glossy finish that contrasts beautifully with the light internal cream.
Phase One: Creating the Rich Chocolate Foundation
Preheat your oven to 350° F ( 175° C) and line your muffin tin. Begin by combining all dry ingredients flour, sugar, cocoa, baking soda, powder, and salt in a large mixing bowl, ensuring they are thoroughly incorporated.
In a separate bowl, whisk together the two room temperature eggs, buttermilk, vegetable oil, and vanilla extract until homogenous. Pour this wet mixture into the dry components and mix on low speed just until the flour streaks disappear; avoid overmixing at this stage. The batter will look quite thick.
Now, slowly stream in the full cup of hot, freshly brewed coffee while continuing to mix gently until the batter is smooth and noticeably thinner. Divide this liquid batter evenly among your 12 lined cups, filling them about two-thirds full, ready for their bake time of 20 to 22 minutes.
The Art of the Hidden Injection: Filling Your CreamFilled Chocolate Cupcakes
Once the cakes are completely cooled on a wire rack, the real fun and the skill begins. We need to introduce the cold, thick vanilla pastry cream into the heart of the cake.
Mixing Method Mastery: Combining Dry and Wet Components
Remember, the key to the cake batter’s tenderness is gentle mixing. Once the wet and dry ingredients meet, minimal agitation is required. Overworking the gluten strands, especially after adding the liquid, results in tough cupcakes, negating the creamy payoff inside.
Baking Benchmarks: Achieving the Ideal Cupcake Doneness
Test for doneness by inserting a toothpick near the edge of a cake. If it emerges with moist crumbs attached, they are done. If wet batter clings, they need a couple more minutes. Pulling them too soon results in a dense structure that resists coring later.
Chilling and Coring: Preparing for the Cream Insertion
The chilled pastry cream must be transferred to your piping bag fitted with that slender filling tip. For the coring process, use a small paring knife or an apple corer. Gently insert the tool about an inch deep into the centre of the cooled cupcake, twist slightly to loosen a small plug of cake, and remove it.
Set these tiny cake caps aside; they will serve as the "lid" later.
Piping Precision: How to Perfectly Load the Vanilla Cream Center
Hold the piping bag vertically over the empty cavity. Gently squeeze, allowing the thick, cold cream to flow deep into the centre, filling the void completely. Pipe until the cream slightly mounds above the opening.
Once filled, carefully place the reserved cake plug back on top, pressing lightly until it sits flush with the cake surface. Now, your Cream Filled Cupcakes are structurally sound and ready for finishing.
Troubleshooting and Texture Tips for Cream Stability
The complexity of a cooked filling sometimes introduces hurdles, but these are easily overcome with expert insight.
Why Did My Cream Deflate? Expert Fixes for Filling Failures
If your pastry cream deflates after chilling or during piping, it’s usually due to insufficient cooking or improper chilling. If you didn't cook the cornstarch long enough to fully activate, it won't set robustly. The solution is to ensure you see those slow, thick bubbles before taking it off the heat.
Next,, always cover the surface directly with plastic wrap while chilling; exposure to air encourages whey separation and subsequent deflation.
From Vanilla to Mocha: Flavor Swaps for the Filling
While the vanilla core is divine, feel free to customize! For a mocha twist, dissolve 1 teaspoon of instant espresso powder into the hot milk before tempering the eggs. For a brighter flavour, use fresh lemon zest infused into the milk as it heats.
These simple flavour adjustments keep the CreamFilled Chocolate Cupcakes recipe fresh and exciting batch after batch.
Maximizing Freshness: Refrigerator vs. Counter Storage Guidelines
Due to the dairy and egg-based nature of the pastry cream filling, these Cream Filled Cupcakes must be stored in an airtight container in the refrigerator. While they are perfectly safe at room temperature for a few hours for serving, the filling will soften quickly.
For optimal enjoyment and texture, allow them to sit out at room temperature for about 15 minutes before serving to take the harsh chill off the cake, but never leave them out for more than four hours.

Recipe FAQs
How do I prevent the vanilla cream filling from turning into scrambled eggs?
That’s the trickiest part, isn't it? The key is 'tempering' slowly whisking a little bit of the hot milk into your egg/sugar mixture first before adding the yolks back into the main saucepan.
Always keep whisking vigorously while the cream cooks over medium heat; this ensures even heat distribution and stops the eggs from setting too quickly.
Can I make these CreamFilled Chocolate Cupcakes ahead of time for a party?
Yes, absolutely! You can bake and cool the chocolate cakes entirely a day ahead, storing them in an airtight container. The vanilla cream filling must be made and fully chilled, but for the best results, only fill the cupcakes on the day you plan to serve them, or perhaps the night before, as the moisture can soften the sponge slightly.
My cupcake batter looks very thin because of the hot coffee is that right?
Don’t sweat it; that thin batter is exactly what you’re aiming for! The hot liquid "blooms" the cocoa powder, dissolving all those dry bits and creating an incredibly moist, tender crumb once baked. It bakes down beautifully, so trust the process and don't be tempted to add extra flour.
What’s the best way to inject the filling so it doesn't look a complete dog's dinner?
To get that professional look, use a piping bag fitted with a long, narrow tip (like a Bismark or plain round tip). After coring the centre of the cooled cake, insert the tip deep down, pipe until you feel resistance, and then slowly pull the tip out while continuing to pipe to fill the void evenly.
If I don't have buttermilk, what's a decent substitute for making the chocolate sponges?
No need to rush to the shops for buttermilk; we can whip up a substitute easily enough! Just take a standard cup of whole milk and stir in one tablespoon of white vinegar or lemon juice.
Let it sit for about five minutes until it looks slightly curdled voilà, you have a perfectly functional, acidic replacement!
Are these cupcakes going to be healthier if I skip the frosting entirely?
While skipping the optional ganache will certainly cut down on sugar and fat content, remember the main indulgence here is the rich, cooked vanilla cream core. If you’re looking to lighten things up, consider using lower fat milk in the cream filling, although it might affect the final texture slightly.
Rich Cream Filled Cupcakes
Ingredients:
Instructions:
Nutrition Facts:
| Calories | 565 kcal |
|---|---|
| Protein | 8.0 g |
| Fat | 23.2 g |
| Carbs | 44.3 g |
| Fiber | 2.7 g |
| Sodium | 5681 mg |
