Caramel Popcorn: the Perfect Crunch, Ultimate Baked Recipe
- The Ultimate Guide to Crunchy Baked Salted Caramel Popcorn
- Ingredients Breakdown: Essential Components for Gourmet Caramel Popcorn
- Crafting the Crunch: Step-by-Step Baked Caramel Popcorn Instructions
- Culinary Chemistry: Why This Caramel Coating Doesn't Stick
- Troubleshooting and Expert Tips for Flawless Caramel Popcorn
- Maintaining the Crunch: Best Practices for Storing Caramel Corn
- Gifting and Serving: Elevating Your Caramel Popcorn Experience
- Recipe FAQs
- 📝 Recipe Card
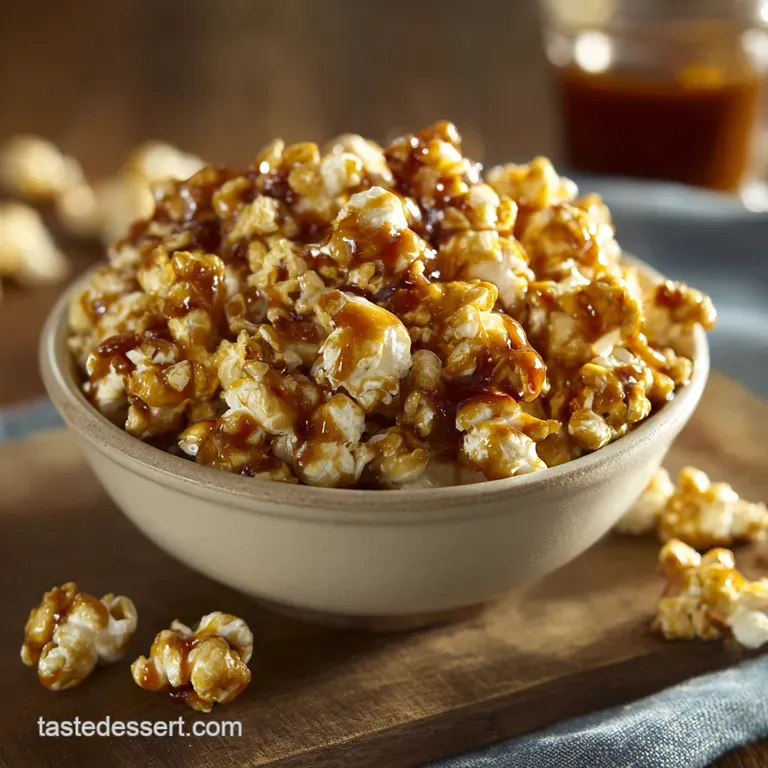
The Ultimate Guide to Crunchy Baked Salted Caramel Popcorn
Stop what you are doing right now. Seriously, the aroma alone is enough to make you weak in the knees. We're talking about that deep, molasses rich caramel scent that hits you the second the oven door opens, filling every corner of your kitchen. And that texture?
Forget sticky, chewy messes; we are aiming for that perfect, satisfying shatter .
This caramel popcorn recipe is a lifesaver for last minute gifts, holiday parties, or just a Tuesday night when you desperately need an indulgent snack. It’s outrageously affordable to make at home, yet it tastes infinitely better than anything you can buy in a fancy tin.
Plus, the huge batch size means you’ll have leftovers (if you manage to hide them from yourself).
We are skipping the quick stovetop drizzle method and going straight to the oven. Trust me, baking the popcorn is the secret weapon that transforms sticky sugar sauce into a delicate, hardened shell. Let’s crack on and make the best homemade caramel corn you will ever taste.
Why We Bake: Achieving the Perfect Caramel Shatter
The secret to truly superior caramel popcorn isn't the sugar blend; it's the controlled drying phase in the oven. When you simply pour hot caramel over popcorn and let it cool, the moisture in the caramel has nowhere to go. This inevitably leads to a chewy, clumpy, or sometimes tooth breakingly hard texture.
Baking at a very low temperature (250°F or 120°C) slowly removes residual moisture from the caramel coating over an hour. This process crystallizes the caramel just enough to give it an incredible snap without burning the popcorn itself. It’s the same logic we apply when we want the bottom of our Caramel Apple Cheesecake Bars: Decadent Shortbread Squares to crisp up nicely!
The Culinary Difference: Salted Caramel vs. Simple Sweet
Using high-quality sea salt in the caramel is non-negotiable for me. Caramel is just pure sugar, and without salt, it hits the palate with an overwhelming, one-note sweetness that tires quickly.
Adding salt cuts through that intensity, enhancing the brown sugar and molasses flavors while highlighting the richness of the butter.
This salted caramel approach offers a balanced flavor profile that makes the treat deeply addictive and far more sophisticated. It’s what separates a kids’ birthday party snack from a truly gourmet edible gift.
Recipe Snapshot: Time, Yield, and Difficulty Assessment
| Metric | Details |
|---|---|
| Prep Time | 15 minutes |
| Bake Time | 60 minutes |
| Total Time | 75 minutes |
| Yield | 16 18 Cups |
| Difficulty | Medium (Caramel requires focus!) |
Ingredients Breakdown: Essential Components for Gourmet Caramel Popcorn
We need two things here: perfectly popped corn and a killer caramel sauce. Do not skimp on the butter or the brown sugar; they are the backbone of this operation.
Popcorn Prep: Selecting the Best Kernels for Optimal Fluff
I always use plain, standard popping corn kernels not those weird butter flavored microwave packs! The goal is maximum surface area for the caramel to cling to. Use a stovetop method or an air popper, but make sure you sort through the popped corn and discard every single unpopped kernel.
Biting into a hard kernel ruins the experience faster than anything else.
Sugar Secrets: Brown Sugar vs. Granulated Sugar Performance
We rely heavily on packed light or dark brown sugar here because it contains molasses. That molasses adds depth, chewiness, and that beautiful, deep golden color that makes homemade caramel corn so appealing. Granulated white sugar works in a pinch, but the flavor will be flatter and less complex.
Do not skip the corn syrup! That small amount of corn syrup acts as an invert sugar, preventing the entire batch from crystallizing into rock hard bricks.
Smart Swaps: Alternative Sweeteners and Flavor Extracts
| Ingredient | Substitute | Impact on Flavor/Texture |
|---|---|---|
| Brown Sugar | Granulated Sugar + 1 Tbsp Molasses | Paler, slightly less rich flavor. |
| Light Corn Syrup | Golden Syrup or Honey | Honey adds floral notes; Golden Syrup is ideal but harder to source. |
| Vanilla Extract | Almond Extract (use 1/2 tsp) | Stronger flavor; use less. |
| Butter | Vegan Butter Sticks | Ensure the water content is low; result may be slightly greasier. |
Dairy & Fats: Butter Choice and Oil Requirements
Use real butter, always. If you only have salted butter, just omit the extra 1 tsp of fine sea salt from the recipe easy fix! For popping the kernels, a neutral oil like coconut oil or vegetable oil works perfectly. We want the popcorn to be flavorless so the caramel can shine.
Crafting the Crunch: step-by-step Baked Caramel Popcorn Instructions
This is where the magic happens, but it requires swift action once the caramel hits the right temperature. Have all your equipment laid out before you turn on the stove.
Stage 1: Popping the Corn and Prepping the Pan
- Prep the Oven and Pans: Preheat your oven to 250°F (120°C). Line two very large rimmed baking sheets with parchment paper or silicone mats. This step is mandatory.
- Pop and Sort: Pop your corn kernels using your preferred method. Carefully transfer the popped corn to an extra large, heat safe mixing bowl. Make sure every stray unpopped kernel is removed before setting the bowl aside.
Stage 2: Achieving the Perfect Caramel Consistency (Temperature Checks)
- Melt Components: In a large, heavy bottomed saucepan, combine the cubed butter, brown sugar, corn syrup, and sea salt. Cook this mixture over medium heat, stirring constantly until the butter is fully melted and the sugar crystals have dissolved.
- Boil: Once it reaches a rolling boil, stop stirring. Allow the mixture to boil steadily for 4 to 6 minutes.
- Hit the Mark: You need the caramel to reach 250°F (121°C) on a candy thermometer. This is the firm ball stage. If you don't have a thermometer, let it boil until it deepens in color slightly, becoming noticeably thick and syrupy, almost like runny honey.
Stage 3: The Critical Coating and Spreading Technique
- Transform: Immediately remove the pan from the heat. Stir in the vanilla extract. Now, the crucial part: dump in the baking soda and stir quickly and vigorously. The caramel will froth up dramatically, expanding and turning pale and opaque. This reaction creates tiny air bubbles, which are responsible for the incredible honeycomb structure that gives us the crunch .
- Coat Swiftly: Pour the rapidly expanding hot caramel over the popcorn in the mixing bowl. Using two wooden spoons or sturdy spatulas, toss quickly but gently. Work fast to coat as much popcorn as possible before the caramel starts to set.
Chef's Note: The baking soda activation happens fast. Once that foam appears, you have about 30 seconds before it starts collapsing, so move that caramel onto the corn immediately! I once tried to mix too thoroughly in the pot and lost all the fizz. Rookie mistake!
Stage 4: The Baking and Cooling Process for Maximum Snap
- Spread and Bake: Divide the coated popcorn between the two prepared baking sheets, spreading it into a relatively thin, even layer. Place both sheets into the preheated oven.
- Stirring Schedule: Bake for 60 minutes, and set a timer to stir every 15 minutes. Gently scrape and turn the popcorn clusters with a spatula, moving the bottom corn to the top. This ensures even drying and prevents sticky spots.
- Cool: After 60 minutes, the popcorn will smell intensely caramelly and the coating will look duller, less glossy. Remove the trays and let the popcorn cool completely, undisturbed, for at least 30 minutes on the sheets.
- Break Up: Once fully cold and hard, break the popcorn into gorgeous, uneven clusters.
Culinary Chemistry: Why This Caramel Coating Doesn't Stick
The key ingredient that saves us from sticky hands is the baking soda . It’s brilliant! When baking soda (sodium bicarbonate) hits the hot, acidic brown sugar mixture, it releases carbon dioxide gas.
This gas aerates the caramel, essentially turning it into a light, crisp foam before it solidifies. This process is called nucleation . Without it, the caramel would cool as a dense, hard candy, sticking horribly to your teeth and the pan.
Troubleshooting and Expert Tips for Flawless Caramel Popcorn
The Role of Baking Soda in Creating a Honeycomb Texture
As discussed, baking soda is your friend, but timing is everything. If the caramel is too cool when you add the soda, it won't react properly. If you stir it for too long after the foam appears, the bubbles collapse.
Fix: Add the soda right after removing the pan from the heat, and mix for only 10 15 seconds until it foams up, then immediately pour.
Mastering the Low and Slow Bake for Maximum Crunch
If your popcorn is chewy, you didn't bake it long enough, or your oven temperature was off. Don't rush the oven time. Chewy popcorn needs more time for the residual moisture to evaporate.
If it's still sticky after 60 minutes, put it back in for 10 15 minute increments, stirring after each cycle.
Preventing Sticky Clumps: Stirring Frequency and Cooling Placement
Sticky clusters often happen when the coated corn sits in a deep pile before baking, trapping moisture. Always use two baking sheets to keep the layer thin. The 15 minute stirring cycle during baking is non-negotiable it helps redistribute the heat and break up potential sticking points early on.
The Caramel Split: How to Fix Separated Sauce
Sometimes, if the butter is too cold or you heat the mixture too quickly, the fat separates from the sugar (it looks oily). Fix: Immediately reduce the heat to low, take a small teaspoon of the mixture out, let it cool slightly, and taste it.
If it tastes fine, turn up the heat slightly and stir vigorously for 30 seconds. Usually, bringing it back to a strong boil will emulsify the mixture again.
Maintaining the Crunch: Best Practices for Storing Caramel Corn
Long Term Storage Solutions for Maximum Freshness
Humidity is the ultimate enemy of crunchy caramel popcorn. It absorbs moisture from the air almost instantly. Store your fully cooled, broken-up caramel corn in a completely airtight container —a tin with a tight lid or a heavy duty, zip-top freezer bag with all the air pressed out.
Stored properly, it stays perfectly crunchy at room temperature for up to two weeks.
Quick Refresh: Re-crisping Stale Popcorn
Did you accidentally leave the lid off? Don't toss it! You can totally revive slightly stale, chewy caramel corn. Spread the popcorn back out onto a baking sheet. Pop it into a 300°F (150°C) oven for just 5 to 7 minutes.
Remove, let it cool completely on the counter, and it will snap right back to crunchiness.
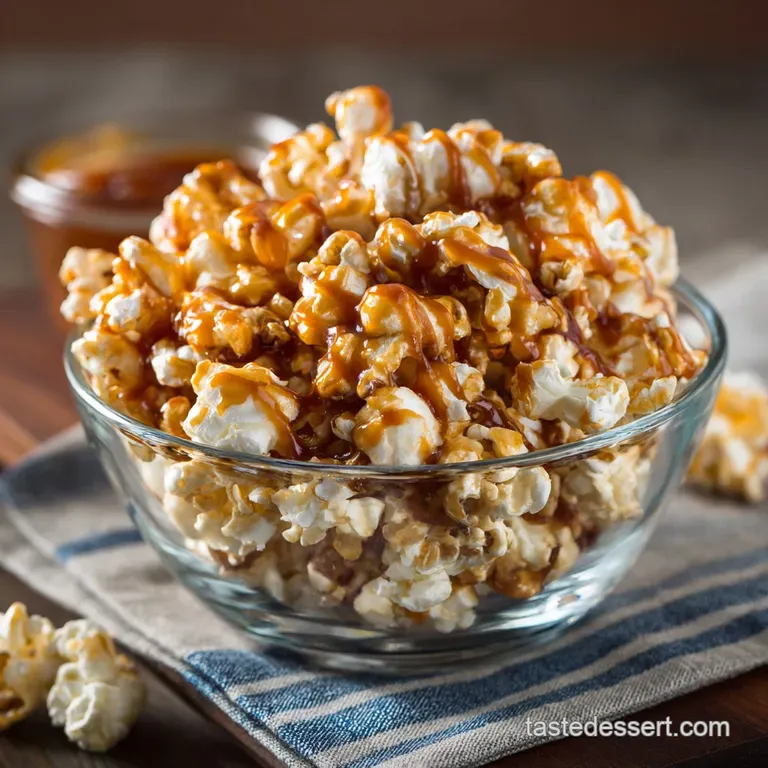
Gifting and Serving: Elevating Your Caramel Popcorn Experience
Caramel popcorn is perhaps the best edible gift you can make. It’s festive, it travels well, and everyone loves receiving a homemade tin of it.
For gifting, pair the popcorn with a ribbon wrapped package of instant coffee or a bag of spiced cider mix. If you want to continue the intense flavor profile for a decadent winter brunch, this caramel popcorn pairs beautifully with the richness of The Best Caramel Apple Bread Pudding Recipe Silky Custard .
If you’re serving this at a party, consider offering a variation! A drizzle of melted dark chocolate turns this into a showstopper. Unlike super sticky recipes, like my famous Maple Glazed Roasted Sweet Potatoes Sticky Caramelized Perfection , this baked popcorn makes clean-up easy because the coating is dry and hard. Enjoy!

Recipe FAQs
Why is my caramel popcorn sticky or chewy instead of crunchy?
Lack of crunch usually means the caramel was not dried out completely during the baking process. Ensure you are baking the popcorn at the low temperature (around 250°F / 120°C) for the full recommended time, stirring every 15 minutes to evenly expose all kernels.
If the air is highly humid, you may need to add an extra 10 15 minutes of drying time after turning the oven off before removing it.
Why did my caramel sauce separate or turn grainy during cooking?
Caramel separation or graininess often occurs if the sugar mixture is stirred too vigorously before reaching temperature, causing crystallization. To prevent this, ensure your pot sides are brushed down with water during the initial boiling phase, and avoid scraping down the pan when pouring.
If separation occurs, try adding a tablespoon of hot water and whisking gently until the sauce emulsifies again.
What is the purpose of adding baking soda to the caramel?
Baking soda is a crucial ingredient because it is an alkali that reacts with the acid in the brown sugar and molasses, creating tiny carbon dioxide bubbles. These bubbles aerate the thick caramel, making it lighter and more porous before it hardens.
This reaction is the culinary secret to achieving that perfect, non-tooth breaking, shattery honeycomb texture.
Can I use different sweeteners, such as maple syrup or honey, instead of corn syrup?
While you can substitute natural syrups like honey or maple syrup for corn syrup, be aware that these will slightly alter the final texture and sweetness profile. Corn syrup is traditionally used because it is an invert sugar that inhibits crystallization, guaranteeing a smooth and glossy coating.
Substituting it may result in a slightly more brittle or grainy caramel structure.
How should I store the finished caramel popcorn to maintain its crispness?
Store completely cooled caramel popcorn in an airtight container at room temperature, away from direct sunlight or heat sources. Exposure to air, especially in humid conditions, is the primary cause of stickiness and loss of crunch.
Avoid storing the popcorn in the refrigerator or freezer, as the temperature changes and condensation will quickly turn the crisp coating tacky.
Is it safe to add nuts or other mix-ins to the caramel popcorn?
Yes, absolutely! Stir in toasted nuts like pecans, walnuts, or cashews immediately after the popcorn is coated with caramel, just before the mixture goes into the oven for baking. If you wish to add chocolate chips, wait until the popcorn has cooled completely after baking, then drizzle with melted chocolate, ensuring the residual heat does not cause the chocolate to seize.
Why is the low and slow baking time so critical for this recipe?
The low and slow baking process (250°F / 120°C) is essential because it allows the residual moisture in the caramel to evaporate gradually without burning the sugar or the popcorn. This gentle heat transformation is what converts the sticky liquid coating into a dry, glass like shell.
Do not rush this step by increasing the heat, or the exterior will scorch before the interior has adequately dried.
Ultimate Baked Salted Caramel Popcorn
Ingredients:
Instructions:
Nutrition Facts:
| Calories | 1066 kcal |
|---|---|
| Protein | 3.9 g |
| Fat | 54.2 g |
| Carbs | 142.6 g |
