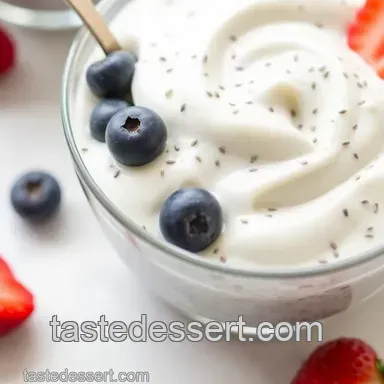
Whip Up Creamy Coconut Chia Delight

- Whip Up Creamy Coconut Chia Delight | 10 Min
- Your Go-To Guide for Essential Ingredients
- Spice Things Up with Signature Blends
- Smart Substitutions for Everyone
- Kitchen Equipment Essentials
- Get Ready to Indulge
- Professional Cooking Method: The Secrets to Culinary Success
- Pro Tips & Secrets for Your Creamy Coconut Chia Delight
- Perfect Presentation of Your Tropical Treat
- Storage & Make-Ahead Tips
- Creative Variations for Your Chia Delight
- Complete Nutrition Guide
- Expert FAQ Solutions
- Wrap-Up: look into Into This Delight!
- 📝 Recipe Card
Whip Up Creamy Coconut Chia Delight | 10 Min
A Personal Touch: Finding My Coconut Calm
Oh my gosh, let me tell you a little story. a couple of summers back, i was sitting on the porch, the sun was setting, and i had one of those lightbulb moments.
I craved something sweet but didn't want to dive into a heavy dessert. you know those hot days when the last thing you want is to turn on the oven? yeah, i felt that.
So, i whipped up a simple, refreshing dessert with coconut and chia seeds voilà! i found peace in a bowl, all thanks to this creamy coconut chia delight .
Just like that, i realized i could whip up something delicious and healthy without any fuss. and trust me, if i can do it, you can too!
Recipe Overview: A Tropical Escape
Let’s dive deeper into what makes this recipe a treasure. coconut chia pudding has roots in the trendy health food scene but brings a little tropical joy to your table.
Think about it: it's rich in coconut milk, with the slight crunch of chia seeds that expand into a creamy goodness.
This dessert is just so relevant today, popping up in cafes and on healthy blogs everywhere.
You can throw this together in just 10 minutes ! prep time is a breeze, and there’s no cooking required.
The most you'll need is to let it sit for about 30 minutes perfect for busyness or lazy days. what's even better? it costs you next to nothing, and you can easily make four servings.
Yeah, you heard me right four servings of this healthy coconut dessert that won’t break the bank!
Key Benefits: More Than Just Sweet
Now let’s chat about the benefits of this delicious treat. first off, it’s loaded with nutrients! chia seeds are like little powerhouses packed with omega-3s, fiber, and protein the holy trinity of health! this makes it one of the best vegan chia recipes you can try.
You’ll not only enjoy a light and refreshing dessert , but you’ll also be fueling your body with anti inflammatory foods .
And speaking of benefits, it’s naturally gluten-free, which makes it a delightful addition to any gathering. birthdays, picnics, or just a tuesday evening; this punny dessert makes any occasion special.
Plus, it's super customizable! let your imagination run wild a bit of mango here, a sprinkle of blueberries there. you can even switch up the toppings to create layered dessert recipes that wow your friends and family.
Those colorful layers? they make everything more fun!
Just to Wrap Things Up
So, are you ready to dive into this delight? it’s one of those easy meal prep snacks perfect for your busy lifestyle.
You can even use it as a quick breakfast idea or just a sweet afternoon pick-me-up. with the coconut milk recipes you'll find here, you’ll be amazed at how simply delicious health can be.
Up next, let’s explore the fun part: the ingredients! grab your mixing bowl, and let’s get to it!
Your Go-To Guide for Essential Ingredients
Let’s kick things off with some of the premium core components that’ll elevate your kitchen game. seriously, these are must haves if you want to whip up nutrient rich desserts like the whip up creamy coconut chia delight | 10 min or any other quick treats.
Quality is Key
When it comes to ingredients, quality indicators matter! look for organic coconut milk that has no added sugars. you want that creamy goodness without any funky stuff.
For chia seeds, choose a brand that’s fresh and whole. nothing like the crunch of old seeds to ruin your day!
Storage Wisdom
Now, let’s chat about storage. coconut milk can go bad quickly, so keep it in the fridge and use it within a few days after opening.
Your chia seeds? they’ll last up to two years if kept in a cool, dark place. just make sure to check for any weird smells or clumps before using them.
Freshness and Selection Tips
When you’re selecting your ingredients, make sure to pick the freshest. grab a can of coconut milk with a clear label date .
If you’re buying fresh fruit for your toppings, look for vibrant colors and firm textures. no one likes a mushy mango on their dessert, right?
Spice Things Up with Signature Blends
Now that you’ve got the essentials down, let’s jazz things up with the signature seasoning blend . You know how they say cooking is just like art? Well, spices and herbs are your paint!
Essential Herb Selections
Some of my favorite herbs for a sweet treat like this are mint and basil . they bring that fresh taste that dances on your palate.
Use them with the creamy coconut to create a delightfully refreshing experience.
Enhance Your Flavors
And don’t forget your flavor enhancers like vanilla extract and a pinch of salt. They bring everything together and elevate even the simplest snacks into something memorable.
Smart Substitutions for Everyone
Sometimes, you gotta roll with the punches in the kitchen. if you don't have coconut milk, try using almond milk or oat milk instead.
Not a fan of maple syrup ? honey or agave syrup work great, too.
Dietary Modifications
For those with dietary needs, you can easily turn this into a dairy-free dessert or swap out ingredients to fit your vegan lifestyle.
It’s all about being flexible. want a gluten-free treat ? no worries, you've got this!
Emergency Replacements
And let’s be real emergencies happen! If you’re out of chia seeds, use flaxseeds , just keep in mind you'll need to adjust the liquid. They're a little thirstier!
Kitchen Equipment Essentials
Now, let’s talk tools. You don’t need the fanciest gadgets to make delicious desserts.
Must Have Tools
For this creamy coconut chia delight, all you really need are:
- Mixing bowl: A must for combining those flavors!
- Whisk or spoon: Don't skimp here, a good whisk will save you time and effort.
- Measuring cups and spoons: Precision, my friends!
- Glass jars or serving cups: These are great for layering your dessert beautifully.
Storage Solutions
After you make your goodies, store them in airtight containers. Your coconut chia pudding will stay fresh for a few days, and who doesn’t love a snack ready to go? Plus, they look cute in jars!
Get Ready to Indulge
Alright, folks, you’re all set to take on your kitchen with confidence. Keep these essentials in mind when whipping up that creamy coconut chia delight.
Whether you’re prepping a quick no-cook snack for those bustling weekday mornings or creating a tropical dessert idea for your next gathering, remember these tips and substitutions to make your cooking a breeze!
Now, let’s dive into the step-by-step instructions to put this all into action. trust me; it’ll be as easy as pie (or should i say pudding?).
You won’t want to miss out on creating this tasty treat!
Professional Cooking Method: The Secrets to Culinary Success
Let’s dive into the professional cooking world! whether you're a kitchen novice or a seasoned chef, understanding the basics can elevate your dishes.
Think of this as your cooking cheat sheet. trust me, it'll change your game!
Essential Preparation Steps
Mise en place is key ! this fancy french term basically means “everything in its place.” before you begin whipping up something delicious, make sure all your ingredients are prepped: chopped, measured, and ready to go.
It’s like gathering your crew before a big concert, you know? you wouldn’t want to search for your guitar mid-jam.
Time management is also a huge part of the cooking scene. make a plan! outline each step and keep an eye on the clock.
Keeping track can make or break your dish. set timers for things like marinating or baking; believe me, it’ll save you from burnt chaos or soggy sadness.
You can’t create magic without a bit of organization. lay out your workspace so everything is close by. no one wants to be running around the kitchen like a headless chicken looking for baking soda.
And don’t forget about safety! always use sharp knives safely and keep that cutting board clean. safety first, folks!
Step-by-step Process
Let’s get into the nitty gritty. Number your steps to keep things clear. For example:
- Preheat your oven to 375° F .
- Chop your veggies while that oven is warming multitasking is your friend!
- Check for visual cues . Your dish should look appealing before you even taste it. If it’s a casserole, the cheese should be bubbling; a roast chicken should have that golden skin.
Pay attention to temperature control points throughout your cooking. if you’re cooking chicken, make sure it hits at least 165° f to be safe (and tasty!).
Timing is crucial. a minute or two over or under can change the game.
Expert Techniques
Now, let’s share some pro tips that can take your cooking from meh to wow ! first, understand the critical steps.
For example, searing meat before roasting helps lock in flavor. this simple step can make your meat juicy and to-die-for.
Create quality checkpoints. Taste as you go! If something feels off, don’t be afraid to adjust. A pinch of salt can amp up flavors in an instant don’t skip it!
And if you run into issues (and you will), troubleshoot them on the fly. if your sauce is too thin, simmer it longer! or maybe add a cornstarch slurry to thicken it up.
The kitchen is all about being flexible.
Success Strategies
Let’s face it, we’ve all messed up in the kitchen. Avoid common mistakes like overcooking pasta or underseasoning your dishes. Seriously, don’t be shy with the spices!
For quality assurance, always taste before you serve. Use a clean spoon, though! Nasty germs aren’t invited to this party.
Want perfect results every time? follow the recipe, but feel free to get creative. cooking should be fun, right? for busy days, think about make-ahead options! dishes like lasagna freeze beautifully for later use.
For a sweet treat, don't miss out on trying the creamy coconut chia delight . this easy chia seed recipe is not just a fancy name; it adds a tropical twist to any meal and is truly a nutrient rich dessert .
With just 10 minutes of prep, you can whip up a healthy coconut dessert that’s both gluten-free and vegan .
Who wouldn’t love a quick no-cook snack?
Whether for breakfast or dessert, this coconut chia pudding has some serious guilt free indulgence vibes. Add some fresh fruit, and you've got yourself a tropical paradise of flavors.
As we transition to our last section, remember: great cooking combines understanding, creativity, and a sprinkle of love. stick around for some additional information, tips, and tricks to elevate every dish you make.
Happy cooking, friends!
Pro Tips & Secrets for Your Creamy Coconut Chia Delight
You know, one of the best parts about making whip up creamy coconut chia delight | 10 min is how simple it really is.
I’m all about those easy recipes that pack a punch in flavor and nutrition. here's my little collection of pro tips to elevate this treat!
First off, freshness matters ! reach for high-quality coconut milk. trust me, it makes a world of difference so creamy and rich.
Add in some sweetened coconut for that extra flavor boost. and also, don’t skip on the whisking! making sure those chia seeds are evenly distributed keeps everything from clumping together.
Now, if you’re short on time (who isn’t?), you can whip this up without even cooking! just let the chia seeds soak for about 5- 10 minutes.
Oh, and if you want it thicker just pop it in the fridge for 30 minutes. your tastebuds will thank you!
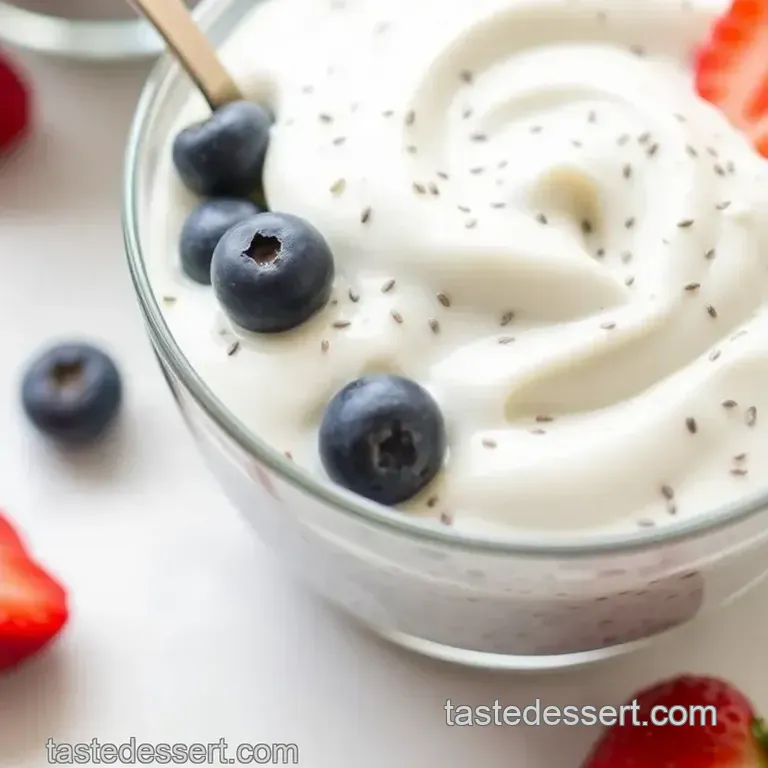
Perfect Presentation of Your Tropical Treat
Now that you've nailed the recipe, let’s talk about how to make it look fab! Presentation is everything, right? Here’s how I plate mine.
Start by spooning the chia mixture into cute glass jars or bowls. it’s all about those layered dessert recipes . add some shredded coconut on top, maybe toss in a few fresh berries, or even a slice of mango to jazz it up.
The vibrant colors pop and really makes your tropical dessert ideas shine. if you want to be a star, garnish with mint leaves.
Bam! you’ve turned a simple snack into an instagrammable delight!
Storage & make-ahead Tips
So, if you’re anything like me, you love things that you can prep ahead. this recipe is a winner! you can make your coconut chia pudding ahead of time.
Just store it in the fridge. it’s best enjoyed fresh for about 3-4 days , so keep that in mind.
Use airtight containers to keep it fresh, and trust me, it holds up well. when you’re ready to enjoy, give it a quick stir, and maybe toss on some more fruit or toppings.
Yummy and easy!
Creative Variations for Your Chia Delight
I’m all about customizable chia treats . want a chocolate fix? add a tablespoon of cocoa powder to really indulge. feeling fruity? mix in some citrus zest for a zesty kick or even peanut butter if you're feeling nutty! these chia seed variations make it fun.
And for those of you wondering about dietary restrictions, this dessert can easily become a gluten-free treat . Switch up that coconut milk for almond milk if you’re not a coconut fan.
Complete Nutrition Guide
Let’s not skip over the healthy stuff! a serving of this delight is packed with goodness. we're talking about anti inflammatory foods and nutrient rich desserts that make you feel great inside out.
Chia seeds bring in those chia seed health benefits , like fiber and omega-3s. plus, it’s super low-cal. perfect for those wanting guilt free indulgences!
If you wanna get precise, about 150 calories per serving isn’t so bad for a delicious dessert. Everyone loves satisfying snacks that won’t pack on the pounds!
Expert FAQ Solutions
Got questions about your coconut milk recipes ? no worries! common concerns include thickening issues if it’s too runny, remember to let it sit longer.
And if you find yourself wanting to simplify it, skip the fancy toppings!
Honestly, don’t stress. Even if it doesn’t turn out perfectly, it’s still a delightful treat. You can always tweak it next time. That’s the beauty of cooking, isn’t it?
Wrap-Up: look into Into This Delight!
There you have it! whether you’re looking for quick no-cook snacks or a healthy coconut dessert to impress at your next gathering, whip up creamy coconut chia delight | 10 min is the perfect go-to.
So, grab some chia seeds and let the tropical vibes roll.
Enjoy creating, tweaking, and munching on your own version! And most importantly, don’t forget to share because everything’s better when shared with friends. Let’s dig in!
Whip Up Creamy Coconut Chia Delight 10 Min