Classic French Crème Brûlée Recipe: Velvety Custard
- Time: Active 15 minutes, Passive 35 minutes, Total 50 minutes
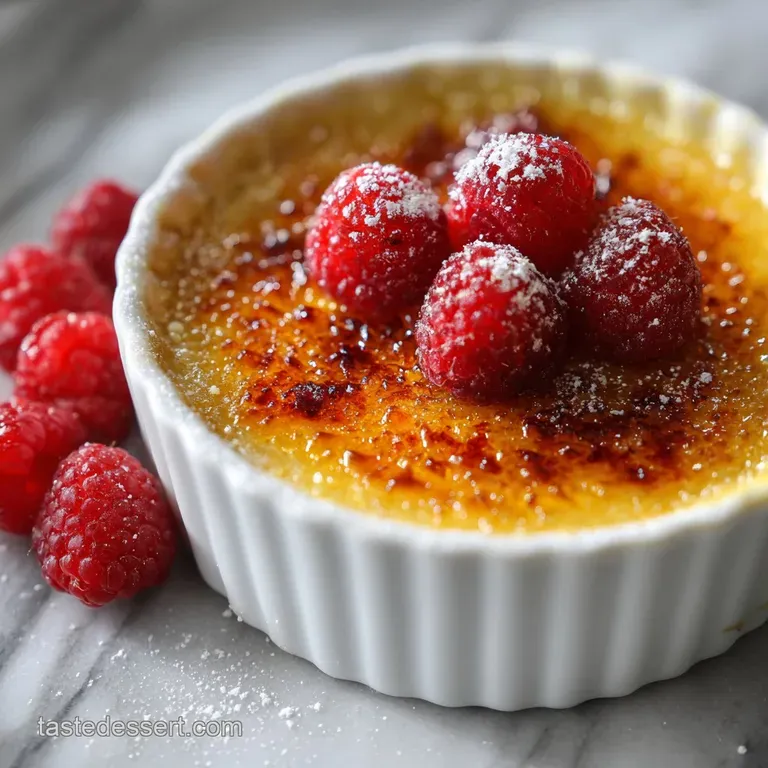
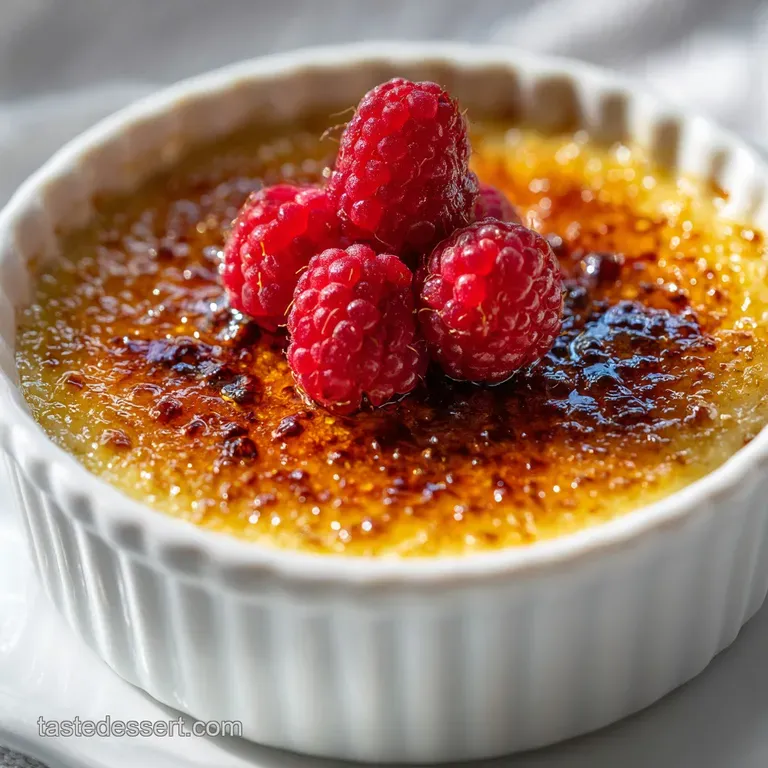
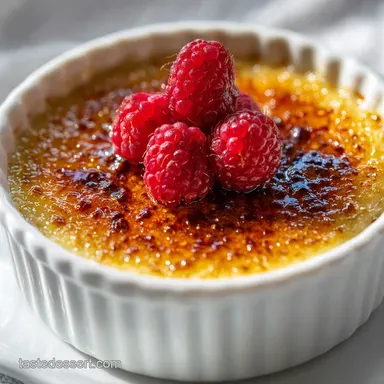
- Flavor/Texture Hook: Velvety vanilla custard hidden beneath a glass like shattering sugar crust
- Perfect for: Impressing guests at dinner parties or a romantic date night at home
- The Science Behind Silky Custard Results
- Essential Specifications for Your Brûlée
- Deep Dive Into Key Brûlée Components
- Necessary Tools for a Smooth Finish
- Detailed Steps for the Perfect Bake
- Fixing Common Custard and Sugar Errors
- Flavor Variations and Smart Ingredient Swaps
- Guidelines for Storing and Reheating Custards
- Ideal Accompaniments for This Creamy Treat
- Debunking Common Brûlée Myths
- Recipe FAQs
- 📝 Recipe Card
Close your eyes and imagine that first sharp clink of a spoon hitting a caramelized surface. It isn't just a sound; it's a promise of the contrast between the bitter, burnt sugar "shatter" and the cold, velvety pool of vanilla custard waiting underneath.
I still remember the first time I tried to make this for a small dinner party back in my early twenties. I didn't own a kitchen torch, so I tried using the oven broiler, and let's just say I ended up with lukewarm soup and a smoke alarm that wouldn't quit.
We've all been there, standing in the kitchen wondering why such a simple list of ingredients can be so temperamental. But honestly, once you understand how to treat those egg yolks with a little respect, it becomes the easiest "fancy" dessert in your repertoire.
It’s about the transformation of basic pantry staples into something that feels like it belongs in a high end Parisian bistro.
This recipe is designed to give you that restaurant quality result without the stress. We're going to skip the complicated tempering steps that usually lead to "scrambled egg" disasters and focus on a method that works every single time.
Trust me, once you master this, you'll never settle for the store-bought pudding cups again.
The Science Behind Silky Custard Results
Thermal Buffering: The water bath, or bain marie, prevents the custard from exceeding 212°F, which protects the egg proteins from over coagulating and turning grainy. This slow, indirect heat allows the yolks to set into a smooth gel rather than curdling into solids.
Sucrose Caramelization: Torching the superfine sugar triggers the Maillard reaction and pyrolysis, creating complex bitter sweet flavor compounds that balance the rich fat of the cream. The sugar must be bone dry to create a brittle lattice that shatters upon impact.
| Finishing Method | Time | Texture | Best For |
|---|---|---|---|
| Kitchen Torch | 2 minutes | Glass hard, perfectly even | Authentic results and control |
| Oven Broiler | 5 minutes | Bubbling but often soft | Making large batches at once |
| Cast Iron Salami | 3 minutes | Rustic, unevenly thick | A smoky, campfire style finish |
Choosing the right finishing method depends on your comfort level with fire. While the broiler is a decent budget shortcut, the kitchen torch offers a level of precision that ensures your custard stays cold while the top gets that iconic "snap."
Essential Specifications for Your Brûlée
Before we grab our whisk, let’s look at the numbers that actually matter for a successful set. You don't need a degree in chemistry, but keeping an eye on these specific measurements will save you from the heartbreak of a runny center.
| Component | Target Value | Why It Matters |
|---|---|---|
| Cream Fat Content | 36% to 40% | Provides the structural "mouthfeel" and prevents weeping |
| Ramekin Depth | 1 inch | Ensures even heat penetration without overcooking edges |
| Oven Temperature | 325°F | The "sweet spot" for slow protein denaturation |
| Final Internal Temp | 170°F to 175°F | The point where the custard is set but still wobbles |
If you find yourself wanting to experiment with different types of custard desserts, you might find the techniques in my How to Bake recipe helpful for understanding different dairy to egg ratios. Mastering one really helps you understand the others.
Deep Dive Into Key Brûlée Components
The magic of this dish lies in the quality of the ingredients. Since there are so few of them, each one has a massive job to do.
| Ingredient | Science Role | Pro Secret |
|---|---|---|
| Heavy Cream | Fat source for emulsion | Use "fresh" cream, not ultra pasteurized if possible |
| Egg Yolks | Emulsifier and thickener | Room temperature yolks blend more smoothly without air |
| Vanilla Bean | Aromatic profile | Rub the seeds into the sugar to release oils |
| Superfine Sugar | Caramelization lattice | Thinner grains melt faster with less risk of burning |
Using a real vanilla bean is the standard for a reason. The tiny black specks that settle at the bottom of the ramekin aren't just for show; they carry a woody, floral depth that extract simply cannot mimic.
However, if you're on a budget, a high-quality vanilla paste is a brilliant middle ground that still gives you those lovely flecks.
Necessary Tools for a Smooth Finish
You don't need a massive commercial kitchen, but a few specific items make this much easier. A heavy bottomed saucepan is vital for heating the cream; thin pans can scorch the dairy before it even reaches a simmer.
Chef Tip: If you don't have a kitchen torch, don't panic. You can heat a heavy metal spoon over a gas flame until it's glowing and press it directly onto the sugar. It’s old school, a bit dramatic, and works surprisingly well for a rustic look.
I also highly recommend using a fine mesh sieve. Straining the mixture might seem like an extra dish to wash, but it catches any "chalazae" (those white stringy bits in eggs) and any accidental bits of cooked egg, ensuring that your final result is nothing but velvet.
Detailed Steps for the Perfect Bake
- Preheat your oven to 325°F. Place six 4 ounce ramekins inside a large roasting pan, ensuring they aren't touching each other. Note: Space allows the water to circulate freely.
- Infuse the 2 cups of heavy cream. In a saucepan, combine the cream with the split and scraped vanilla bean and a pinch of salt. Heat over medium until tiny bubbles form at the edges.
- Whisk the 5 large egg yolks and 0.33 cup granulated sugar in a medium bowl. Do this gently until the mixture is combined but not foamy. Note: Too much air creates bubbles on the surface.
- Temper the yolks by slowly pouring a half cup of the hot cream into the egg mixture while whisking constantly. Note: This prevents the eggs from scrambling.
- Combine the remaining cream into the egg mixture. Once smooth, strain the entire custard through a fine mesh sieve into a clean pitcher.
- Pour the custard into the ramekins. Fill them nearly to the top, leaving about a quarter inch of space.
- Fill the roasting pan with hot water. Pour carefully until the water reaches halfway up the sides of the ramekins.
- Bake for 35 minutes. Check at the 30 minute mark; the edges should be set, but the center should jiggle like firm gelatin.
- Cool the ramekins on a wire rack for 1 hour, then refrigerate for at least 4 hours. Note: Cold custard is essential for the torching stage.
- Torch the tops. Sprinkle 1/2 tablespoon of superfine sugar over each chilled custard. Move the flame in circles until the sugar melts and turns deep amber.
| Fresh Vanilla Bean | Vanilla Extract | Why It Works |
|---|---|---|
| 1 Whole Bean | 1 tbsp Extract | Bean provides depth and visual "specks." Extract is faster and cheaper. |
| Granulated Sugar | Superfine Sugar | Superfine melts instantly. Note: Granulated can leave grainy spots if not torched long enough. |
| Heavy Cream | Half and Half | Cream provides stability. Note: Half and half will be much softer and may weep liquid. |
If you are looking for a lighter fruit based pairing to go with this, serving a small glass of something homemade like my Crème de Cassis recipe can really brighten up the palate after such a rich dessert.
Fixing Common Custard and Sugar Errors
Why Your Custard Is Runny
This usually happens if the internal temperature didn't reach 170°F or if the water bath wasn't hot enough. If you take them out and they look like liquid, they won't firm up in the fridge. Always use the "jiggle test" the center should move as one unit, not like a wave.
Why Your Sugar Crust Is Soft
If you torch the sugar and it turns soft or sticky after ten minutes, it's usually due to humidity or the custard being too warm when you started. Always blot the surface of the custard with a paper towel before adding the sugar to remove any condensation.
| Problem | Root Cause | Solution |
|---|---|---|
| Tiny bubbles on top | Whisking too vigorously | Tap ramekins on counter or use a torch to pop bubbles before baking |
| "Eggy" or sulfur smell | Overcooked eggs | Check temp earlier; ensure water bath isn't boiling |
| Sugar isn't browning | Flame is too far away | Keep the blue part of the flame about 2 inches from the sugar |
Common Mistakes Checklist
- ✓ Never let the water in the roasting pan boil; it should only simmer.
- ✓ Always strain your custard base to ensure a glass smooth texture.
- ✓ Don't torch the sugar too far in advance; it will soften in the fridge.
- ✓ Ensure the ramekins are cold to the touch before attempting to caramelize.
- ✓ Use a kitchen torch rather than the broiler for the most consistent crust.
Flavor Variations and Smart Ingredient Swaps
If you want to change things up, you can easily infuse the cream with other aromatics. A tablespoon of espresso powder makes a "Café au Lait" version, or you can steep two bags of Earl Grey tea in the hot cream for 5 minutes for a floral, citrusy twist.
For a budget friendly swap, you can use vanilla bean paste. It gives you the seeds and the flavor of a whole bean at a fraction of the cost per serving. If you're out of superfine sugar, just pulse regular granulated sugar in a blender for 30 seconds to break down the crystals.
If you want X, do Y: If you want a deeper flavor, use brown sugar for the base (but stick to white for the torching). If you want a citrus kick, steep lemon or orange peel in the cream and discard before mixing.
If you want a dairy-free version, use full fat coconut milk (the canned kind), though the set will be slightly softer.
Guidelines for Storing and Reheating Custards
Storage: You can keep the baked, untopped custards in the fridge for up to 3 days. Cover them tightly with plastic wrap directly on the surface of the custard to prevent a "skin" from forming. Do not add the sugar topping until the moment you are ready to serve.
Freezing: I generally don't recommend freezing this specific custard. The emulsion between the high fat cream and the yolks tends to break upon thawing, leaving you with a grainy, watery mess.
Zero Waste: Don't toss those 5 leftover egg whites! They are perfect for making a batch of meringues or a light egg white omelet for breakfast the next day. You can also freeze egg whites in an ice cube tray for up to 3 months.
Ideal Accompaniments for This Creamy Treat
Since this dish is incredibly rich and fatty, it benefits from something acidic or slightly bitter. A handful of fresh raspberries or blackberries on the side provides a tart contrast that cuts through the cream.
I also love serving this with a simple almond biscotti or a light Authentic Homemade Croissants recipe if I'm doing a full French themed brunch. The crunch of the pastry against the soft custard is heavenly.
Debunking Common Brûlée Myths
One major myth is that you need "special" expensive sugar for the topping. While superfine sugar is easier, regular white sugar works just fine if you move the torch slowly. The chemistry is the same; it just takes a few seconds longer to melt.
Another misconception is that the custard continues to cook significantly after being removed from the oven. While there is a tiny bit of carry over heat, the water bath stops the temperature from spiking. If it's liquid when it comes out, it will stay liquid.
You're looking for that "firm jiggle" before you pull the pan.
Finally, people often think you can't make this without a torch. As I mentioned earlier, the "hot spoon" method is a classic technique used in professional kitchens for decades. It’s a bit more labor intensive, but the results are just as delicious and much more of a conversation starter!

Recipe FAQs
Should I use heavy cream or half and-half for the best texture?
Use heavy cream, ideally 36% fat or higher. Heavy cream provides the necessary fat content to create a rich, stable emulsion that sets into a velvety custard.
How do I prevent the egg yolks from scrambling during the baking process?
Use a low oven temperature and a water bath (bain marie). The water insulates the ramekins, keeping the internal temperature gentle and preventing the eggs from exceeding 175°F too quickly.
How to tell when the custard is perfectly baked and set?
Remove the ramekins when the edges are set but the center still jiggles slightly. The internal temperature should read between 170°F and 175°F; the residual heat will finish cooking it outside the oven.
Can I use an oven broiler instead of a kitchen torch to caramelize the sugar top?
Yes, but use caution and watch closely. The broiler heats unevenly and can warm the cold custard underneath, so keep the ramekins far from the element and only broil for a few minutes until amber.
How far in advance can I prepare the vanilla custard base before baking?
Prepare the base up to 2 days ahead of time. Store the chilled, un-torched custards covered in the refrigerator; torching must happen immediately before serving for the signature brittle crust.
What technique guarantees the smoothest possible custard free of grainy texture?
Strain the finished mixture through a fine mesh sieve before pouring. This step catches any small bits of cooked egg or chalazae, which is the same principle used for achieving a perfectly smooth sauce base in our Potato Leek Soup Recipe.
Is it true that I must use vanilla beans for an authentic taste?
No, this is not strictly true, but beans provide superior depth. high-quality vanilla extract or paste is an acceptable, faster substitute, though the visual specks from a real bean enhance the presentation significantly.
Classic French Creme Brulee
Ingredients:
Instructions:
Nutrition Facts:
| Calories | 386 kcal |
|---|---|
| Protein | 4.0 g |
| Fat | 32.8 g |
| Carbs | 19.9 g |
| Fiber | 0 g |
| Sugar | 17.1 g |
| Sodium | 25 mg |
