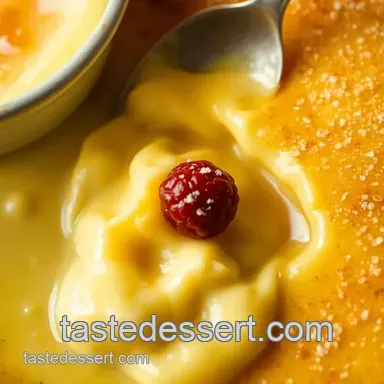
French Custard Dessert with Buttery Crust

- Time: 35 min active + 60 min baking + 210 min chilling
- Flavor & Texture: Buttery and vanilla forward with a smooth, dense filling
- Perfect for: Dinner party finales or a weekend baking project
The scent of warm vanilla and bright lemon zest filling the kitchen is the best part of this process. You get a thick, creamy filling nestled inside a crisp, buttery crust that holds its shape when you slice it.
It's basically a cross between a pastry cream and a baked custard. This French Custard Dessert feels decadent, but the steps are straightforward as long as you keep your butter cold and your whisk moving.
You'll end up with a treat that's wonderful for sharing. The contrast between the snap of the pastry and the soft center makes it feel like something from a Parisian bakery.
How This Custard Comes Together
This French Custard Dessert works because of two specific techniques that remove the guesswork.
- Stove Top Thickening: Boiling the custard before it hits the oven ensures the cornstarch activates fully. This means you don't need a water bath to get that smooth set, similar to the logic in a [Classic French Crème brûlée](https://tastedessert.com/recipes/classic-french-creme-brulee/) Recipe.
- The Blind Bake: Pre-baking the crust with weights prevents the bottom from staying raw. It creates a moisture barrier so the custard doesn't make the pastry soggy.
| Method | Prep Time | Texture | Best For |
|---|---|---|---|
| Stove-Set (This Recipe) | Faster | Dense & Creamy | Slicing and plating |
| Traditional Water Bath | Slower | Jiggly & Soft | Individual ramekins |
Tools You'll Need
Very little equipment is required, although a food processor speeds up the crust preparation. To ensure clean slices, use a 23 cm (9 inch) fluted tart pan with a removable bottom. You will also want a saucepan for the milk and a sieve to strain any egg bits from the custard.
What Each Ingredient Does
The ratio of starches to fats is essential to prevent the filling from becoming too runny.
| Ingredient | Role | If You Don't Have It |
|---|---|---|
| Cornstarch | Thickening agent | Arrowroot powder (use slightly less) |
| Egg Yolks | Richness and bind | Extra whole egg (makes it less rich) |
| Cold Butter | Flaky crust structure | Chilled margarine (changes flavor) |
| Whole Milk | Creamy base | Heavy cream for more richness |
Ingredients and Swaps
For the Crust
- 1¼ cups (156 g) all-purpose flour Why this? This ensures the tart shell holds its shape.
- ⅓ cup (40 g) powdered sugar
- Pinch of salt
- ½ cup (113 g) cold unsalted butter, cubed Why this? Using chilled fat ensures a flaky, tender crust.
- 1 large egg yolk (about 18 g)
- 1 to 2 tbsp (15 to 30 ml) ice water
For the Custard
- 2 cups (480 ml) whole milk Why this? High fat content creates a smoother mouthfeel.
- ½ cup (100 g) granulated sugar
- 3 tbsp (24 g) cornstarch Why this? Keeps the custard stable for precise slicing.
- 4 large egg yolks (about 68 g)
- 1 large whole egg (about 50 g)
- Pinch of salt
- 1 tsp (5 ml) pure vanilla extract
- 1 tbsp (14 g) unsalted butter
- 1 tsp (2 g) finely grated lemon zest (optional)
| Original Ingredient | Substitute | Why It Works |
|---|---|---|
| All-purpose Flour | Almond Flour | A gluten-free alternative. Note: Creates a nuttier, more fragile crust |
| Whole Milk | Coconut Milk | dairy-free. Note: Adds coconut notes, use full-fat cans. For a completely dairy-free tart, also replace both the cold unsalted butter and unsalted butter with plant-based options. |
Recipe Specs
- Prep time: 35 minutes
- Cook time: 60 minutes
- Total time: 305 minutes
- Yield: 8 slices
- Oven Temp: 190°C (375°F) for crust, 180°C (350°F) for filling
From Prep to Plate
Phase 1: Make and Chill the Crust
- Combine the flour, powdered sugar, and salt in a food processor by pulsing.
- Incorporate the cold butter. Pulse roughly 10 times until the texture resembles coarse sand with a few pea-sized pieces.
- Mix in the egg yolk and 1 tbsp ice water. Pulse until the dough forms clumps. If it remains too dry, add extra water, one teaspoon at a time.
- Form the dough into a disk, wrap it in plastic, and chill in the fridge for 30 minutes. Note: This relaxes the gluten so the crust doesn't shrink.
Phase 2: Blind-Bake the Shell
- Preheat your oven to 190°C (375°F).
- Roll out the chilled dough between two sheets of parchment to a thickness of 3 mm (⅛ inch). Place it into a 23 cm (9 inch) fluted tart pan, pressing into the corners and trimming the excess.
- Prick the bottom with a fork, line with parchment, and add pie weights.
- Bake for 15 minutes. Take out the weights and bake for another 5 minutes until the base is dry and edges are just golden. Allow the shell to cool.
Phase 3: Cook the Custard on the Stove
- Reduce the oven temperature to 180°C (350°F).
- Heat the milk, vanilla, lemon zest, and salt in a saucepan over medium heat until steaming. Avoid letting it boil.
- In a bowl, whisk the granulated sugar, cornstarch, egg yolks, and whole egg until the mixture is pale and smooth.
- Slowly whisk the hot milk into the egg mixture. Note: This prevents the eggs from scrambling.
- Return the mixture to the saucepan over medium heat, whisking continuously. The custard will thicken and begin to bubble slowly.
- When it reaches a full boil, whisk for one full minute. It is done when the whisk leaves trails that hold for a second.
- Take it off the heat, whisk in 1 tbsp butter, and pass the mixture through a fine-holed strainer into a clean bowl.
Phase 4: Fill, Bake, and Set
- Fill the cooled shell with the warm custard.
- Bake at 180°C (350°F) for 25 to 30 minutes until the perimeter is firm and the center wobbles like loose pudding.
- Let it cool on a wire rack for 1 hour, then chill in the fridge for a minimum of 2 hours.
- Take off the pan ring and sprinkle with powdered sugar. Use a thin, sharp knife dipped in hot water to slice.
How to Fix Common Problems
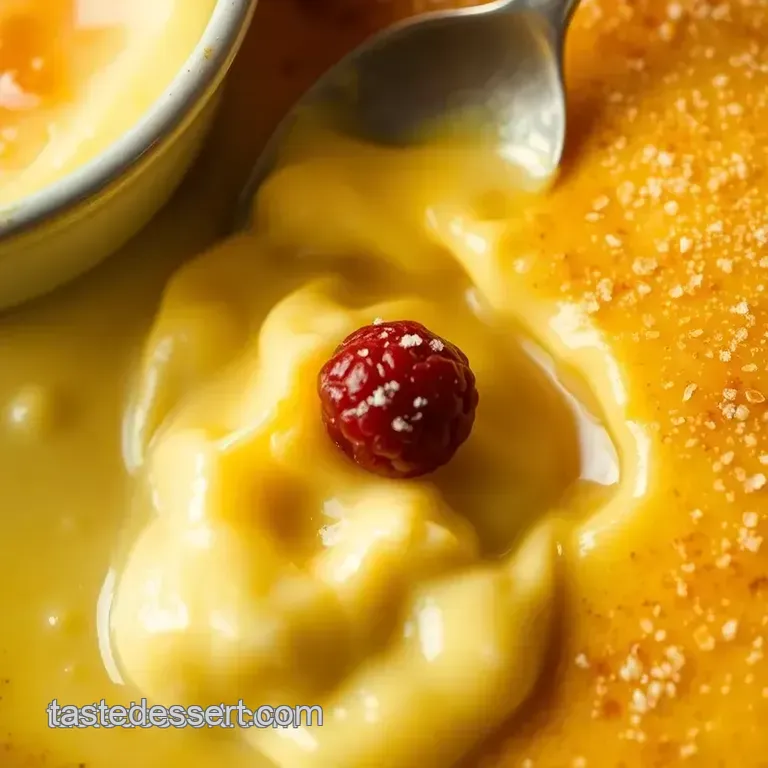
Fixing a Lumpy Custard
Lumps happen if the heat is too low or you stopped whisking. If you see them after cooking, pour the mixture through a sieve. For stubborn lumps, a quick pulse with an immersion blender will make it smooth.
Preventing a Soggy Base
If the bottom is too soft, you might have taken the shell out before its final 5 minutes of blind baking. Always bake the shell for those extra 5 minutes after removing the weights to dry out the floor of the tart.
Handling a Liquid Center
If the center is still too runny after 30 minutes, bake it for another 5 minutes. Remember that the center should jiggle, but it shouldn't look like liquid soup. It firms up significantly during the 2 hour fridge rest.
Adjusting the Yield
| Ingredient | Half batch | Double batch |
|---|---|---|
| All-purpose flour | 0.625 cups | 2.5 cups |
| Powdered sugar | 0.1667 cup | 0.6667 cup |
| Pinch of salt | — | — |
| Cold unsalted butter, cubed | 0.25 cup | 1 cup |
| Large egg yolk | 0.5 | 2 |
| Ice water | 0.5–1 tbsp | 2–4 tbsp |
| Whole milk | 1 cups | 4 cups |
| Granulated sugar | 0.25 cup | 1 cup |
| Cornstarch | 1.5 tbsp | 6 tbsp |
| Large egg yolks | 2 | 8 |
| Large whole egg | 0.5 | 2 |
| Pinch of salt | — | — |
| Pure vanilla extract | 0.5 tsp | 2 tsp |
| Unsalted butter | 0.5 tbsp | 2 tbsp |
| Finely grated lemon zest (optional) | 0.5 tsp | 2 tsp |
Changing the quantity does not automatically multiply the time; follow the original preparation stages and their readiness cues.
Use a smaller 15 cm (6 inch) pan to keep the thickness the same. For a double batch, use two 23 cm (9 inch) pans. Do not use one deeper pan, as the center won't set properly. The baking times stay the same because the thickness of the custard hasn't changed.
Truth About Custards
Some believe you must use a water bath for every baked custard. While it's great for avoiding cracks in cheesecakes, it's not needed here. Because we thicken the custard on the stove first, the oven just needs to set the structure.
How to Store and Keep Fresh
Store the completed French Custard Dessert in the refrigerator for a maximum of 3 days. The crust may lose some crispness, but the taste remains excellent.
We recommend against freezing this dish. Once thawed, the custard tends to get grainy and weep, ruining the mouthfeel. For make-ahead options, freeze the blind-baked shell for up to a month, then fill and bake it fresh.
Before serving, leave the slices at room temperature for 15 to 20 minutes. This softens the cold custard and makes it feel more indulgent.
Easy Swaps and Add-Ins
Feel free to customize this French Custard Dessert with a few simple adjustments.
Fruit Variations
To make a fruit-filled version, arrange sliced pears or fresh berries at the bottom of your blind-baked shell before adding the custard. If you're using berries, toss them with a teaspoon of cornstarch first to keep the colors from bleeding.
Flavor Shifts
I enjoy stirring a bit of cinnamon or nutmeg into the milk for a warmer taste. For a different twist, mimic an Easy Homemade Banana Cream Pie by placing sliced bananas under the custard layer.
Tea Infused Custard
Steep two bags of Jasmine or Earl Grey tea in the hot milk for 10 minutes before you whisk in the eggs. Simply strain out the bags and proceed as normal.
Serving Suggestions
A light sprinkle of powdered sugar makes this French Custard Dessert look beautiful. To elevate the dish, pair each portion with a spoonful of plain crème fraîche or a handful of fresh raspberries.
Since the filling is quite indulgent, a tangy accompaniment helps balance the creaminess. A drizzle of raspberry coulis or a few fresh mint leaves will add a vibrant touch of color and freshness to the plate.
Recipe FAQs
What is this type of French custard called?
It is a hybrid between a pastry cream and a baked custard.
Tip: the stove-top boiling step is what gives it this specific density.
How to avoid a soggy bottom crust?
Blind bake the shell with pie weights for 15 minutes, then remove the weights and bake 5 minutes more before filling.
Tip: prick the base with a fork to let steam escape.
Can I make this without a water bath?
Yes, this recipe uses stove-top thickening to set the custard without one.
Tip: this makes the dessert more stable for slicing.
Why is the custard not thickening?
The mixture must reach a full bubbling boil and be whisked for one minute to activate the cornstarch.
Tip: check that the whisk leaves lines that hold for a second before removing from heat.
Which knife is best for slicing the tart?
Dip a slender, sharp knife into hot water.
Tip: for a professional finish, wipe the blade clean between each slice.
Where should I store the finished dessert?
Keep the tart in the refrigerator.
Tip: let it chill for at least 2 hours to ensure the center is fully set.
Is there a way to add more flavor to the filling?
Include the optional finely grated lemon zest when warming the milk.
Tip: ensure the zest is finely grated to avoid large pieces in the smooth custard.
French Custard Dessert for 8 Servings