Classic Whoopie Pies Recipe
- Time: Active 25 minutes, Passive 12 minutes, Total 37 minutes
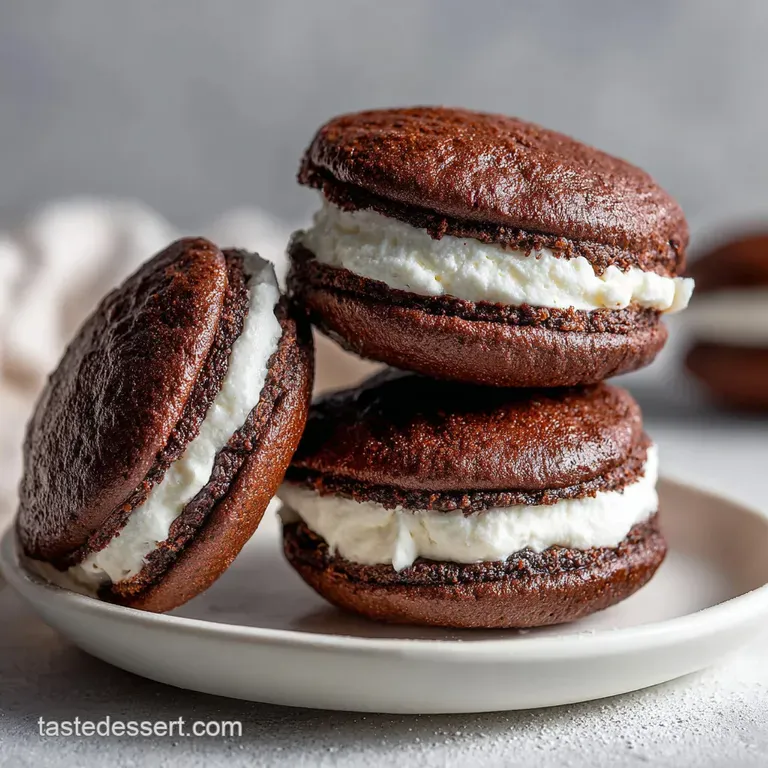
- Flavor/Texture Hook: Deep chocolate cake with a cloud like marshmallow center
- Perfect for: School bake sales, nostalgic weekend treats, or beginner bakers
- Essential Details for the Perfect Soft Cake Sandwich
- Gathering the Elements for a Classic Amish Inspired Treat
- Minimal Tools Required for This Funtastic Baking Project
- Step by Step Guide to Crafting These Iconic Sweets
- Troubleshooting Your Batch for Professional Results Every Time
- Smart Swaps to Personalize Your Flavor Profile and Texture
- Storage Secrets to Maintain That Velvety Filling Texture
- Delightful Pairings to Serve with Your Freshly Baked Sandwiches
- Recipe FAQs
- 📝 Recipe Card
Honestly, if you've never had a fresh whoopie pie, you haven't lived. I remember standing in a dusty roadside stand in Lancaster County years ago. The air smelled like woodsmoke and heavy cream. I handed over a few coins for a plastic wrapped treat that looked like a giant Oreo but felt like a cloud.
The first bite was a revelation: the way the chocolate shell didn't "shatter" like a cookie but yielded like the softest sponge cake, followed by that sweet, tacky marshmallow fluff.
I went home and failed three times before I got this right. My first batch was so flat they looked like chocolate pancakes, and my second was so dry I needed a gallon of milk just to swallow. But after tweaking the leavening and switching to Dutch processed cocoa, I finally cracked the code.
We've all been there, hovering over a mixing bowl wondering if the batter looks too thin. Trust me, this version is the one that actually works.
Forget those dry, store-bought versions that sit on a shelf for weeks. These are meant to be eaten while the chocolate is still fragrant and the filling is at its peak fluffiness. You'll get that classic Amish style but with a little hit of espresso to make the chocolate pop.
It's the kind of bake that makes your whole house smell like a high end chocolatier.
The Physics of the Springy Shell
The Acidic Kick: The combination of buttermilk and 1.25 tsp baking soda creates an immediate carbon dioxide reaction, giving the dense cocoa batter the lift it needs to stay domed rather than spreading flat.
Fat Saturation: Using 113g of softened butter instead of oil ensures a tighter crumb structure that can support the weight of the marshmallow filling without collapsing.
Maillard Mastery: The brown sugar provides molasses notes that interact with the cocoa to create a deeply browned, flavorful exterior that remains soft to the touch.
| Method | Time | Texture | Best For |
|---|---|---|---|
| Conventional Oven | 12 mins | Uniformly domed, soft, springy crumb | Traditional look and feel |
| Stovetop Griddle | 15 mins | Crispy edges, denser center, flat shape | A unique, "pancake style" hybrid |
| Air Fryer | 8 mins | Drier exterior, very light interior | Small batches for quick cravings |
Using a griddle is an old school trick if you want something closer to a "muffin top" texture with a slight crunch on the outside. However, for that classic look we all love, the oven is your best friend. It provides the surrounding heat necessary for that iconic rise. Speaking of great textures, if you ever find yourself wanting a crunchier base for a different dessert, The NoFuss Oreo recipe is my go to for pie bases.
Essential Details for the Perfect Soft Cake Sandwich
Before we start mixing, let's look at why these specific ingredients matter. You can't just swap things around and expect the same velvety result. The chemistry here is delicate, especially when dealing with the heavy marshmallow fluff.
| Component | Science Role | Pro Secret |
|---|---|---|
| Dutch Cocoa | Neutralized acidity | Sift this twice to avoid bitter lumps in the batter |
| Instant Espresso | Flavor enhancer | It won't taste like coffee; it just makes the cocoa taste "darker" |
| Marshmallow Fluff | Structural sugar | Keep it at room temp so it incorporates without breaking the butter |
| Buttermilk | Protein tenderizer | The acid breaks down gluten for a "melt in-mouth" feel |
The cocoa powder is a big deal here. Dutch processed cocoa is treated with alkali, which makes it darker and less acidic than natural cocoa. Since we are using baking soda, which needs acid to react, the buttermilk steps in to provide that necessary spark.
This balance is what gives us that dark, rich color without a harsh metallic aftertaste.
Gathering the Elements for a Classic Amish Inspired Treat
You probably have most of this in your pantry already. I like to lay everything out on the counter before I start. There is nothing worse than realizing you're out of baking soda when the butter is already creamed.
- 2 cups all purpose flour (250g): The foundation. Why this? Provides enough structure to hold the sandwich shape.
- Substitute: 1:1 gluten-free baking flour.
- 0.5 cup Dutch processed cocoa powder (45g): Deep chocolate flavor. Why this? Offers a smoother, darker profile than natural cocoa.
- Substitute: Natural cocoa (but add an extra pinch of baking soda).
- 1.25 tsp baking soda: The lifting agent.
- Substitute: 3 tsp baking powder (if buttermilk is swapped for regular milk).
- 0.5 tsp salt: Flavor balancer.
- 0.5 cup unsalted butter, softened (113g): For the cake.
- Substitute: Vegetable shortening for a more traditional, shelf stable Amish texture.
- 1 cup brown sugar, packed (200g): For moisture and depth.
- Substitute: White sugar + 1 tbsp molasses.
- 1 large egg, room temperature: Binder.
- 1 tsp vanilla extract: Aroma.
- 1 cup buttermilk (240ml): The tenderizer.
- Substitute: 1 cup milk + 1 tbsp lemon juice (let sit 5 mins).
- 1 tsp instant espresso powder: The chocolate "booster".
- Filling components: 0.5 cup butter (113g), 1.5 cups powdered sugar (180g), 7.5 oz marshmallow fluff (213g), 2 tsp vanilla, 2 tbsp heavy cream.
Chef's Tip: Freeze your butter for just 10 minutes before you want to "soften" it to room temperature. This ensures it stays cool enough to hold air when creamed with the sugar, rather than turning into a greasy puddle.
Minimal Tools Required for This Funtastic Baking Project
You don't need a professional kitchen for these. In fact, keeping it simple often leads to better results because you aren't overworking the batter.
- Hand Mixer: A standard hand mixer or a stand mixer (like a KitchenAid) is essential for getting the filling light and airy.
- Baking Sheets: Use heavy duty pans to prevent the bottoms from burning before the centers are set.
- Parchment Paper: Don't skip this. These cakes are sticky!
- Medium Cookie Scoop: This is my "secret weapon" for getting identical halves so they actually match up when sandwiched.
- Wire Cooling Rack: Essential for preventing "soggy bottoms" as the cakes cool.
If you don't have a cookie scoop, you can use two spoons, but your pies might look a bit more "rustic." I personally love the uniform look of piped or scooped batter. It makes the final sandwich look like it came straight from a bakery case.
step-by-step Guide to Crafting These Iconic Sweets
Let's get into the thick of it. Follow these steps carefully, especially the part about mixing the dry and wet ingredients. Over mixing is the enemy of a soft Whoopie Pie!
Achieving the Perfect Lift
- Whisk dry ingredients. Combine the flour, cocoa, baking soda, salt, and espresso powder in a bowl. Note: Sifting the cocoa here prevents tiny dark lumps in your finished cakes.
- Cream butter and sugar. Beat the 113g of softened butter and brown sugar until pale and fluffy. This should take about 3 full minutes.
Integrating the Dry and Wet
- Add the egg. Mix in the egg and vanilla until completely smooth and emulsified.
- Alternate wet and dry. Add half the flour mixture, then all the buttermilk, then the remaining flour. Note: This prevents the batter from breaking or becoming too tough.
Piping for Uniformity
- Scoop the batter. Drop rounded tablespoons (about 2 inches apart) onto your parchment lined sheets until the tray is evenly spaced.
- Bake to a Springy Finish. Bake at 180°C (350°F) for 10-12 minutes until the tops spring back when lightly touched.
Beating the Cloud Filling
- Whip the filling. Beat the 113g butter and powdered sugar, then fold in the marshmallow fluff, vanilla, and cream until it looks like a thick cloud.
- Constructing the Sandwich. Spread a generous dollop of filling on the flat side of one cake and press another on top until the filling reaches the edges.
If you are looking for a different kind of handheld treat, perhaps something seasonal, my Mini Pumpkin Pies recipe uses a similar "small batch" approach that people absolutely adore during the holidays.
Troubleshooting Your Batch for Professional Results Every Time
We've all had those moments where the timer goes off and things don't look quite right. Don't panic! Most Whoopie Pie issues are easy to fix once you know what's happening under the hood.
Why Your Whoopie Pies Spread
If your cakes come out looking like thin wafers, your butter was likely too warm. When butter is too soft, it loses its ability to hold those tiny air bubbles we created during creaming. Next time, ensure the butter is "cool room temp" it should dent when pressed but still feel slightly chilly.
Why Your Filling Is Runny
Usually, this happens if the cakes aren't 100% cool before you fill them. Even a tiny bit of residual heat will melt the butter in your filling, causing it to slide right out.
| Problem | Root Cause | Solution |
|---|---|---|
| Flat, thin cakes | Butter too warm or over mixing | Chill batter for 15 mins before scooping |
| Cracked tops | Oven temp too high | Lower oven by 10°C and check at 10 mins |
| Filling oozes out | Too much heavy cream | Add extra 1/4 cup powdered sugar to stiffen |
Common Mistakes Checklist:
- ✓ Always use room temperature eggs to ensure they emulsify with the fat.
- ✓ Measure your flour using the "spoon and level" method rather than scooping the cup into the bag.
- ✓ Don't open the oven door for the first 8 minutes; you'll lose the heat needed for the rise.
- ✓ Let the cakes cool on the pan for 5 minutes before moving them to a rack (they are fragile when hot!).
- ✓ Use Dutch processed cocoa; natural cocoa will make the cakes too pale and acidic.
Smart Swaps to Personalize Your Flavor Profile and Texture
While the chocolate marshmallow combo is the gold standard, you can definitely play around with the components. Some people prefer a more "cake mix" style simplicity, while others want a completely different flavor profile like pumpkin or vanilla.
Baking Pumpkin Whoopie Pies
To turn these into a fall favorite, swap the cocoa for extra flour and replace the buttermilk with 1/2 cup pumpkin puree. Add 2 tsp pumpkin pie spice to the dry ingredients. The texture will be slightly denser and more moist, similar to the vibe of a Sweetheart Chicken Hand recipe but obviously in dessert form!
Utilizing Cake Mix Shortcuts
If you are in a massive rush, you can use a boxed devil's food cake mix. Just reduce the liquid called for on the box by half and add an extra egg. This creates a stiffer batter that holds its round shape on the cookie sheet.
| Original Ingredient | Substitute | Why It Works |
|---|---|---|
| Buttermilk (1 cup) | Greek Yogurt (1 cup) | High acidity and fat. Note: Resulting cake will be slightly tangier and denser. |
| Marshmallow Fluff | Cream Cheese Filling | Provides a cheesecake like flavor. Note: Must be kept refrigerated. |
| All Purpose Flour | Cake Flour | Lower protein content. Note: Makes a much lighter, delicate "shatter" crumb. |
- For a deeper flavor
- Add a teaspoon of balsamic vinegar to the chocolate batter.
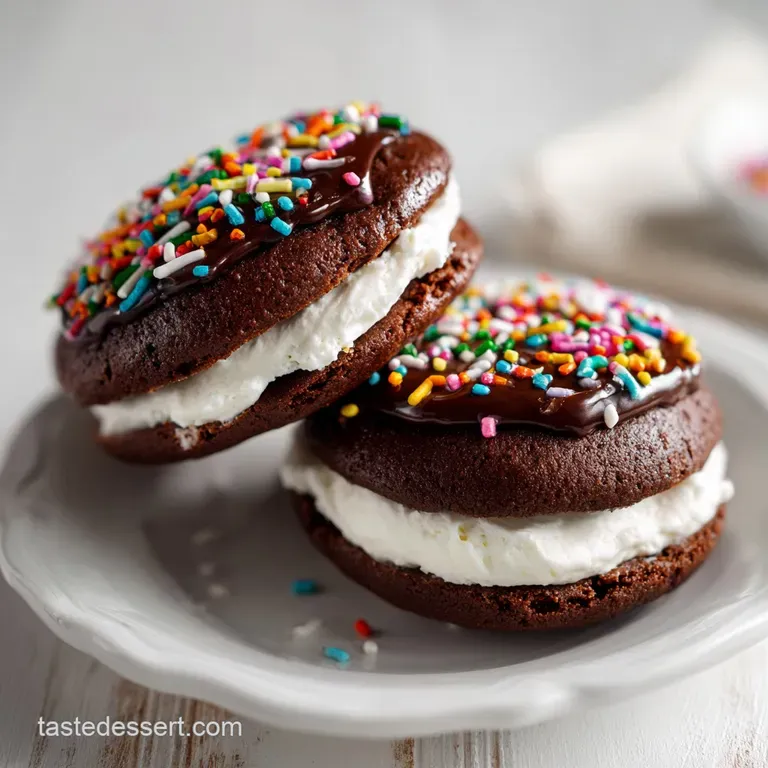
- For a kid friendly version
- Roll the edges of the filled pies in sprinkles or crushed Oreos.
- For an adult twist
- Add a tablespoon of bourbon to the filling.
Storage Secrets to Maintain That Velvety Filling Texture
Whoopie pies are unique because they are part cake, part cookie. This means they can dry out quickly if left on the counter, but they can also get "sweaty" if packed away while warm.
Storage: Store your assembled pies in an airtight container with parchment paper between layers. They stay fresh at room temperature for 2 days or in the fridge for up to 5 days. Personally, I think they taste better on day two once the filling has slightly softened the interior of the cake.
Freezing: These freeze beautifully! Wrap each pie individually in plastic wrap, then place them in a freezer bag. They’ll last for 2 months. Just thaw them at room temperature for an hour before eating.
Zero Waste Tip: If you have leftover filling, don't throw it out! It makes an incredible frosting for brownies or a dip for graham crackers. If you have broken cake halves, crumble them up over vanilla ice cream for a "Whoopie Pie Sundae."
Delightful Pairings to Serve with Your Freshly Baked Sandwiches
These are rich, heavy hitters, so you want to serve them with something that cuts through the sugar. A cold glass of whole milk is the classic choice, but if you're feeling fancy, a strong cup of black coffee or a bitter Earl Grey tea works wonders.
If you are hosting a brunch, these look adorable on a platter next to savory items. I often serve them alongside a Mini Mushroom recipe to balance the sweet and earthy flavors. The contrast between the flaky pastry of the mushroom pies and the soft, velvety texture of the Whoopie Pies is always a hit with guests.
Scaling the Batch:To Half the Recipe: Use 1 egg yolk instead of a whole egg, and cut all other ingredients exactly in half. Use a slightly smaller bowl for the filling so the beaters can reach the bottom.
To Double the Recipe: Do not double the baking soda; use 2 tsp instead of 2.5 tsp. Work in batches so the batter doesn't sit out too long and lose its "fizz" from the buttermilk reaction.
The Great Sift Myth Many people think sifting flour is a waste of time. While that might be true for some cookies, for Whoopie Pies, it's vital. Cocoa powder is notorious for clumping. If you don't sift it with the flour, you'll end up with tiny explosions of bitter, dry cocoa in your mouth.
Not exactly the "delightful" experience we're going for!
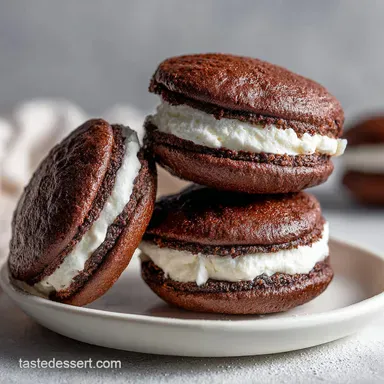
These pies are a labor of love, but honestly, once you see that "cloud" of filling squeezed between two dark chocolate domes, it's all worth it. Let me know if you try the espresso trick it really is the secret to that "professional" bakery flavor!

Recipe FAQs
What is a whoopie pie made of?
Two soft, cake like cookies sandwiched around a creamy filling. The cakes are typically dark chocolate flavored, using cocoa powder, and the filling is traditionally a fluffy, marshmallow based buttercream.
Are whoopie pies from Maine or Pennsylvania?
Both claim origin, but Pennsylvania holds the stronger traditional claim. The Amish communities in Lancaster County, Pennsylvania, are widely credited with creating this treat long before it gained popularity in Maine.
What is another name for a whoopie pie?
Gobs or Black Moons are common alternate names. "Gobs" is the popular term used in Western Pennsylvania, referring to the large, gob-like shape of the baked sandwich.
Are whoopie pies Amish?
Yes, they are historically associated with Amish and Pennsylvania Dutch cuisine. They originated as a simple, portable, and easily transportable snack made from leftover cake batter.
Why do my whoopie pies come out flat instead of domed?
Your butter was likely too warm, or you over mixed the batter after adding the flour. Over creaming the fat causes it to lose its structure, preventing the necessary lift during baking.
How do I ensure my chocolate cakes stay moist?
Use buttermilk and Dutch processed cocoa powder. The acidity in the buttermilk tenderizes the crumb, and if you enjoyed controlling the fat ratios here, see how the same logic applies to texture in our Chewy Rice Krispies recipe.
Can I make the filling with shortening instead of butter?
Yes, traditionally the filling often used shortening for stability. Shortening yields a crusting filling that is very shelf stable, whereas butter provides a richer flavor but softens faster at room temperature.
Classic Whoopie Pies Recipe
Ingredients:
Instructions:
Nutrition Facts:
| Calories | 424 calories |
|---|---|
| Protein | 4.2g |
| Fat | 17.5g |
| Carbs | 65.1g |
| Fiber | 1.2g |
| Sugar | 45.8g |
| Sodium | 242mg |
