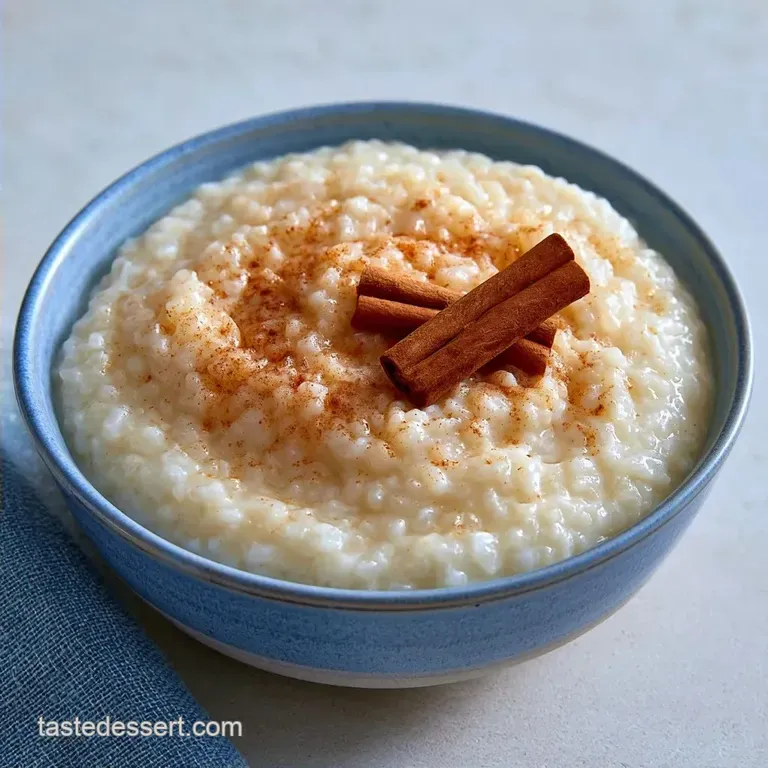
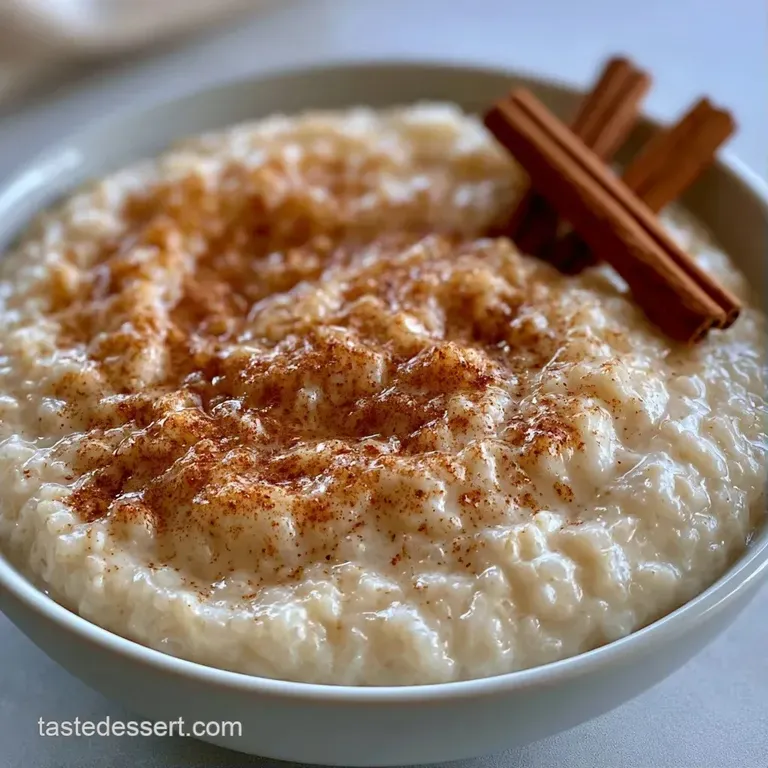
Creamy Rice Pudding Recipe: Velvety and Rich
- Time: 5 min active + 45 min cook = 50 min total
- Flavor/Texture Hook: Velvety, creamy, and fragrant
- Perfect for: Comforting desserts, meal prep, or a cozy winter treat
Do you ever wonder why some rice puddings feel like a bowl of wet grains, while others feel like a warm hug? I remember a snowy Tuesday afternoon at my grandmother's house, the kitchen windows completely fogged over, and that heavy, iron pot bubbling on the stove.
The scent of cinnamon and simmering milk filled every corner of the house, and we'd wait with spoons in hand, watching the liquid slowly transform into something thick and glossy.
It's a dish that doesn't need fancy techniques, just a bit of patience and the right kind of rice. I've spent a lot of time thinking about what makes that specific childhood memory taste the way it did. It wasn't about expensive ingredients, but about the way the starch slowly bonded with the fat in the milk.
This Creamy Rice Pudding Recipe is my tribute to those afternoons. It's a timeless sweet that brings back the feeling of a slow paced kitchen where the only goal was to make something comforting. You're going to get a result that is silky, rich, and deeply satisfying, without any of the guesswork.
Creamy Rice Pudding Recipe
Right then, let's get into what actually makes this version stand out. Most people just dump everything in a pot and hope for the best, but the secret is in the two stage cooking process.
By simmering the rice in water first, we activate the starch without the milk proteins getting in the way or scorching on the bottom of the pan.
This method ensures that the grains are tender but still hold their shape, rather than turning into a mushy paste. Once the milk is added, those activated starches act like a natural thickener, creating a velvety consistency that feels professional but is honestly quite simple.
It's all about the slow release of energy from the grain.
Trust me on this, don't rush the simmer. If you crank the heat, you'll burn the milk solids, and you'll end up with little brown specks throughout your pudding. Keep it low, keep it slow, and let the magic happen.
How the Starch Works
- Water Pre cook: Boiling rice in water first breaks down the outer structure, allowing it to absorb milk more efficiently later.
- Starch Gelatinization: Slow heating in milk causes starch granules to swell and burst, thickening the liquid into a cream.
- Fat Emulsion: Adding butter at the end binds everything together and gives the pudding a glossy, professional finish.
| Method | Total Time | Texture | Best For |
|---|---|---|---|
| Stovetop | 50 mins | Velvety & Consistent | Everyday comfort |
| Baked | 2-3 hours | Custard like & Set | Dinner parties |
Quick Project Details
Before we crack on, let's look at the flow. I like to think of this as a three phase operation: the starch activation, the slow simmer, and the final aromatic finish. If you have your ingredients measured out, the active work is minimal, but you'll want to be near the stove for the stirring phase.
The timeline is straightforward: 5 minutes of prep, 15 minutes of water simmering, and about 30 minutes of milk simmering. Because we aren't using eggs, you don't have to worry about the pudding "breaking" or curdling, which makes this a very forgiving process for beginners.
Ingredient Deep Dive
When choosing your components, don't just grab the first bag of rice you see. The variety of rice determines whether your pudding is creamy or just a bowl of porridge. According to Serious Eats, short grain rice is essential here because it has a higher amylopectin content, which is the starch responsible for that sticky, creamy texture.
| Ingredient | Science Role | Pro Secret |
|---|---|---|
| Short Grain Rice | Starch Source | Rinse until clear to control the thickness |
| Whole Milk | Fat & Liquid | Use full fat for a velvety mouthfeel |
| Unsalted Butter | Emulsifier | Add at the very end for a glossy sheen |
| Pure Vanilla | Aroma | high-quality extract prevents a "chemical" aftertaste |
The Essential Components
Here is everything you'll need. I've kept this list classic and timeless, focusing on flavors that have worked for generations.
- Short grain white rice (150g / 3/4 cup) Why this? High starch content for maximum creaminess
- Whole milk (960ml / 4 cups) Why this? Fat carries the cinnamon and vanilla flavors
- Granulated white sugar (65g / 1/3 cup) Why this? Clean sweetness that doesn't mask the milk
- Fine sea salt (1.5g / 1/4 tsp) Why this? Balances the sugar and deepens the richness
- Pure vanilla extract (5ml / 1 tsp) Why this? Adds a floral, nostalgic depth
- Ground cinnamon (1g / 1/2 tsp) Why this? Classic warming spice
- Unsalted butter (14g / 1 tbsp) Why this? Creates a silky finish and prevents sticking
| Original Ingredient | Substitute | Why It Works |
|---|---|---|
| Short grain Rice | Arborio Rice | Even higher starch. Note: May result in a thicker, riskier consistency |
| Whole Milk | Coconut Milk (Full fat) | Similar fat content. Note: Adds tropical notes, best for vegan versions |
| White Sugar | Maple Syrup | Natural sweetness. Note: Adds a woody flavor; reduce milk by 2 tbsp |
| Whole Milk | Heavy Cream (half & half) | Increases richness. Note: Much denser, may feel too heavy for some |
Step-by-step Execution
Now, let's get cooking. Grab a heavy bottomed pot - this is non negotiable because thin pots create hot spots that burn the milk.
- Rinse the rice. Run the 150g of short grain white rice under cold water until the water runs clear. Note: This removes excess surface starch so the pudding doesn't become gluey.
- Initial boil. Place the rinsed rice in your saucepan with 480ml (2 cups) of water.
- First simmer. Bring to a boil, then immediately drop the heat to low, cover, and simmer for 15 minutes until the water is mostly absorbed.
- Add the base. Stir in the 960ml of whole milk, 65g of granulated white sugar, and 1.5g of fine sea salt.
- Gentle heat. Increase heat to medium just until you see a gentle simmer, then immediately drop it back to low.
- The slow thicken. Cook uncovered, stirring every few minutes, for 20-30 minutes until the pudding thickens to a porridge like consistency.
- Final aromatics. Remove the pot from the heat entirely.
- The gloss finish. Stir in the 5ml of pure vanilla extract, 1g of ground cinnamon, and 14g of unsalted butter until the mixture is glossy and smooth.
Chef's Note: If you want a more intense cinnamon flavor, stir half of the cinnamon into the milk at the start and save the other half for the final butter stir. This layers the spice throughout the pudding.
Fixing Pudding Problems
Even the best of us have moments where the pot doesn't cooperate. Most issues with a Creamy Rice Pudding Recipe come down to heat management or rice selection. If yours looks a bit off, don't panic, it's usually an easy fix.
Runny Pudding Fixes
If your pudding is too liquid after 30 minutes, you likely have a rice variety with less starch or your heat was too low to trigger the thickening. Just keep simmering for another 5-10 minutes, stirring frequently.
Burnt Bottom Fixes
A burnt bottom happens when the milk solids settle and overheat. If you smell something toasted, stop stirring immediately so you don't mix the burnt bits in. Carefully pour the "good" pudding into a new pot, leaving the burnt layer behind.
Grains Too Hard
This usually means the initial water boil step was cut short. You can fix this by adding a splash more milk and simmering for an extra 10 minutes on very low heat.
| Problem | Root Cause | Solution |
|---|---|---|
| Too Thick | Overcooked or too much rice | Stir in a splash of warm milk |
| Lumpy Texture | Didn't stir enough during simmer | Whisk vigorously while hot |
| Separated Milk | Heat was too high (boiling) | Reduce heat and stir in butter |
Common Mistakes Checklist
- ✓ Did you use a heavy bottomed pot to prevent scorching?
- ✓ Did you rinse the rice until the water ran clear?
- ✓ Did you keep the milk at a low simmer, not a rolling boil?
- ✓ Did you add the butter and vanilla AFTER removing from heat?
- ✓ Did you stir frequently to release the starches?
Alternative Ingredient Ideas
If you're looking to shake things up, there are plenty of ways to adapt this. For those who love an even richer treat, you can try a Creamy Rice Pudding Recipe with condensed milk. Simply replace the granulated sugar with 1/2 cup of sweetened condensed milk.
It adds a fudge like depth that is absolutely cherished in many cultures.
For those without fresh rice, you can actually make a Creamy Rice Pudding Recipe with leftover rice. Just skip the first two steps and start by adding your cooked rice directly to the milk and sugar. You'll need to simmer it for about 15-20 minutes to let the grains absorb the flavors.
If you're avoiding dairy, coconut milk is your best bet. It provides the same fat content as whole milk, ensuring the texture remains velvety. I've also found that adding a pinch of cardamom instead of cinnamon creates a wonderful twist that pairs well with a Lemon Meringue Pie if you're serving a variety of desserts.
Sizing Your Batch
Adjusting the quantity is simple, but remember that liquids don't always scale linearly in a pot.
Scaling Down (Half Batch) Use a smaller saucepan to prevent the milk from evaporating too quickly. Reduce the simmer time by about 20%, as smaller volumes heat up faster.
Scaling Up (Double or Triple) When doubling, don't double the salt or cinnamon exactly - start with 1.5x the amount and taste at the end. You might need to reduce the total milk by about 10% because less steam escapes from a fuller pot.
Decision Shortcut
- If you want it thicker: Simmer for 5 extra minutes.
- If you want it richer: Swap 1 cup of milk for heavy cream.
- If you want it more fragrant: Add a pinch of orange zest at the end.
Pudding Truths
There are a few things people tell you about rice pudding that just aren't true. Let's clear the air.
First, some say you must use Arborio rice for a Creamy Rice Pudding Recipe. While Arborio is great, any short grain white rice works perfectly. The key is the technique, not just the grain.
Second, there's a myth that you need eggs to get a thick consistency. In reality, the natural starches in the rice are more than enough. Eggs can actually make the pudding feel more like a custard and less like a classic, nostalgic pudding.
Saving and Reheating
Once you've made your batch, you have a few options for keeping it.
Storage Guidelines Store your pudding in an airtight container in the fridge for up to 4 days. It will thicken significantly as it cools because the starches continue to set.
Freezing Tips I don't recommend freezing this. The emulsion of milk and starch tends to break, leaving you with a grainy texture once thawed. It's better to make smaller batches.
Reheating without Loss To get that velvety texture back, reheat on the stove over low heat. Add a tablespoon of milk or cream and stir gently until it loosens up. Avoid the microwave if possible, as it can create "hot spots" that make the rice rubbery.
Zero Waste Tip If you have a little bit of leftover rice in the bottom of the pot that's too thick to eat, don't toss it. Stir it into your morning oatmeal or use it as a thickener for a creamy soup.
The Best Pairings
This pudding is a star on its own, but it loves company. Because it's so creamy, it pairs beautifully with something tart or crunchy. A handful of fresh raspberries or a drizzle of honey can brighten the whole dish.
If you're planning a nostalgic dessert spread, this is the perfect companion to a Southern Pecan Pie. The nuttiness of the pecan pie balances the smooth, milky sweetness of the rice pudding.
For a more modern touch, try serving it chilled in small glasses with a sprinkle of toasted coconut or crushed pistachios on top. It transforms a simple home cook's treat into something that feels special, while still keeping that cherished, old-fashioned heart.
Recipe FAQs
What makes rice pudding creamy?
The release of starches from the short grain rice. When simmered slowly in milk, these starches thicken the liquid into a rich, velvety sauce.
Can I use heavy cream instead of milk in rice pudding?
Yes, for a denser texture. Replacing some whole milk with heavy cream increases the fat content. If you enjoy this level of richness, you might also like our peanut milk for a high protein alternative.
What are common rice pudding mistakes?
Using a thin bottomed pot and skipping the rinse. Thin pots create hot spots that scorch the milk, while unrinsed rice makes the pudding overly gluey.
How to prevent the rice pudding from burning?
Use a heavy bottomed saucepan and stir frequently. Maintaining a low simmer after the initial boil ensures the milk doesn't scald at the bottom of the pot.
Is rice pudding a good choice for someone with Crohn's disease?
It depends on individual triggers. While white rice is often gentle on the gut, the dairy in this recipe may be problematic for some. Always consult a healthcare provider regarding dietary restrictions.
How to make the pudding even richer?
Replace the granulated sugar with sweetened condensed milk. This adds a fudge like depth and a thicker, more luxurious consistency.
Is it true that you must use long grain rice for the best texture?
No, this is a common misconception. Short grain white rice is preferred because it contains more amylopectin starch, which creates the signature creamy thickness.
Creamy Rice Pudding Recipe

