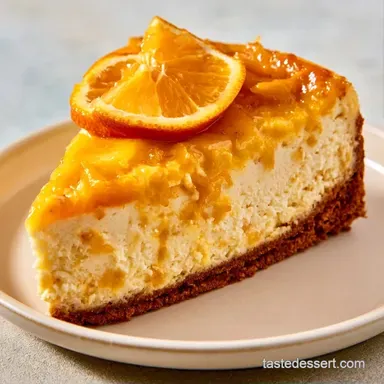
Double Layer Pumpkin Cheesecake with Gingersnap Crust
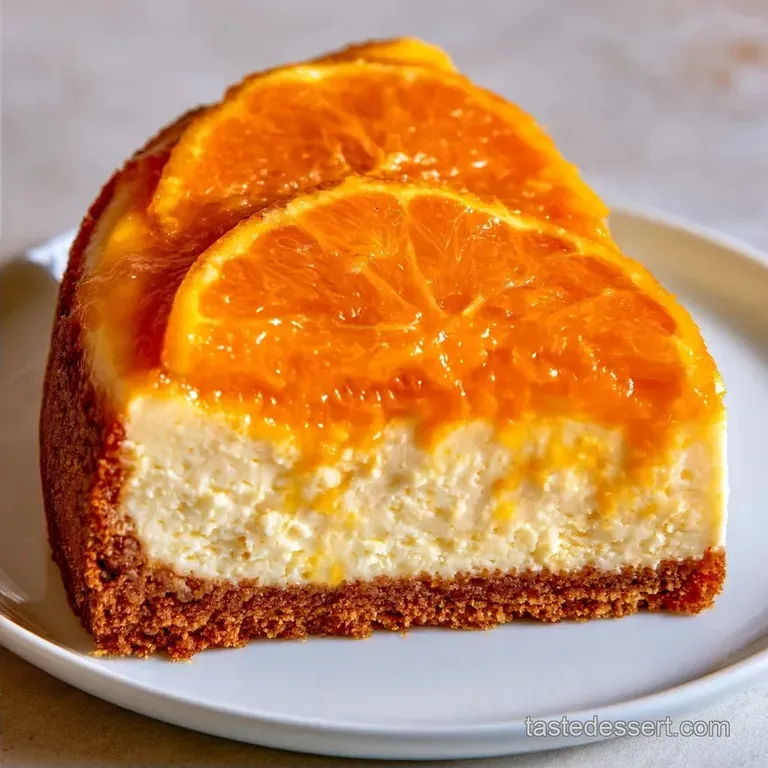
- Time: 20 min active + 45 min bake + 6 hrs chilling
- Flavor/Texture Hook: Tangy vanilla and warm pumpkin on a spicy, crisp gingersnap base
- Perfect for: Thanksgiving dinner or a cozy autumn get together
The aroma of toasted gingersnaps and cinnamon is the ultimate sign that autumn is here. My early attempts at layered desserts often resulted in a muddy, orange white swirl because I rushed the setting process or ignored batter weights.
Those early failures provided the essential lessons needed to master these specific fillings.
This Double Layer Pumpkin Cheesecake makes a stunning impression thanks to its sharp, clean slices. It pairs a decadent, New York style creamy base with a rich, spiced pumpkin layer. While it requires more work than a standard single layer cake, the striking presentation is well worth the effort.
The result is a rich, indulgent dessert that remains balanced by the brightness of sour cream. The goal here is precision in texture rather than mere ornamentation. You'll find a crust with a satisfying snap and a filling that maintains its structure without becoming rubbery.
Things To Know
- Room Temp Ingredients: Using cold cream cheese often results in lumps. Trying to beat these out can lead to over mixing, which traps air and causes the cake to rise and subsequently crack as it cools.
- Density Matching: Since the pumpkin layer is denser than the vanilla base, pouring the batter gently over the back of a spoon keeps the layers separate and prevents the top from sinking.
Here is how this approach compares to other methods of preparing these cakes. While this version uses the oven for a traditional baked set, some prefer a no-bake alternative.
| Method | Time | Texture | Best For |
|---|---|---|---|
| Oven Baked | 7+ hours | Dense and rich | Traditional holiday dinners |
| No Bake | 4-6 hours | Light and mousse like | Hot summer days |
| Stovetop Custard | 3 hours | Creamy and soft | Individual jars |
For a Double Layer Pumpkin Cheesecake, the baked method is more reliable because the heat helps stabilize the fats in the cream cheese.
Quick Reference Specs
This recipe fits a standard 9 inch springform pan, yielding 12 thick and satisfying slices.
- Crust Bake
- 8 minutes at 325°F (160°C) until the butter is bubbling and fragrant.
- Filling Texture
- Ensure the pumpkin mixture is a consistent, deep orange before pouring it into the pan.
- The Wobble
- Bake for 45 minutes; the outer ring should be firm while the center remains jiggly.
The Ingredient List
Gingersnaps replace graham crackers in this crust, as the spiced cookies perfectly balance the richness of the cheesecake.
For the Crust: 1.5 cups (180g) gingersnap cookie crumbs Why this? Creates a warm, spiced counterpoint to the creamy filling 4 tbsp (56g) unsalted butter, melted 1 tbsp (8g) granulated sugar 1/4 tsp (1.5g) salt
For the Classic Layer: 16 oz (450g) cream cheese, softened Why this? Provides tangy flavor and the main structure 1/2 cup (100g) granulated sugar 2 large eggs, room temperature 1 tsp (5ml) vanilla extract 1/4 cup (60g) sour cream, room temperature Why
This? Enhances the tang and keeps it moist
For the Pumpkin Layer: 8 oz (225g) cream cheese, softened 1/2 cup (100g) pumpkin puree Why this? Use pure pumpkin rather than pie filling 1/3 cup (65g) brown sugar, packed Why this? Provides a deeper molasses flavor compared to white sugar
1 large egg, room temperature 1 tsp (2g) pumpkin pie spice 1/2 tsp (1g) ground cinnamon
I recommend using a high fat cream cheese, such as the Philadelphia blocks, for the most stable results.
The synergy between these ingredients is what makes the dessert successful. Here is a breakdown of how they function in the mix.
| Component | Purpose | Substitute Notes |
|---|---|---|
| Cream Cheese | Main structure & fat | Mascarpone: Richer but softer, may need more chill time |
| Sour Cream | Texture & Acidity | Greek Yogurt: Similar tang but slightly thicker |
| Gingersnaps | Flavorful base | Graham Crackers: Milder taste, add 1/2 tsp cinnamon |
| Pumpkin Puree | Flavor & Color | Roasted Butternut Squash: Similar texture, needs more spice |
If you prefer a more basic recipe, my classic New York cheesecake is a wonderful starting point before attempting these layers.
Essential Kitchen Tools
While you don't need a professional grade kitchen, having the right equipment helps. A 9 inch springform pan is required; using a standard cake pan makes extracting the Double Layer Pumpkin Cheesecake in one piece almost impossible.
I suggest using a stand mixer, such as a KitchenAid, since mixing 24 ounces of cream cheese manually is far too strenuous. A rubber spatula is also essential for clearing the bowl's sides and eliminating any cheese lumps.
Lastly, use a piece of parchment paper to line the bottom of your pan. This simple trick ensures the crust doesn't stick to the metal.
Step by step Instructions
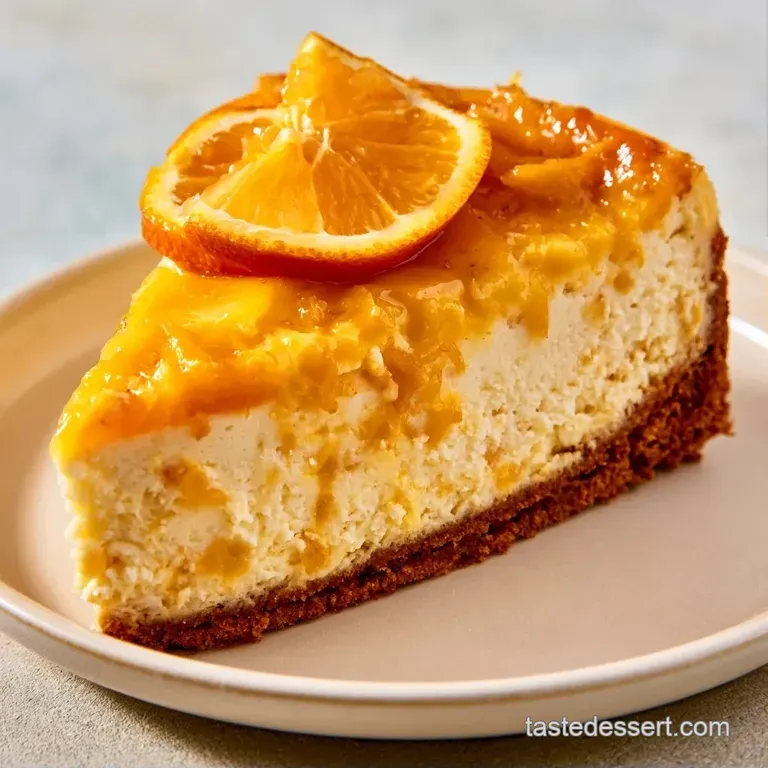
- Preheat and Prep. Set your oven to 325°F (160°C). Grease a springform pan and line the base with parchment.
- Make the Crust. Combine the gingersnap crumbs, melted butter, sugar, and salt. Pack the contents tightly across the pan's base. Tip: A measuring cup's flat bottom works well for packing it down.
- Set the Base. Bake the crust for 8 minutes until fragrant and firm to the touch. Set it aside to cool while you prepare the fillings.
- Cream the Base. Whip 16 oz of cream cheese and 1/2 cup sugar. Continue until the consistency is creamy and smooth and free of lumps.
- Add Base Eggs. Incorporate two eggs, adding them individually. Stir on low speed just until combined. Note: Excessive mixing can introduce air, leading to surface cracks.
- Finish Base Batter. Stir in the vanilla and sour cream. Transfer this to the crust and level the surface with a spatula.
- Mix Pumpkin Base. In a fresh bowl, cream together 8 oz of cream cheese and 1/3 cup brown sugar.
- Add Pumpkin Flavor. Blend in the pumpkin puree, pumpkin pie spice, and cinnamon.
- Bind Pumpkin Layer. Beat in one egg until you have a consistent, deep orange color.
- Layer the Cake. Carefully pour the pumpkin mixture on top of the white base. Use a spatula to spread it to the edges, being careful not to mix the layers.
- Bake. Bake for 45 minutes until the perimeter is stable but the middle still has a slight jiggle.
- Cool and Chill. Switch off the heat and leave the oven door slightly ajar for 30 minutes. Cool on the counter before refrigerating for 6 hours.
Chef's Note: If you notice the top browning too quickly around the 30 minute mark, loosely cover the pan with aluminum foil to keep it pale and pretty.
Troubleshooting Common Problems
The biggest headache with a Double Layer Pumpkin Cheesecake is usually the texture. If you end up with a lumpy batter, don't keep beating it. That just adds air. Instead, use a rubber spatula to press the lumps against the side of the bowl manually.
Another common issue is the "sinkhole" in the middle. This usually happens because the eggs were too cold or the oven temperature was inconsistent. Ensuring everything is room temperature is the best way to prevent this.
If the layers bleed into each other, it's usually because the pumpkin batter was too thin or poured too aggressively. Next time, try pouring the second layer over the back of a spoon to break the fall of the batter.
| Problem | Root Cause | Solution |
|---|---|---|
| Lumpy Filling | Cold cream cheese | Press lumps manually with a spatula |
| Surface Cracks | Over mixing eggs | Mix on low speed just until combined |
| Layers Blending | Pouring too fast | Pour second layer over a spoon |
| Center is Liquid | Underbaked | Bake in 5 min increments until edges set |
Flavor Twists
If you want to change things up, there are a few ways to tweak this Double Layer Pumpkin Cheesecake. For those who want a different format, you can make Double Layer Pumpkin Cheesecake Bars by using a rectangular baking pan and doubling the crust.
- For a firmer set
- Chill the cake for 12 hours instead of 6.
- For a maple kick
- Replace the brown sugar in the pumpkin layer with 1/3 cup of pure maple syrup.
- For a gluten-free version
- Use certified gluten-free gingersnaps. The rest of the recipe is naturally gluten-free.
If you prefer a different flavor profile entirely, you might like my strawberry cheesecake recipe, which swaps the autumn spices for fresh berries.
Storage And Scraps
Store this cake in the fridge for up to 5 days. Keep it covered with plastic wrap or in a cake dome to prevent it from picking up other fridge smells.
For the freezer, you can wrap individual slices in parchment paper and then foil. They'll stay good for about 2 months. Let a slice thaw in the fridge overnight before eating. Don't thaw it on the counter, or you'll get condensation on the surface.
To avoid waste, don't toss the leftover pumpkin puree in the can. I usually freeze the remaining puree in ice cube trays. Once frozen, pop them into a bag and use them in morning smoothies or oatmeal. You can also use the leftover cream cheese to make a quick frosting for cupcakes.
Serving Suggestions
When you're ready to serve, dip your knife in hot water and wipe it clean between every single slice. This is the only way to get those clean, professional lines in your Double Layer Pumpkin Cheesecake.
I love topping each slice with a dollop of homemade whipped cream and a sprinkle of cinnamon. For a bit of extra crunch, a few crushed gingersnaps on top look wonderful.
This dessert pairs beautifully with a warm drink. I usually serve it alongside a homemade pumpkin spice latte to really lean into the autumn vibes. If you want something lighter, a crisp apple cider or a hot Earl Grey tea balances the richness of the cheese.
The contrast of the chilled cake against a hot drink is what makes this feel like a real treat. Just make sure you give it the full 6 hours of chilling time. Trust me, trying to cut into this cake early is a recipe for a landslide.
Recipe FAQs
How to make this cheesecake from scratch?
Preheat your oven to 325°F. Combine gingersnap crumbs and butter for the crust, beat cream cheese and sugar for the layers, and bake for 45 minutes. Chill it in the refrigerator for 6 hours before serving.
Is it true that you don't need an oven for this cake?
False. This recipe requires baking the crust for 8 minutes and the filling for 45 minutes to ensure the layers set and achieve the proper texture.
Which tools are necessary for this recipe?
Use a 9 inch springform pan. You will also need a mixer to make the cream cheese velvety and a rubber spatula to smooth the top of the pumpkin layer.
Can you pipe baked cheesecake?
No, the texture is too dense. While you cannot pipe the cake itself once baked, you can pipe whipped cream or frosting on individual slices.
Do you have suggestions for serving this alongside other treats?
Pair it with a light fruit platter. For larger gatherings, this complements a patriotic sheet cake to provide a variety of flavors and textures.
Double Layer Pumpkin Cheesecake