The Nobake Bliss Unbelievably Creamy Edible Cookie Dough Frosting
- The Secret to Velvety, Bake-Free Indulgence
- Why This Edible Cookie Dough Frosting Reigns Supreme
- Gathering the Gold Standard Components
- Essential Equipment for Perfect Consistency
- Step-by-Step Guide to Whipping Up the Dough Base
- Transforming Dough into Cloud-Like Frosting
- Pro Tips for Next-Level Cookie Dough Frosting Applications
- Storage Wisdom and Serving Suggestions
- Recipe FAQs
- 📝 Recipe Card
The Secret to Velvety, Bake Free Indulgence
There are few things in the world more comforting than the promise of fresh baked cookies. That rich, buttery aroma, the sweetness of molasses, and the unmistakable texture of soft dough it’s pure nostalgia.
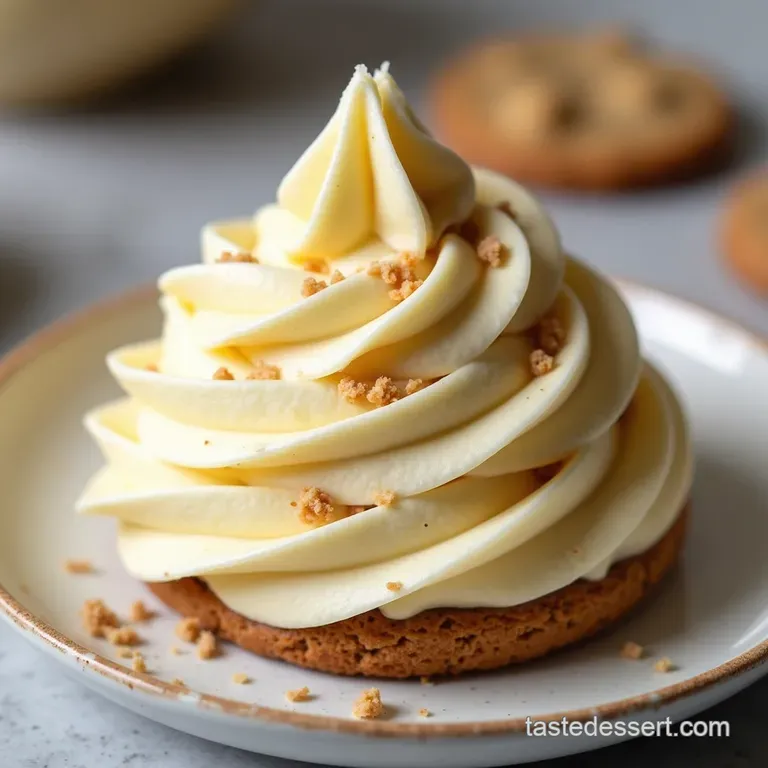
But what if I told you we could capture that exact essence, that deeply satisfying flavour profile, and transform it into a dreamlike topping for your cakes and cupcakes? Welcome to the glorious world of Cookie Dough Frosting .
This isn't your average, overly saccharine buttercream; this is a decadent spread designed to mimic the experience of sneaking a spoonful of raw, perfect chocolate chip cookie dough, only now it’s totally safe, wonderfully creamy, and ready to elevate your desserts from standard to show stopping.
Achieving this texture requires a few clever steps, but the resulting Homemade Cookie Dough Frosting is absolutely worth the small investment of time.
Why This Edible Cookie Dough Frosting Reigns Supreme
When you set out to create a Cookie Dough Frosting Recipe , the goal is authenticity balanced with structural integrity. This specific approach masters that delicate balance.
It delivers that signature brown sugar warmth and is perfectly loaded with chocolate chips, making it one of the Best Cookie Dough Frosting creations you will ever pipe.
The reason it triumphs over simpler buttercreams lies in the intentional exclusion of traditional raw batter elements and the strategic use of heat treated flour.
Ditching Raw Eggs: Our Safety First Approach
The primary hurdle in creating genuine edible cookie dough is eliminating the risk associated with raw flour and eggs. Since we are aiming for an Edible Cookie Dough Frosting , we sidestep raw eggs entirely. However, raw flour carries its own potential risks, which we address head-on.
By meticulously heat treating the flour bringing it to a safe internal temperature we eliminate pathogens, ensuring this frosting is worry free, allowing everyone, even the little ones, to enjoy this rich topping straight off the spoon or spread generously on a cake.
A Brown Sugar Symphony for Your Cakes
What truly defines the flavour of cookie dough is the molasses component found in brown sugar. This recipe leans heavily into packed light brown sugar, balanced against granulated sugar, to achieve that deep, caramelized sweetness that artificial flavourings simply cannot replicate.
This intense flavour concentration is what makes this Cookie Dough Frosting for Cupcakes so addictive. It’s complex, deep, and perfectly reminiscent of that dough scraped from the mixing bowl.
Unlocking Next Level Creaminess for Your Desserts
To ensure this topping works beautifully for piping definition on a Cookie Dough Frosting for Cake , we rely on two critical factors: perfectly softened butter and the texture of the cooled, safe flour.
The slow incorporation of the flour into the creamed butter and sugar matrix prevents grittiness and creates an emulsion that is both stable and incredibly smooth. This technique yields a frosting that is substantially creamier and less dense than standard American buttercream.
Gathering the Gold Standard Components
Crafting an exceptional Cookie Dough Frosting starts with high-quality ingredients, treated with respect. Since the butter and sugars form the backbone of the flavour, using the best components available is non-negotiable.
We are looking for that perfect blend of richness, sweetness, and textural balance, ensuring our final product is soft enough to spread yet firm enough to hold a decorative swirl.
Essential Equipment for Perfect Consistency

While you don't need complex machinery, having the right tools ensures the blending process is efficient and smooth. A stand mixer with a paddle attachment is ideal for the creaming stage, as it incorporates air effectively, but a powerful hand mixer can certainly do the trick.
Beyond the mixer, the crucial piece of equipment is something suitable for heating your flour safely a dry, oven safe skillet or a standard baking sheet works perfectly.
Flour Safety: The Crucial Heat Treating Technique
As established, safety comes first. To prepare the one cup of all-purpose flour required for this Easy Cookie Dough Frosting , you must spread it thinly on your chosen vessel.
Heat this flour over medium heat on the stovetop, stirring constantly, or bake it in a 350° F ( 175° C) oven until it reaches an internal temperature of 160° F ( 71° C).
This step is transformative; it kills bacteria and, surprisingly, removes some of the raw starch taste, leading to a cleaner final flavour profile in the frosting. Immediately remove the flour from the heat source and allow it to cool completely before proceeding; warmth will melt your butter prematurely.
Selecting the Right Butter for Maximum Flavour
For the absolute Best Cookie Dough Frosting , unsalted butter is the professional choice, allowing us complete control over the final salt balance. The butter must be softened to true room temperature yielding easily under light pressure but crucially, it should not look greasy or melted.
Cold butter results in a lumpy, unevenly mixed frosting, while melted butter breaks the emulsion entirely, leading to a greasy texture rather than a fluffy one.
The Power Trio: Sugars and Vanilla Extract Depth
We use a ratio favouring light brown sugar (¾ cup) over granulated sugar (½ cup). The molasses in the brown sugar is essential for that signature flavour, while the granulated sugar adds necessary structure and bite. Enhance these flavours with one full teaspoon of pure vanilla extract.
Avoid imitation vanilla, as the aromatic compounds in pure extract marry beautifully with the browned butter notes in this sweet base.
Related Recipes Worth Trying
- The Ultimate Chewy Maple Brown Sugar Cookies Recipe — Ditch the dry biscuits These Maple Brown Sugar Cookies are packed with deep molasses flavour and pure maple sweetness for that perfect gooey centre Try this...
- The Ultimate Soft Peanut Butter Cookies Recipe Easy Crinkly — Ditch the dry biscuits This easy Peanut Butter Cookies Recipe delivers that classic soft chewy texture and that perfect crinkle top Ready in under 30...
- The NoFuss FortyFive Quick Easy Pizza Dough — Need pizza fast This Quick Easy Pizza Dough recipe gives you a chewy crispy base in under 90 minutes total Perfect for weeknight dinners Get the simple...
step-by-step Guide to Whipping Up the Dough Base
The initial process mirrors making standard cookie dough, focusing on aeration before dry ingredients are introduced. First, ensure your cooled, heat treated flour is ready. In your mixer bowl, beat the softened butter on medium speed for about a minute to loosen it up.
Next, incorporate both the packed brown sugar and the granulated sugar. Cream this mixture thoroughly for three full minutes, scraping down the sides halfway through. The goal is a pale, fluffy cloud that has visibly increased in volume. This aeration is what prevents the final product from being overly dense.
Transforming Dough into Cloud Like Frosting
Now we transition from a rich base to a pipeable, luxurious topping. This phase requires careful attention to the liquid addition and the incorporation of the safe flour.
Preparing the Heat Treated Flour Base
Once your flour has cooled down to room temperature this might take 20 to 30 minutes resting on the counter add the half teaspoon of salt and your full teaspoon of vanilla extract directly into the flour. Give it a quick stir.
If you notice any small clumps, quickly push the mixture through a fine mesh sieve before adding it to the butter mixture.
Creaming Butter and Sugars to Light Perfection
Return to your creamed butter and sugars. With the mixer on low speed, slowly begin adding the flour mixture one cup at a time. Immediately after the flour is mostly incorporated, add your initial two tablespoons of heavy cream or milk. Increase the speed to medium low and mix only until the streaks of flour disappear.
It is vital not to overmix once the flour is added, as this develops gluten in the flour, resulting in a tougher, less creamy texture for your Cookie Dough Frosting .
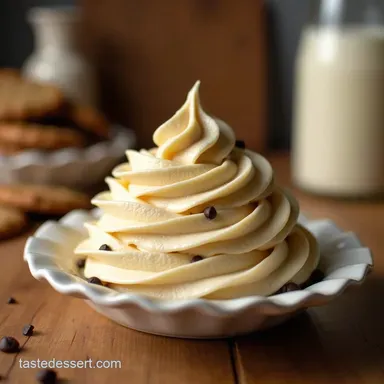
Folding in Chocolate Chips: The Final Touch for your Cookie Dough Frosting
Once the base is perfectly smooth and tastes spot-on, it’s time for the main event. Remove the bowl from the mixer and introduce one cup of mini chocolate chips. Use a sturdy rubber spatula to gently fold these chips in by hand.
A spatula ensures the chips are distributed evenly without deflating the air you just whipped into the frosting base.
Achieving Pipeable Perfection: Adjusting Frosting Texture
The initial consistency will likely be very thick, much like actual scoopable dough. For spreading on a cake, this is often perfect. However, if you need a lighter texture for intricate piping, start adding the remaining heavy cream, one teaspoon at a time, mixing on low speed just until the desired stiffness is reached.
This adjustment capability ensures your Cookie Dough Frosting is perfectly suited for its application, whether that’s filling a layer or creating high, defined swirls.
Pro Tips for Next Level Cookie Dough Frosting Applications
To truly master this recipe, remember that temperature is your ally and your enemy. If you plan on using this topping in a warm environment, or if your kitchen runs hot, chilling the finished frosting for about 15 minutes before piping can firm it up just enough to hold sharp edges beautifully, guaranteeing flawless decoration for your Cookie Dough Frosting for Cupcakes .
Storage Wisdom and Serving Suggestions
Knowing how to store and adapt this wonderfully rich topping ensures maximum enjoyment over several days.
Flavor Twists: Adding Spices and Mix-Ins
The base Homemade Cookie Dough Frosting is wonderfully versatile. To lean into a more autumnal feel, try adding ¼ teaspoon of cinnamon and a dash of nutmeg during the creaming stage.
For a sophisticated adult treat, consider substituting the milk/cream with dark coffee or even a splash of good rum for a boozy twist on your Cookie Dough Frosting .
Troubleshooting: Fixing a Frosting That's Too Stiff or Soft
If your finished product is too stiff (often happens if it sits too long after being made), beat in cream, half a teaspoon at a time, until it loosens up. Conversely, if the frosting seems too soft or slightly greasy, this usually means the butter was too warm during creaming.
The fix here is chilling the entire bowl in the refrigerator for 15 minutes, then beating it again briefly on medium speed until it regains its structure.
Maximizing Freshness: Refrigeration and Freezing Guidelines
This topping keeps remarkably well. Store any leftovers in an airtight container at room temperature for up to 2 days, or in the refrigerator for up to one week. If refrigerating, always let it sit out for 30– 45 minutes before using, then give it a quick beat with the paddle attachment to restore its luscious texture.
While freezing is possible, it can sometimes cause the texture to slightly separate upon thawing; if freezing, aim for no more than one month, thawing slowly in the fridge first.
Pairing Suggestions: Which Cakes Adore This Topping?
This dense, flavourful topping sings best when paired with a moderately sweet cake. It is phenomenal atop classic vanilla bean layer cakes, dense chocolate fudge cakes, or even a spiced pumpkin cake.
The intensity of the brown sugar in the Cookie Dough Frosting provides the perfect contrast to lighter sponges, creating a truly memorable dessert experience.

Recipe FAQs
Is this Cookie Dough Frosting truly safe to eat, since it involves raw dough ingredients?
Absolutely, it is! The crucial step in this recipe is heat treating the flour until it reaches 160°F (71°C). This process kills any potential bacteria, making the flour perfectly safe, just like when we toast nuts for a bake. So, you get all the flavour without any of the worry!
My frosting turned out way too stiff to spread on my birthday cake. What went wrong?
It sounds like you might have added too much flour or over mixed it after the liquids were added. Remember, this frosting should be slightly softer than traditional buttercream because of the high sugar content.
Try beating in one teaspoon of heavy cream or milk at a time until it loosens up nicely don't be afraid to add a touch more liquid for spreadability!
How long can I keep this Cookie Dough Frosting in the fridge, and how do I revive it before using it?
This frosting keeps splendidly! Store it in an airtight container in the refrigerator for up to a week, much like a proper batch of leftover cookie dough. To bring it back to life, let it sit on the counter for about 30 45 minutes until softened, then give it a quick beat with the mixer to restore its creamy texture before frosting your bake.
Can I make a variation, perhaps without the chocolate chips, or add something extra?
Go for it! This recipe is a smashing base for variations. You can easily swap the chocolate chips for chopped pecans, white chocolate chunks, or even dried cranberries for an oatmeal style twist.
Just ensure any additions are folded in gently right at the end so you don't deflate all that gorgeous air you whipped into the butter base.
My butter wasn't softened enough, and now the frosting looks a bit grainy. Can this be salvaged?
Don't throw in the towel just yet! Graininess often comes from cold butter not creaming properly with the sugar. Pop the entire bowl into a slightly warm oven for just 30 seconds (keep a very close eye on it!), then immediately whip it again on high speed until it smooths out.
Patience here pays off, much like waiting for the kettle to boil for a proper cuppa!
Edible Cookie Dough Frosting
Ingredients:
Instructions:
Nutrition Facts:
| Calories | 422 kcal |
|---|---|
| Protein | 2.1 g |
| Fat | 13.2 g |
| Carbs | 44.9 g |
| Fiber | 0.2 g |
| Sodium | 5028 mg |
