The Ultimate Fudgy Banana Brownie Bliss Ridiculously Easy Naturally Sweetened
- Unlocking the Secret to Unbelievably Moist Brownies: The Banana Factor
- Why This Banana Brownie Bliss Recipe Deserves a Spot in Your Cookbook
- The Essential Pantry List for Peak Banana Brownie Bliss
- Mastering the Mixing: Step-by-Step Assembly Guide
- The Bake Time Blueprint: Achieving That Perfect Centre
- Troubleshooting Common Baking Hurdles
- Elevating Your Banana Brownie Bliss: Toppings and Twists
- Storage Secrets: Keeping Your Brownies Fresh for Days
- Recipe FAQs
- 📝 Recipe Card
Unlocking the Secret to Unbelievably Moist Brownies: The Banana Factor
When the craving for chocolate hits, nothing quite satisfies like a dense, deeply rich brownie. But what if I told you we could elevate that experience, achieving a moistness that borders on legendary, all while naturally boosting the nutritional profile?
That’s the magic we unlock with the Banana Brownie Recipe . By introducing pureed, ripe banana into the batter, we introduce natural pectin and moisture, binding the ingredients beautifully and cutting down on the need for excessive fats or refined sugars.
This isn't about making a cakey compromise; it’s about harnessing fruit power to achieve true Fudgy Brownies . This technique transforms a simple traybake into something truly extraordinary, proving that Healthy Brownies can indeed be decadent.
Why This Banana Brownie Bliss Recipe Deserves a Spot in Your Cookbook
This particular iteration of the Banana Brownie Bliss is designed for maximum flavor with minimal fuss. We are stripping away the complexity often associated with gourmet baking, focusing instead on quality components and straightforward methods.
The result is a reliable bake every single time, perfect for those moments when you need a quick, comforting treat that satisfies a deep chocolate urge.
The Fusion: Where Fudgy Meets Fruity Perfection
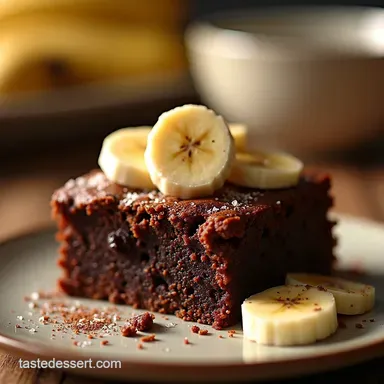
The hallmark of a truly exceptional brownie is its texture a delicate balance between a slight chewiness around the edges and a dense, almost underbaked center. In this creation, the banana acts as a natural humectant. It ensures that as the brownies cool, they retain incredible tenderness.
Unlike oil-based brownies that can sometimes feel heavy, the fruit provides a lighter mouthfeel, making it remarkably easy to devour more than one square! It’s a sophisticated marriage of deep cocoa notes and subtle tropical sweetness.
A Quick Peek: What Makes This Bake So Effortless?
Preparation for these Banana Brownies takes a mere fifteen minutes of active time. We forgo the traditional creaming of butter and sugar, instead melting the butter and combining it directly with the mashed fruit.
This streamlined approach eliminates several steps, making it one of the fastest routes to a satisfying chocolate fix. If you've ever felt intimidated by baking, rest assured, this recipe is accessible enough to be considered one of the best Quick Desserts you can master.
In fact, if you substitute the standard recipe slightly, you can approach the concept of 3 Ingredient Brownies , highlighting just how versatile the banana base can be.
Setting Expectations: Texture Profile of Your Finished Treat
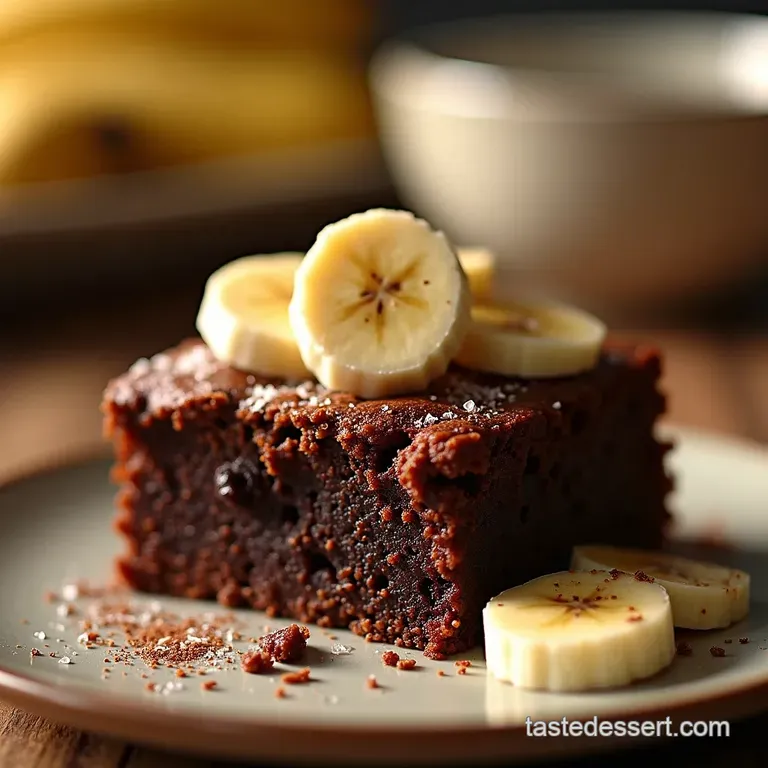
Expect a dense, slightly chewy perimeter framing a center that is decidedly fudgy. The flavor is intensely chocolate, underscored by that warmth only ripe banana imparts it’s recognizable but never overpowering.
You will note that these brownies hold together beautifully thanks to the natural structure provided by the fruit and eggs, offering a substantial bite perfect for pairing with coffee or a glass of cold milk.
The Essential Pantry List for Peak Banana Brownie Bliss
While the process is simple, the quality of your ingredients directly impacts the final depth of flavor. Since the banana is playing a key structural role, ensure the remaining components are top-notch. We are building richness through dark cocoa and quality fat, while the banana provides the moisture cushion.
Precise Measurements: What You Need to Gather Now
To begin, you will need approximately one and a half cups of mashed, very ripe bananas about three large specimens. Measure out ½ cup of melted unsalted butter (or a dairy-free alternative) and ¾ cup of granulated sugar, which provides just enough crystallization to support the fudgy crumb.
Two large eggs, room temperature if possible, and one teaspoon of pure vanilla extract round out the wet components. For the dry side, gather 1 cup of all-purpose flour, ½ cup of unsweetened cocoa powder (choose a high-quality Dutch processed if you desire a deeper, darker hue), ½ teaspoon of baking powder, and ¼ teaspoon of fine sea salt.
If you choose to include mix-ins, have ½ cup of your favorite dark or milk chocolate chips ready to fold in at the very end.
Tool Checklist: Equipment to Ensure Baking Success
You’ll require a standard 8x8 inch metal baking pan; metal conducts heat evenly, ensuring consistent baking. Line this thoroughly with parchment paper, ensuring you leave an overhang on two sides this creates a convenient "sling" for lifting the entire slab out later.
A whisk, a rubber spatula for gentle folding, a standard mixing bowl, and a potato masher or sturdy fork for achieving perfectly smooth banana puree are all that’s needed to execute this Banana Brownie Recipe flawlessly.
Ingredient Swaps: Adapting for Dietary Needs (gluten-free & Vegan Options)
This recipe adapts wonderfully. For those avoiding gluten, substitute the wheat flour with a reliable 1:1 gluten-free baking blend; the results remain impressively fudgy. If you are aiming for a fully vegan Chocolate Banana treat, replace the butter with the equivalent measure of refined coconut oil and use flax eggs (one tablespoon of ground flaxseed mixed with three tablespoons of water per egg) in place of the chicken eggs.
For those keen on using natural sweeteners, while the banana does most of the heavy lifting, you can substitute the sugar with ½ cup of pure maple syrup, though you should slightly reduce the melted butter measurement to compensate for the extra liquid.
If you’re interested in experimenting with Nut Butter Brownies , a swirl of peanut or almond butter folded in offers another layer of richness.
Mastering the Mixing: step-by-step Assembly Guide
The secret to achieving that desirable dense texture lies almost entirely in how you handle the mixing stages. We move intentionally from wet preparation to careful combination.
- Begin by preheating your oven to 350° F ( 175° C). Prepare your 8x8 pan by greasing and lining it with parchment, leaving those crucial overhangs.
- In your primary mixing bowl, focus on the fruit first. Mash those ripe bananas until they are as lump free as possible. Next, whisk in the melted butter until they are just incorporated. Then, thoroughly whisk in the ¾ cup of sugar, followed by the two eggs one by one, finishing with the vanilla extract. This forms your rich, fruity wet base.
- In a separate, smaller bowl, take a moment to whisk your dry components: the flour, cocoa powder, baking powder, and salt. Whisking these together ensures the leavening agent and cocoa are evenly distributed, preventing pockets of unmixed dry ingredients.
- Now comes the critical assembly. Gently pour the dry mixture into the wet mixture. Using your rubber spatula, fold the ingredients together until you can no longer see distinct streaks of dry flour. Stop immediately. Overmixing develops gluten, turning your perfect brownie into something closer to a tough cake. If using chocolate chips, fold those in gently now.
- Transfer the batter to your prepared pan, spreading it evenly with the spatula, and it’s ready for the heat.
Related Recipes Worth Trying
- The Ultimate Starbucks Copycat Cranberry Bliss Bars Recipe — Tired of queues Bake the best homemade Starbucks Copycat Cranberry Bliss Bars Chewy zesty and foolproof Full recipe guide inside
- The Best Cranberry Bliss Bars Recipe Starbucks Copycat — Make truly decadent Cranberry Bliss Bars at home This foolproof recipe delivers a rich blondie base and tangy orange cream cheese frosting Get the full...
- The Easiest Nannas Banana Pudding Recipe Ready in Minutes — Ditch the fuss with this dead simple Easy Banana Pudding recipe featuring layers of soft wafers and creamy custard Perfect comfort food that tastes like home
The Bake Time Blueprint: Achieving That Perfect Centre
Baking time is where many bakers inadvertently ruin an otherwise perfect batter. Because we are aiming for moisture retention, we must pull these brownies out slightly shy of "done."
Prep Work Primer: Setting Up Your Pan and Oven Environment
Ensure your oven has been fully preheated to 350° F ( 175° C). A preheated environment guarantees that the edges begin to set immediately upon entry, which is key to containing the fudgy center.
The parchment sling preparation is non-negotiable, as it prevents sticking and ensures clean removal later.
Creaming and Combining: Integrating Wet and Dry Elements Seamlessly
As detailed above, the gentle folding technique is paramount. Think of folding as turning the batter over itself rather than stirring vigorously. This respects the structure we’ve built using the mashed banana, keeping the density high and the crumb soft.
The Crucial Cooling Stage: Patience for Ultimate Fudginess
Once the timer signals 28 to 32 minutes, test for doneness. If a toothpick inserted near the center emerges with moist, sticky crumbs clinging to it and not wet batter they are ready.
Remove them from the oven and place them on a wire rack to cool completely, which may take an hour or more. This mandatory cooling period allows the residual heat to finish the cooking process gently and lets the structure solidify.
Slicing them too early will result in a crumbled, messy square rather than the clean cut slice your Banana Brownie Bliss deserves.
Troubleshooting Common Baking Hurdles
Even with an easy recipe, hiccups can occur. If your brownies seem to have baked too quickly and are dry, the most likely culprit was overbaking or using bananas that weren't quite ripe enough.
If they appear underbaked in the middle even after the suggested time, try returning them to the oven for 3-5 minute increments. Remember, the toothpick test is the final authority here: moist crumbs are success; wet batter requires more time.
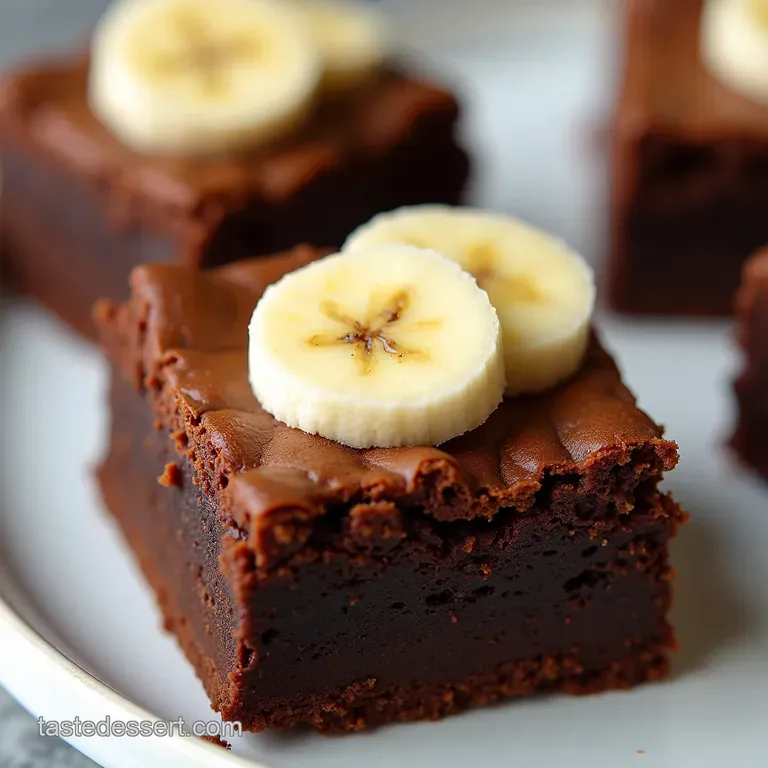
Elevating Your Banana Brownie Bliss: Toppings and Twists
Once cooled, the canvas is set for adornment. A simple dusting of powdered sugar provides an elegant, understated finish. Alternatively, a slight drizzle of melted dark chocolate or a sprinkle of flaky sea salt directly onto the warm, just set surface adds professional flair and flavor contrast.
Flavor Variations: Introducing Spices, Nuts, and Extra Chocolate
To move beyond the standard rich chocolate profile, consider folding in ½ cup of chopped walnuts or pecans for texture; this is a classic pairing with Chocolate Banana flavors. For a deeper, earthier profile, incorporate 1 teaspoon of instant espresso powder into the melted butter.
A dash of cinnamon or nutmeg within the dry ingredients can also offer a warming complexity that complements the sweetness of the fruit beautifully.
Nutrition Snapshot: Understanding the Benefits of This Fruit Forward Bake
While these are undeniably a treat, the incorporation of ripe banana means you are adding potassium and natural fiber that are absent in traditional recipes relying solely on butter and sugar.
This modification allows you to enjoy a satisfying chocolate experience while keeping the overall profile lighter, nudging these firmly into the realm of slightly more guilt free indulgence.
Storage Secrets: Keeping Your Brownies Fresh for Days
Proper storage ensures that the banana moisture stays locked in. Once completely cool, store your Banana Brownies in an airtight container at room temperature. They will maintain excellent texture for up to four days.
If you are concerned about extended storage, you can wrap individual squares tightly in plastic wrap and freeze them for up to two months; thaw them slowly at room temperature.
Reader Inquiries Answered: FAQ Section
Q: Can I substitute the butter with applesauce for a fat-free version? A: While you can substitute the butter with unsweetened applesauce, the texture will change significantly, leaning heavily toward cakey rather than fudgy.
The structure relies partly on the richness the melted butter provides alongside the banana.
Q: My bananas weren't very ripe; how do I compensate? A: If your bananas are only slightly spotted, increase the granulated sugar slightly perhaps by one or two tablespoons to maintain the sweetness level required to balance the cocoa.
Q: How do I ensure I get that shiny, crinkly top? A: A shiny, crackly top is often achieved by using slightly more sugar than the fruit alone can replace, and crucially, by ensuring your eggs and sugar are whisked thoroughly (even though we simplified the process) until the mixture thickens slightly before adding the flour.
Recipe FAQs
How do I know when my Banana Brownie Bliss is perfectly cooked? I always end up with cakey brownies!
Ah, the classic fudgy versus cakey conundrum! For this recipe, you want to avoid a completely clean toothpick. When you test the centre, you're looking for moist, sticky crumbs clinging to the pick.
If it comes out totally clean, they’ve gone too far and will be dry we want that beautiful, dense texture, so err on the side of slightly underdone!
Can I substitute the butter in this recipe, or is it essential for the fudginess?
You absolutely can make a substitution if you’re after a dairy-free option. Coconut oil works a treat as a direct swap, giving a nice rich base. However, if you are chasing that classic fudgy texture, butter does add a specific richness, so try to stick to a solid fat substitute rather than a liquid oil if you can.
My bananas weren't perfectly spotted; will my Banana Brownie Bliss still be sweet enough?
If your bananas were only mildly ripe, you might miss that deep, natural sweetness. If you find the batter a bit tame on the sweet side, stir in an extra tablespoon or two of granulated sugar, or consider folding in some milk chocolate chips to boost the sweetness overall.
Remember, the riper the banana, the less sugar you generally need!
How long can I store these brownies, and do they freeze well?
These are brilliant for storing; they actually taste even better the next day once they’ve fully settled! Keep them tightly wrapped at room temperature for up to 4 days. If you want to keep them longer, wrap individual squares tightly in plastic wrap and then foil, and they will freeze beautifully for up to three months.
Thaw them on the counter for an hour before tucking in!
What’s the best way to get clean, professional looking squares when slicing?
This is where patience comes in, much like waiting for the kettle to boil! The absolute key is allowing the brownies to cool almost completely in the pan ideally for at least an hour, or even chill them in the fridge for 30 minutes.
Then, use the parchment paper sling to lift them out, and use a large, sharp knife, wiping the blade clean between cuts for that picture perfect edge.
Fudgy Banana Brownie Bliss