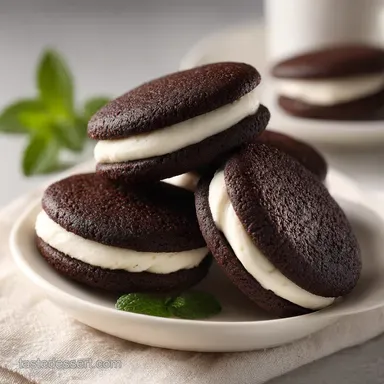
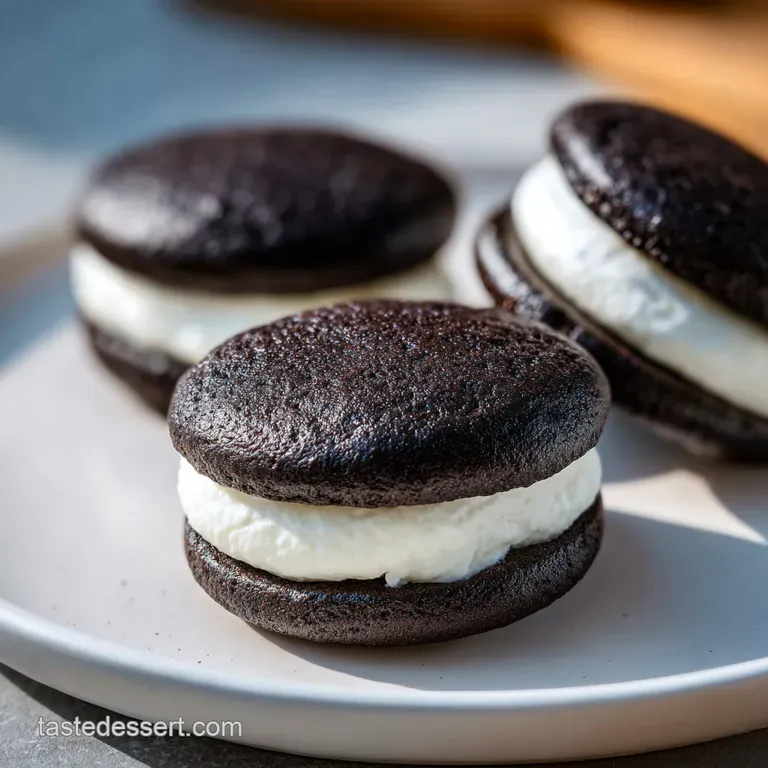
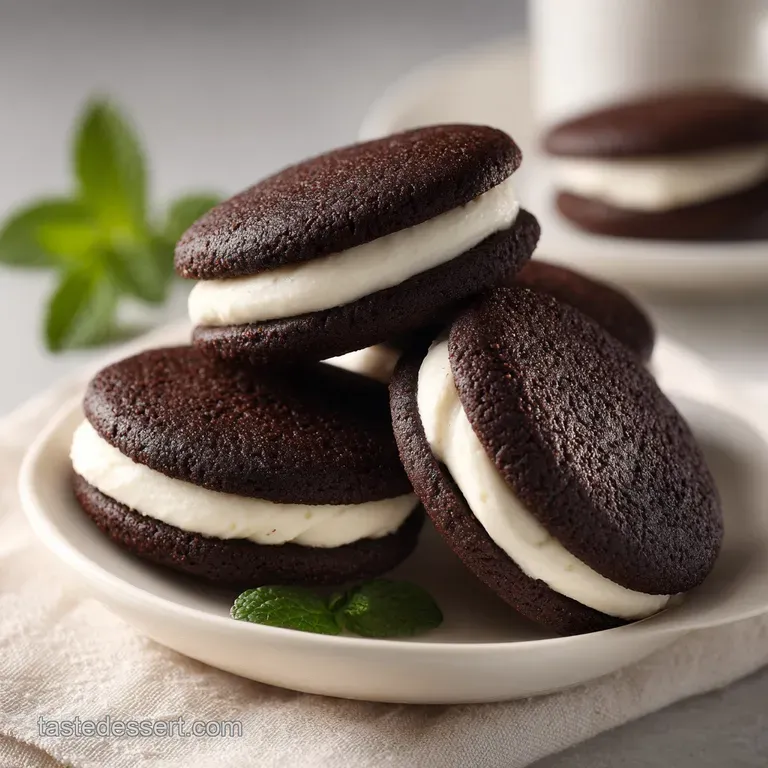
Homemade Oreos: Crisp and Decadent
- Time:15 minutes active + 30 minutes chilling = Total 55 minutes
- Flavor/Texture Hook: Ink black, crisp wafers with a velvety, airy creme
- Perfect for: Dessert parties, homemade gift baskets, or a midnight snack craving
- Homemade Oreos: The Secret to That Snap
- The Hidden Logic Behind the Crunch
- Ingredient Deep Dive
- Ingredients and Smart Swaps
- Essential Tools for Success
- Step-by-Step Assembly Guide
- Troubleshooting Your Cookie Issues
- Adjusting Your Batch Size
- Debunking Common Baking Myths
- Storage and Waste Tips
- Best Ways to Serve
- Recipe FAQs
- 📝 Recipe Card
That sharp, bitter scent of black cocoa hitting hot butter is honestly one of my favorite smells in the world. It doesn't smell like a normal brownie, it smells like a midnight snack. But let me tell you, my first few tries at this were a disaster.
I kept ending up with what I call "chocolate pucks" - cookies that were way too puffy and soft, more like a chocolate chip cookie than a sandwich wafer.
I realized the problem was twofold: I wasn't chilling my dough long enough, and I was using regular cocoa powder. To get that specific "shatter" when you bite into it, you need a very specific kind of chocolate and a very specific temperature. Once I figured that out, everything changed.
These Homemade Oreos are now my go to whenever I want something decadent but want to avoid the preservatives in the store-bought stuff.
You can expect a cookie that looks identical to the original but tastes richer. The contrast between the slightly bitter, dark wafer and the sweet, velvety filling is what makes this work. Trust me on this, once you make them from scratch, the store version feels a bit bland. Let's crack on and get these in the oven.
Homemade Oreos: The Secret to That Snap
If you've ever tried making these and ended up with a soft, cakey cookie, you aren't alone. The biggest mistake is rushing the dough. When the butter is too warm, the cookies spread too much and lose that dense, crisp structure.
By chilling the dough for exactly 30 minutes, we ensure the fats stay solid just long enough to create a tight crumb.
Another thing people miss is the cocoa. You can't just use any cocoa powder. You need "Black Cocoa." It's processed with more alkali, which removes the reddish brown color and gives it that ink black look and a distinct, almost charred flavor. This is what gives Homemade Oreos their authentic profile.
But what about the filling? Most people just mix butter and sugar, but adding a touch of heavy cream makes it airy rather than just greasy. It changes the mouthfeel from a thick paste to a cloud like creme. It's a small tweak, but it makes a huge difference in the overall experience.
The Hidden Logic Behind the Crunch
Since I'm always wondering why things happen in my kitchen, I spent some time figuring out why these cookies behave differently than a standard chocolate chip cookie.
- Alkaline Processing: The black cocoa is "dutched," which means it has a higher pH. This prevents the baking soda from reacting as aggressively, keeping the cookie flatter and denser.
- Fat Stabilization: Chilling the dough slows down the butter's melt rate. This means the edges set before the center collapses, giving you a crisp wafer instead of a puddle.
- Air Incorporation: Beating the filling butter until pale incorporates tiny air bubbles. These bubbles are what make the creme feel velvety rather than heavy.
- Sugar Crystallization: Sifting the powdered sugar prevents clumps, which ensures the filling stays smooth and doesn't feel grainy on the tongue.
Right then, before we jump into the ingredients, you might be wondering if you should go for the quick route or the traditional way. Most "quick" recipes use cake mix, which is fine, but it doesn't give you that authentic snap.
| Feature | Quick Method (Cake Mix) | Classic Method (From Scratch) | Impact |
|---|---|---|---|
| Texture | Soft, cake like | Crisp, snap like | Higher quality crunch |
| Color | Dark brown | Ink black | Authentic appearance |
| Taste | Very sweet | Balanced bitter/sweet | More sophisticated flavor |
| Effort | 10 minutes | 55 minutes | Worth the extra time |
It's a bit more work to do it from scratch, but the result is a world of difference. If you're looking for something even more indulgent, you might eventually want to try Fried Oreos, but these homemade wafers are the best starting point.
Ingredient Deep Dive
Understanding your ingredients is the only way to avoid those "puffy cookie" disasters. Here is what's actually happening in the bowl.
| Ingredient | Science Role | Pro Secret |
|---|---|---|
| Black Cocoa | Color & Flavor | Use a brand like King Arthur for the deepest black |
| Unsalted Butter | Structure & Fat | Ensure it's softened but not melting |
| Baking Soda | Leavening | Keep it minimal to avoid too much rise |
| Powdered Sugar | Filling Bulk | Sift it! No one likes a lumpy filling |
Ingredients and Smart Swaps
For the wafers, you'll need: - 1 cup (120g) Black Cocoa Powder Why this? Essential for the ink black color and flavor - 1 ½ cups (190g) All purpose flour Why this? Provides the necessary structure - 1 cup (200g) Granulated sugar Why
This? Helps with the crisp edges - ½ tsp (3g) Baking soda Why this? Minimal lift for a dense wafer - ¼ tsp (1.5g) Salt Why this? Balances the sweetness - ½ cup (113g) Unsalted butter, softened Why
This? Adds richness and tenderness - 1 large egg Why this? Binds the dough together - 1 tsp (5ml) Vanilla extract Why this? Adds depth to the chocolate
For the filling, you'll need: - ½ cup (113g) Unsalted butter, softened Why this? The base of the creme - 2 cups (240g) Powdered sugar, sifted Why this? Creates the smooth texture - 1 tsp (5ml) Vanilla extract Why this?
Classic flavor profile - 1 tbsp (15ml) Heavy cream Why this? Makes the filling airy
If you don't have everything on hand, you can use these substitutes. Just keep in mind that changing the cocoa will change the look of your Homemade Oreos.
| Original Ingredient | Substitute | Why It Works |
|---|---|---|
| Black Cocoa | Dutch processed Cocoa | Similar profile. Note: Cookies will be brown, not black |
| Heavy Cream | Whole Milk | Similar liquid content. Note: Filling will be slightly less airy |
| Unsalted Butter | Vegan Butter stick | Similar fat ratio. Note: Flavor may vary slightly |
| Egg | Flax egg (1 tbsp flax + 3 tbsp water) | Binding agent. Note: Denser texture, slightly nuttier |
Essential Tools for Success
You don't need a professional kitchen, but a few specific tools make this way easier. I highly recommend a stand mixer such as KitchenAid for the filling, but a hand mixer works just fine too.
First, you'll need a flat bottomed glass. This is the "secret weapon" for Homemade Oreos. Since we don't want them to be domes, we use the glass to flatten the dough balls before they go into the oven.
Next, use parchment paper. Do not grease the pan with butter or spray, as this can cause the cookies to spread unevenly. Parchment keeps them exactly where you put them.
Step-by-step Assembly Guide
Now, let's get into it. Follow these steps closely to ensure your Homemade Oreos have that professional finish.
- Whisk together flour, black cocoa powder, baking soda, and salt in a bowl to remove lumps. Note: Sifting is even better if your cocoa is clumpy.
- In a separate bowl, beat the softened butter and sugar until smooth. Mix in the egg and vanilla extract.
- Slowly add the dry ingredients to the wet. Mix until a stiff dough forms; do not overwork the dough. Note: Overmixing makes the cookies tough.
- Wrap the dough and refrigerate for 30 minutes to prevent excessive spreading.
- Scoop tablespoon sized balls, place on parchment paper, and flatten with a flat bottomed glass. Bake at 350°F (175°C) for 8–10 minutes until the edges feel set and the surface is matte.
- Beat the softened butter for the filling until pale and fluffy.
- Gradually add sifted powdered sugar on low speed to avoid a sugar cloud.
- Mix in vanilla and heavy cream. Beat on high for 2 minutes until the texture is airy and holds a stiff peak.
- Pipe or spoon filling onto the center of one cooled wafer and top with another wafer to assemble the sandwich.
Chef's Note: Let the wafers cool completely on the pan for 5 minutes before moving them to a wire rack. They are very fragile when hot but harden up into that signature snap as they cool.
Troubleshooting Your Cookie Issues
Even for experienced bakers, these can be tricky. The most common issues usually come down to temperature.
| Issue | Solution |
|---|---|
| Why Your Cookies Are Too Puffy | If your cookies look like little mounds instead of flat discs, you likely over mixed the dough or skipped the flattening step. Over mixing develops too much gluten, which traps air and makes them rise |
| Why the Filling Is Too Soft | If your creme is sliding off the cookie, your butter was probably too warm or you added too much cream. The filling needs to be stiff enough to hold its shape at room temperature. |
| Why the Wafers Are Cracking | Cracking usually happens if the dough was too dry or if you over baked them. Keep a close eye on that 10 minute mark. |
Common Mistakes Checklist:
- ✓ Did you use Black Cocoa? (Regular cocoa won't give the color)
- ✓ Was the dough chilled for 30 mins? (Prevents spreading)
- ✓ Did you flatten the balls with a glass? (Ensures the disc shape)
- ✓ Is the filling butter truly softened? (Avoids lumps)
Adjusting Your Batch Size
If you're making these for a party or just for yourself, you can easily change the volume.
Scaling Down (Half Batch): Use a smaller baking sheet. Since we use one egg, beat it in a small bowl first and then use exactly half of it (about 2 tablespoons). Reduce the bake time by about 1-2 minutes since smaller batches often heat up faster in the oven.
Scaling Up (Double Batch): When doubling Homemade Oreos, do not double the baking soda or salt - use about 1.5x instead to avoid a metallic taste. Work in batches when mixing the dough so you don't overwork it.
If you're baking more trays at once, lower the oven temp to 325°F (160°C) and extend the time by 2-3 minutes to ensure even heat distribution.
Debunking Common Baking Myths
There are a few things people tell you about chocolate cookies that just aren't true.
First, some say you should use melted butter for a "fudgier" cookie. For Homemade Oreos, this is a mistake. Melted butter leads to a thinner, greasier cookie. Softened butter is the only way to get that specific snap.
Second, people think that adding more flour will stop cookies from spreading. While it might work, it will make your wafers taste like flour and feel like cardboard. The real solution is chilling the dough, not adding more flour.
Storage and Waste Tips
Once your Homemade Oreos are assembled, you want to keep them fresh. Store them in an airtight container at room temperature for up to 5 days. If you prefer a colder, firmer snap, keep them in the fridge for up to 2 weeks.
For long term storage, you can freeze the assembled cookies for up to 3 months. Just wrap them tightly in plastic wrap and then put them in a freezer bag. To eat, let them thaw for 15 minutes at room temperature.
To avoid waste, if you have leftover filling, don't throw it away! It's essentially a vanilla buttercream. You can use it to frost a small cake or as a dip for fresh strawberries. If you have a few broken wafers, crush them up and use them as a topping for a Dirt Pudding for an extra layer of chocolatey goodness.
Best Ways to Serve
While these are wonderful on their own, you can really play up the contrast of flavors when serving. Since the cookie is so rich, pairing it with something bright or acidic works best.
The Flavor Map:
- The Classic: A cold glass of whole milk (the creaminess cuts through the bitter cocoa).
- The Contrast: A side of fresh raspberries or sliced strawberries.
- The Indulgent: A drizzle of melted white chocolate over the top of the sandwich.
For a real treat, try serving them on a platter with different types of milk - almond, oat, and dairy - to see which one complements the dark chocolate best. These Homemade Oreos are a crowd pleaser, so don't be surprised if they disappear within minutes of hitting the table!
Recipe FAQs
Can I make my own Oreo?
Yes, you can make them at home. Using black cocoa powder and a stiff buttercream filling allows you to replicate the signature taste and texture closely.
What is the filling in an Oreo made of?
The filling consists of softened butter, sifted powdered sugar, vanilla extract, and heavy cream. If you enjoyed achieving this stable, creamy texture, see how the same principle of fat-to-sugar ratios works in our butterscotch fudge.
What gives Oreos their flavor?
Black cocoa powder provides the signature flavor. This specific cocoa is processed to create the deep, dark chocolate taste and charcoal color associated with the original cookies.
How to store these cookies?
Store cookies in an airtight container at room temperature for up to 5 days. You can also keep them in the fridge for 2 weeks or freeze them for up to 3 months.
Why are my cookies too puffy?
Over mixing the dough or skipping the flattening step causes puffiness. Too much gluten development traps air, preventing the cookies from forming flat discs.
Is it true that I can skip chilling the dough?
No, this is a common misconception. Refrigerating the dough for 30 minutes is required to prevent the cookies from spreading too much when baking at 350°F.
How to prevent the filling from being too soft?
Beat the buttercream on high for exactly 2 minutes. Ensuring the butter is not too warm and maintaining the precise whipping time creates the stiffness needed to hold a peak.
Homemade Oreos