Nobake Peanut Butter Pie: the Decadent, Fluffy Cloud Recipe
- The Ultimate Faff and Free Dessert: Mastering No and Bake Peanut Butter Pie
- Why This Pie is Pure Dessert Science: Achieving the 'Cloud' Texture
- Essential Ingredients for the Decadent Peanut Butter Filling
- Step and by-Step Guide: How to Construct the Perfect NoBake Peanut Butter Pie
- Troubleshooting & Chef's Secrets for the Creamiest No and Bake Pie
- Storage, Freezing, and Making This No and Bake Peanut Butter Pie Ahead
- The Grand Finale: Serving Suggestions and Garnishing Ideas
- Recipe FAQs
- 📝 Recipe Card
The Ultimate Faff and Free Dessert: Mastering No and Bake Peanut Butter Pie
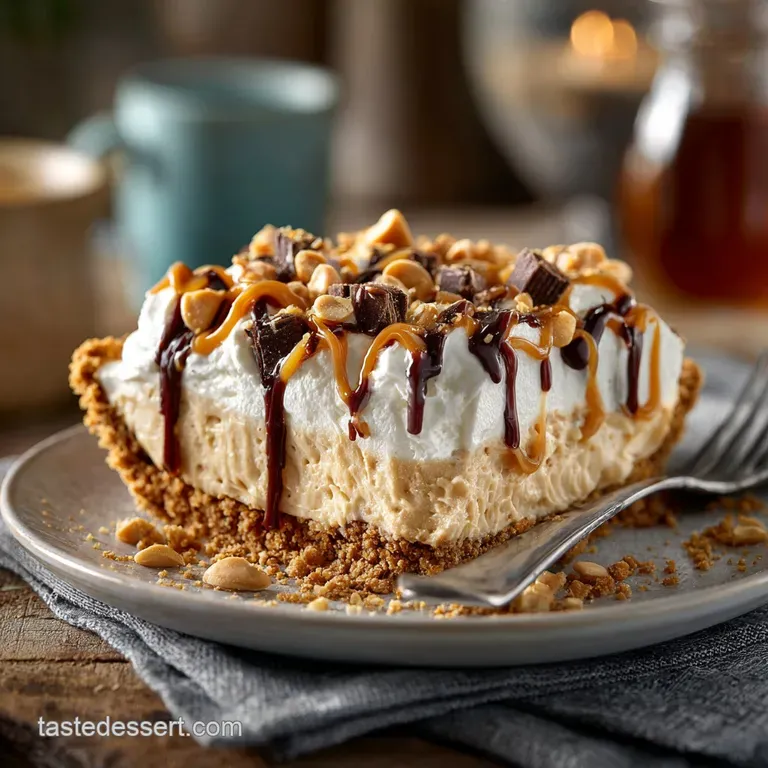
When that first slice of cold, creamy peanut butter pie hits your plate, you know you’re in for a serious treat. It smells exactly like the inside of a giant peanut butter cup, only the texture is impossibly light and fluffy pure cloud heaven.
This is the dessert you pull out when it’s 95 degrees outside, or when you suddenly realize you forgot you were hosting dinner. It’s a total lifesaver: ridiculously easy, cheap to make, and guaranteed to impress everyone from your little cousins to your toughest food critic uncle.
Trust me, I’ve made every baked and frozen version out there, but this specific No and Bake Peanut Butter Pie recipe is the undefeated champion. Let’s get you that perfect, creamy filling and that dark, crunchy crust.
Why This Pie is Pure Dessert Science: Achieving the 'Cloud' Texture
We aren’t just mixing stuff together and hoping for the best. This recipe works because we treat the filling like a stable mousse. We are aiming for that ultra and smooth, Fluffy Peanut Butter Pie texture that holds its slice perfectly, even after sitting out for a few minutes.
Most recipes just use Cool Whip and call it a day. But if you want a true, intensely peanut buttery flavour and a professional structure, you need to use real whipped heavy cream combined with cream cheese. That little tang from the cream cheese cuts through the sugar and stabilizes the whole dang thing.
What Makes This Chocolate and Peanut Butter Pie So Effortless?
The beauty of the "No Bake Peanut Butter Pie" concept is that it’s all about mixing speeds and temperatures, not oven timers. It’s less messy, less stressful, and it doesn't heat up your kitchen. If you can handle a hand mixer, you can master this. It’s brilliant.
Chef's Note: The magic ratio here is the Cream Cheese to Whipped Cream. Cream cheese stabilizes the fat and sugar, making the filling set firm in the fridge without the need for gelatin or chemical stabilizers. It’s the key to a firm, clean slice.
Decoding the Flavour Profile: Sweet, Salty, and Intensely Creamy
This is a rich dessert. We know that. The key to making richness appealing rather than heavy is balancing the flavours. We use a generous pinch of salt in the crust and we don't shy away from the full and fat cream cheese.
The dark chocolate Oreo crust provides a bitterness that stops the peanut butter filling from tasting one and dimensional. The result is a dessert that hits all the high notes: the satisfying crunch of the crust, the salty and sweet intensity of the peanut butter, and the cool, Creamy Peanut Butter Pie texture that melts immediately on your tongue.
Essential Ingredients for the Decadent Peanut Butter Filling
I need to stress this: quality ingredients matter, but following the temperature rule matters more.
Building the Foundation: A Rich, Dark Chocolate Biscuit Crust
I insist on a dark chocolate sandwich biscuit crust Oreos are the classic choice, but any good dark chocolate wafer will do. I tried using Ritz crackers once for an extra salty kick, thinking I was a genius, but honestly, it tasted like a sad, buttery mistake. Stick to the chocolate. For a guide specifically focused on that crunch, check out my recipe on the NoBake Peanut Butter Pie: The Ultimate Creamy, Decadent Recipe .
Why melted butter? It creates a fudgier, more stable crust than just mixing dry crumbs with soft butter.
Dairy vs. Non and Dairy: Expert Notes on Substitutions
The great thing about an Easy Peanut Butter Pie No Bake is its flexibility. Here are some quick swaps:
| Ingredient to Substitute | Recommended Substitution | Notes |
|---|---|---|
| Smooth Peanut Butter | Crunchy Peanut Butter | If you love texture, use crunchy, but process it briefly in a food processor first so it mixes smoothly. |
| Heavy Cream (Double Cream) | Full and fat Coconut Cream (Chilled overnight) | Scoop only the solid white fat layer from the top of the chilled can. Whip it just like heavy cream. |
| Chocolate Wafers/Oreos | Graham Crackers (Digestive Biscuits) | If using Graham Crackers, they tend to absorb less butter, so slightly reduce the melted butter quantity. |
Cool Whip vs. Homemade Whipped Cream: Which Is Best?
Look, if you’re making a straight and up "classic diner" recipe (like my take on the Old Fashioned Peanut Butter Pie: Easy No and Bake Diner Dessert Recipe ), thawed Cool Whip is perfectly acceptable and makes it incredibly easy.
However, if you want that truly light, fresh, airy texture and a superior, less synthetic flavour, you must whip your own cream. The structure provided by freshly whipped cream is what delivers the proper "Cloud" texture we’re aiming for here.
It’s a tiny bit more effort, but it’s 100% worth it.
Step and by-Step Guide: How to Construct the Perfect NoBake Peanut Butter Pie
Right, let’s crack on. This is where patience pays off.
Phase 1: Pressing the Crust for Optimal Density
- Process and Mix: Get those biscuits blitzed in the food processor until they are fine like sand. Add the salt and the melted butter. Mix until it looks like wet dirt.
- Press, Press, Press: Transfer the mixture to your pie dish. Use the bottom of a measuring cup or a flat and bottomed glass to press the crumbs firmly into the base and up the sides. Crucial Tip: Focus particularly on creating a thick, compact rim. This prevents the filling from shrinking away later.
- Quick Chill: Stick the crust in the freezer while you make the filling ( 15 minutes). This firms up the butter and prevents a crumbly mess when you add the filling.
Phase 2: Whipping the Airy Peanut Butter Filling
- Cream the Cheese: This step is vital. Beat the room temperature cream cheese until it is ridiculously smooth no lumps allowed!
- Add the PB Base: Add the peanut butter, the sifted icing sugar, and vanilla. Beat this hard until it is completely incorporated and looks uniform. Now beat in the cold milk until the base mixture is thick and scoopable.
- Whip the Cream: In a separate, very clean bowl, whip your cold heavy cream until you achieve stiff peaks. You should be able to turn the bowl upside down without the cream shifting.
- The Gentle Fold: Take about a third of the whipped cream and gently fold it into the peanut butter mixture. This is called "lightening the base." Now add the rest of the cream and use a rubber spatula to fold, cutting down the middle and lifting up. Stop the second there are no streaks left. Do not overmix! That air is everything.
Phase 3: The Crucial Chill Time (Setting the Pie)
Spoon the light, fluffy filling into your crust. Smooth the top (don't press down too hard). Cover loosely (I use toothpicks to tent the cling film so it doesn't stick to the filling) and put it in the fridge.
The absolute minimum is 4 hours. But if you want a truly flawless Creamy Peanut Butter Pie , let it sit overnight. Seriously, don’t rush the chill.
Troubleshooting & Chef's Secrets for the Creamiest No and Bake Pie
Sometimes things go wrong. I once tried to make a chocolate ganache topping for this, but I didn't cool it enough and it melted the top layer of the pie instantly. Lesson learned! Here are the real failure points:
- The Lumpy Filling Disaster: If your cream cheese was even slightly cold, you’ll end up with little white lumps in your filling. There’s no easy fix once you add the whipped cream. Solution: Plan ahead! Leave the cream cheese out for at least an hour until it is truly, squishably soft.
- The Runny Filling Nightmare: This means you deflated the whipped cream. This usually happens when you try to mix the dense peanut butter base and the delicate cream together too aggressively, or you simply over and mixed it, collapsing the air bubbles. Fix: If it looks slightly too loose before chilling, try sticking the entire bowl of filling in the freezer for 10 minutes, then gently fold one or two extra spoonfuls of freshly whipped cream into it before transferring to the crust.
Storage, Freezing, and Making This No and Bake Peanut Butter Pie Ahead
This is a fantastic make and ahead dessert.
Fridge Storage: Store the pie (covered) in the refrigerator for up to 4 days. If you are prepping ahead, do not garnish until just before serving. The whipped cream topping will weep slightly after 24 hours.
Freezing Instructions: Yes, this No Bake Peanut Butter Pie freezes beautifully!
- Freeze the pie (ungarnished) on a flat shelf until solid (about 2 hours).
- Wrap the frozen pie tightly in plastic wrap, then cover in a layer of foil.
- It keeps well in the freezer for up to 2 months.
- To Thaw: Transfer the pie to the refrigerator 8– 10 hours before you plan to serve it. Do not attempt to thaw it at room temperature it will turn sloppy.
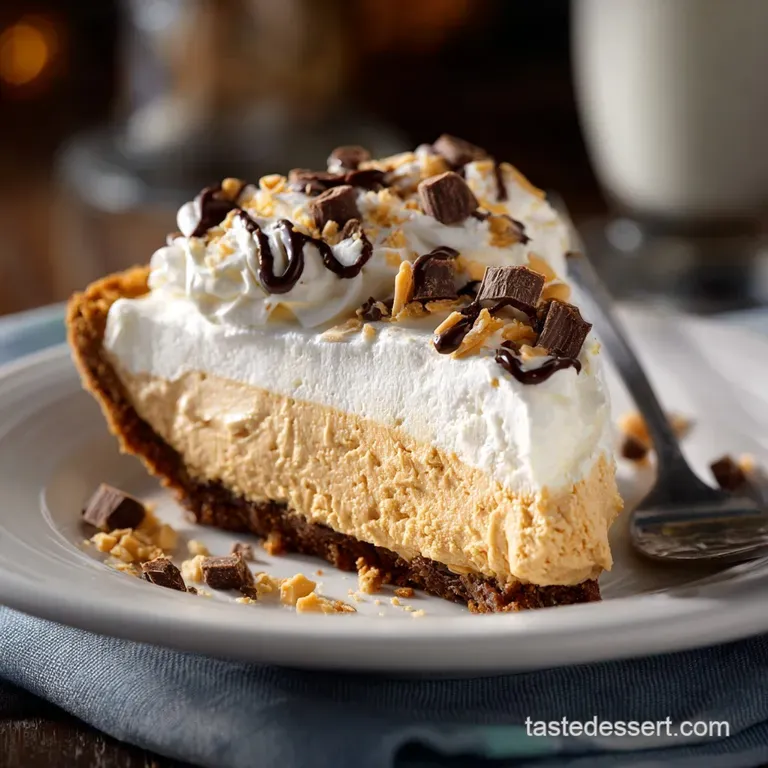
The Grand Finale: Serving Suggestions and Garnishing Ideas
This pie is intense. Serve small slices!
Avoiding a Runny Filling: The Cream Cheese Factor
I want to loop back to this: using cream cheese in this No Bake Peanut Butter Pie with Cream Cheese recipe isn't just for flavour; it’s a necessary binder. The cream cheese binds the fat (peanut butter) and the sugar together, giving the filling body.
If you leave it out, you end up with a sweet, loose pudding that won't hold up once sliced.
Achieving a Clean Slice Every Time
This is my secret weapon for looking like a total pro:
- Use a sharp, thin and bladed knife.
- Fill a tall jug with very hot water.
- Dip the knife into the hot water for 10 seconds, wipe it completely dry with a tea towel, and slice quickly.
- Repeat the dip and wipe process before every single slice. This ensures a clean, smooth cut all the way through the crust and filling.
The Best Drink Pairings for Rich Peanut Butter Desserts
Because this dessert is so rich, you need something slightly bitter or tannic to contrast it.
- A bold, strong coffee (espresso or a dark roast).
- A cold glass of milk (the ultimate nostalgic pairing).
- A dark beer, such as a stout or porter (trust me on this, the roasted notes cut right through the sweetness).
Quick Recipe Twist: Making Mini Peanut Butter Tartlets
Want tiny portions? Instead of pressing the crust into a full pie dish, use a muffin tin lined with paper liners. Press the crust firmly into the bottom of the liners, fill, and chill. They are perfect for parties, incredibly portable, and they freeze even better than the whole pie!
They look fantastic dusted with cocoa powder.

Recipe FAQs
Why is my peanut butter filling runny or soft?
This is often due to insufficient chilling time or overmixing the whipped elements. Ensure the pie chills for a minimum of 6 hours, ideally overnight, to allow the fats in the cream cheese and peanut butter to solidify completely.
Also, when folding in the whipped cream, do so gently to maintain the airy structure and avoid deflating the filling.
Can I use natural or homemade peanut butter instead of stabilized commercial brands?
While possible, it is not recommended for this specific recipe. Natural peanut butters tend to separate oil, which can result in a greasier crust and a softer, less stable filling that won't hold its shape as well.
Conventional, stabilized peanut butter (like Jif or Skippy) is preferred for a firm, decadent cloud texture.
Can this recipe be made vegan or dairy-free?
Yes, you can substitute the dairy components successfully. Use a high-quality vegan cream cheese alternative for the filling base and replace the heavy whipping cream with full fat canned coconut cream, chilled overnight and whipped until stiff. Ensure your chocolate crust ingredients are also dairy-free.
How long will the No-Bake Pie last, and can I freeze leftovers?
The pie will keep well in an airtight container in the refrigerator for 3 to 5 days. It is also excellent for freezing; wrap the completely chilled pie tightly in plastic wrap, then foil, and store for up to 2 months. Thaw the frozen pie slowly in the refrigerator for 8 hours before slicing.
What is the best way to achieve the airy "Cloud Pie" texture?
The texture comes from correctly incorporating the whipped cream. After mixing the peanut butter and cream cheese base, gently fold the whipped cream into the mixture in two additions using a rubber spatula.
Use a cutting motion, sweeping from the bottom up, rather than stirring, which will prevent the air from escaping.
My crust crumbs aren't holding together; what should I do?
If your crumb mixture seems too dry, you likely need a touch more melted butter to bind it. Add one tablespoon of melted butter at a time and mix thoroughly until the crumbs resemble wet sand and hold their shape when squeezed in your hand. Always ensure the crust is firmly pressed into the pan before chilling.
Can I use graham crackers or vanilla wafers instead of a chocolate crust?
Absolutely. While the chocolate provides a wonderful depth to balance the peanut butter, graham cracker or vanilla wafer crumbs are excellent alternatives. Simply ensure the crumb measurement remains the same, along with the corresponding amount of melted butter specified in the original crust recipe.
Nobake Peanut Butter Cloud Pie
Ingredients:
Instructions:
Nutrition Facts:
| Calories | 305 kcal |
|---|---|
| Protein | 7.0 g |
| Fat | 17.0 g |
| Carbs | 29.0 g |
