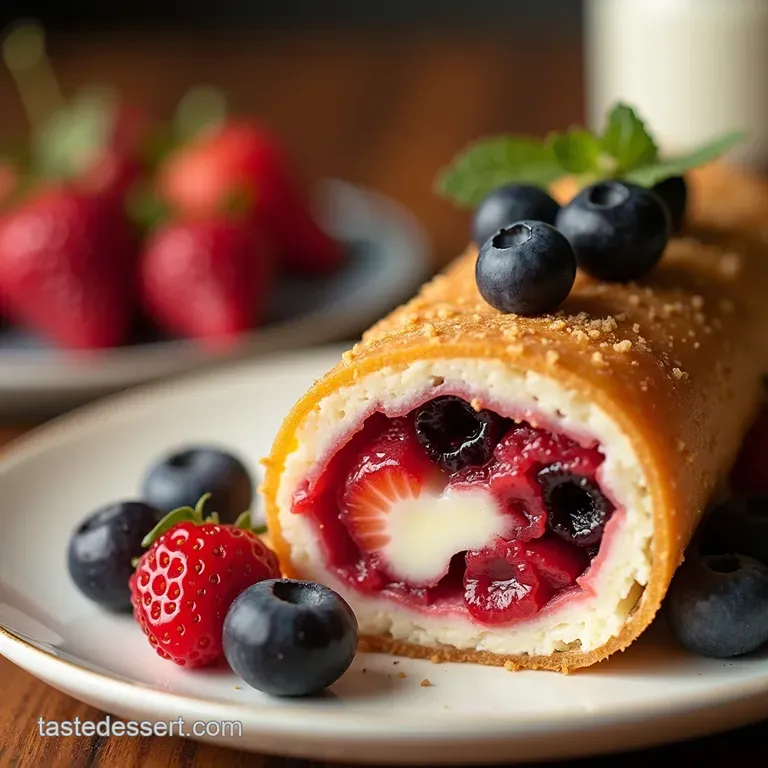
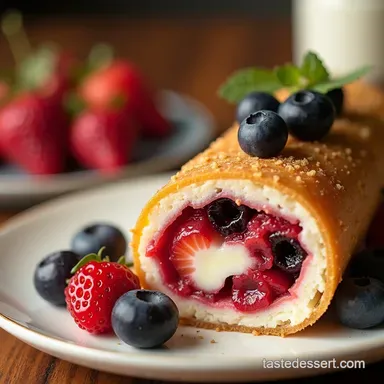
Bursting Berry Homemade Fruit Rollups
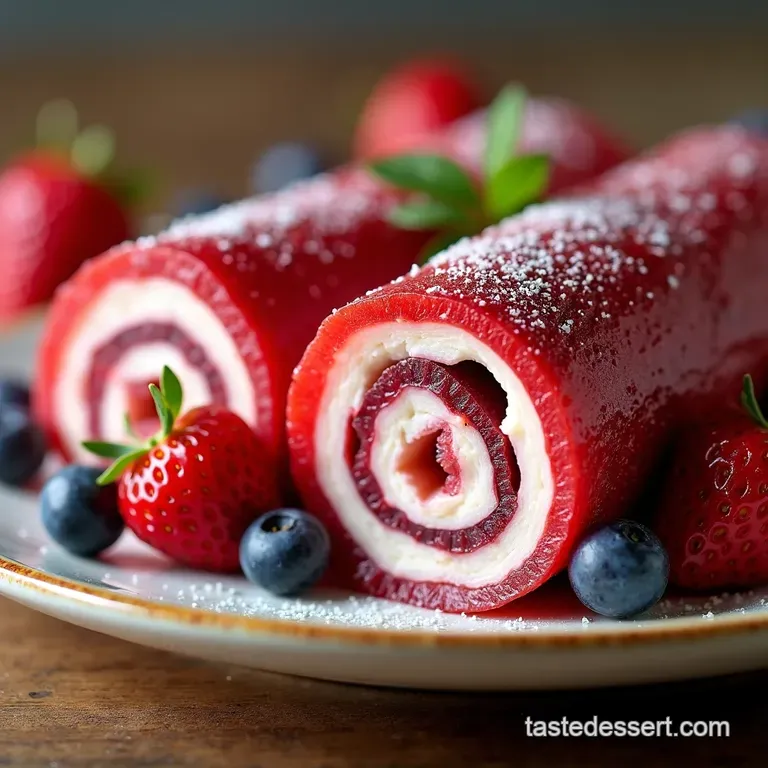
Recipe Introduction: Bursting Berry Homemade Fruit Roll Ups
Ever find yourself craving something sweet but wanting to avoid all the nasties in shop bought snacks? Then you have to try my recipe for homemade fruit roll ups .
Honestly, these are a game changer. They’re packed with flavour and much healthier.
Let’s talk origin. Fruit leather, as it’s sometimes called, has been around for ages. It’s a way of preserving fruit, enjoyed across cultures.
This recipe is easy, taking around 5- 10 hours in total, including dehydration. It yields about 6-8 roll ups.
Why Make Your Own Easy Fruit Leather ?
These roll ups are bursting with antioxidants from the berries. Healthy snacks for kids don't get much better than this. They’re perfect for lunchboxes or an afternoon pick-me-up.
What makes them special? You control the ingredients! No added sugar, just pure fruit goodness. Think of it as a healthier, homemade twist on those classic fruit roll ups from your childhood.
And you can try out many dehydrator recipes fruit with this base recipe!
The Magic Ingredients for Berry Fruit Roll Ups
So, what's in these little fruity delights? You'll need 2 cups of fresh mixed berries (strawberries, raspberries, blueberries get creative!), 2 tablespoons of water, 1-2 tablespoons of honey or maple syrup, and 1 tablespoon of lemon juice.
These natural fruit snacks are delicious and packed with flavour. If you want fruit roll ups no sugar you can totally skip the sweetner.
Getting Started with Your DIY Fruit Roll Ups
Ready to dive in? First things first, wash and dry those berries. Get rid of any stems. This is where the fun begins!
Turning Fruit into Oven Baked Fruit Leather
I remember one time, I got distracted and almost burnt my puree! Keep a close eye while simmering. Don’t worry, it’s a learning curve.
We are looking to create homemade snacks healthy that our kids and ourselves will enjoy for many years to come! This recipe for fruit leather recipe is a keeper.
Ingredients & Equipment
Alright, let's talk about what you need to make these bursting berry homemade fruit roll ups . Trust me, it's simpler than you think.
We're aiming for easy fruit leather , here. This isn’t rocket science.
Main Ingredients
- 2 cups (300g) fresh mixed berries: Strawberries, raspberries, blueberries. Go wild!
- 2 tablespoons (30ml) water. Just regular tap water is fine.
- 1-2 tablespoons (15-30ml) honey or maple syrup. Adjust to taste. I often go for maple syrup, just a personal preference.
- 1 tablespoon (15ml) lemon juice.
Quality Indicators: For the berries, go for the ripest, juiciest ones you can find. Seriously, that's where the flavour really shines. Makes all the difference.
Seasoning Notes
We're keeping it simple, you know? The berries do most of the work! But a little somethin' somethin' can help.
- Essential Spice: A pinch of cinnamon? Ooh, lovely!
- Flavor Enhancer: Lemon juice brightens everything.
- Quick Sub: Lime juice instead of lemon? Sorted!
These berry fruit roll ups are delicious, but think about other fruit combos! That's where the fun begins, innit?
Equipment Needed
Okay, you don't need a load of fancy gadgets.
- Blender or food processor.
- Medium saucepan.
- Silicone baking mat or parchment paper. Honestly, the silicone mat is a game changer, easy cleanup.
- Dehydrator (optional). Or your oven.
Household Alternatives: No dehydrator? No worries! Your oven, on a very low heat, will do the trick. Just keep an eye on things.
Don't want burnt fruit leather recipe . Make sure your oven is set to 170° F ( 77° C) .
Making homemade snacks healthy is way easier than you think. These natural fruit snacks are a total winner for healthy snacks for kids .
Plus, you can totally control the sweetness. I never add sugar in my fruit roll ups no sugar version. Give it a try!
Bursting Berry Homemade Fruit Roll Ups : A Trip Down Memory Lane!
Oh my gosh, who doesn't love homemade fruit roll ups ? Honestly, they're like little slices of sunshine rolled up into portable happiness.
Forget those shop bought ones packed with dodgy ingredients. We're going full-on natural today with a fruit leather recipe that even the fussiest kids will adore.
I still remember trying to unravel those things as a kid. What a mission! This is a game changer for healthy snacks for kids , trust me.
Prep Like a Pro: Get Your Berries Ready
Before we dive in, let's get our act together. This is what the chefs would call " mise en place ".
Wash 2 cups (300g) of your favourite mixed berries ( strawberries , raspberries , blueberries , get creative!). Ditch the strawberry stems.
Grab your blender, saucepan, and either a dehydrator or your oven. Time saving tip? Get the kids involved. Makes it a family affair!
Let's Get Rolling: step-by-step Guide
- Blend it! Pop those berries, 2 tablespoons (30ml) of water, 1-2 tablespoons (15-30ml) of honey (or maple syrup), and 1 tablespoon (15ml) of lemon juice into the blender. Whizz it all up until smooth.
- Simmer it! Pour the puree into a saucepan. Cook on medium low, stirring, for 1- 2 hours. You're looking for it to thicken enough to coat the back of a spoon.
- Prep your surface! Line a dehydrator tray or baking sheet with a silicone mat (or parchment paper). A tiny amount of oil will avoid the sticky situation
- Spread it out! Pour the gooey mixture onto your lined surface. Spread it evenly. Aim for about 1/8 inch thick.
-
Dehydrate/Bake it!
- Dehydrator: 135° F ( 57° C) for 4- 8 hours .
- Oven: 170° F ( 77° C) for 3- 6 hours , door slightly ajar.
- Cool and slice! Let it cool completely. Then, slice into strips with a pizza cutter or knife.
- Roll and store! Peel off, roll 'em up, and store in an airtight container.
Pro Tips: Secret Agent Level
Want to take your easy fruit leather to the next level? Here's the skinny . Spread the puree thinly. This ensures even drying and no gummy bits.
Don't rush the dehydrating process. Patience is key! Touching the centre, it should be tacky, but not wet.
Avoid over baking, as it can become brittle. The most common mistake is not spreading it out evenly. Another secret weapon for these natural fruit snacks is a pinch of cinnamon! You know? It's like a dehydrator recipes fruit with a little hug added.
DIY fruit roll ups don't have to be difficult!
Now you can make amazing homemade snacks healthy and full of delicious flavours, so you don't have to look for fruit roll ups no sugar .
Alright, let’s chat about some essential recipe notes for these Bursting Berry Homemade Fruit Roll Ups . Honestly, this is where we can really finesse things and make them spot on for you.
These little details will really elevate your homemade fruit roll ups game.
Recipe Notes: Cracking the Code
Plating and Presentation
Right, so you've slaved away making these berry fruit roll ups , how do you make them look posh? Well, think like Great British Bake Off ! Instead of just chucking them in a lunchbox, try rolling them up tightly and tying them with baker's twine.
You know? Or, for a bit of flair, cut them into fun shapes with cookie cutters before rolling. Serve with a few fresh berries on the side for a pop of color! It's all about the details, innit?
Storage Sorted
Proper storage is vital to your fruit leather recipe's life. Once cooled, cut and rolled, keep these bad boys in an airtight container.
They'll happily sit at room temperature for about a week. Want to keep them longer? No worries. You can freeze them for up to 2 months.
Just make sure they're well wrapped. To reheat, simply let them thaw at room temperature for a few minutes. Easy peasy.
Adapt and Conquer
Fancy a change? You could create an oven baked fruit leather ! Swap out the berries for other fruits. Think apples and cinnamon for autumn, or mango and lime for a tropical vibe.
For a vegan option, make sure you're using maple syrup or agave nectar. No honey! And if you're watching your sugar, you can even try fruit roll ups no sugar using dates or other natural fruit snacks as a sweetener.
The Lowdown on Nutrition
Let's keep it real, these homemade snacks healthy are way better than anything store-bought. They're packed with vitamins from the fruit.
You're getting fibre and antioxidants without any of the added junk. Each roll-up will give you a small energy boost without the sugar crash.
It's a win-win, my friend. Plus, if you are looking into dehydrator recipes fruit , you will find that it retains all of the goodness from fresh fruits!
So there you have it! A few little tweaks and you can really make this easy fruit leather your own.
Don't be afraid to experiment! And remember, the best recipes are the ones you have fun with. Now, go get your Full Monty of deliciousness.
And make some DIY fruit roll ups !

Frequently Asked Questions
How do I stop my homemade fruit roll ups from being sticky?
Nobody wants a fruit roll-up that's stickier than a toffee apple at a carnival! The key is ensuring the puree is thick enough before dehydrating or baking. Also, be patient during the drying process. They should be pliable, not wet.
If they're still sticky, pop them back in the dehydrator or oven for a bit longer, like giving them a bit of extra sunshine on a Bank Holiday Monday.
Can I use different fruits to make homemade fruit roll ups?
Absolutely! Think of this recipe as a blank canvas for your fruit masterpiece. Feel free to experiment with different fruits and combinations to create unique flavor profiles. Strawberry banana, apple cinnamon, or even a tangy mango lime combo would be absolutely smashing.
Just remember that some fruits have more water content than others, so you may need to adjust the simmering time to achieve the right consistency.
What's the best way to store homemade fruit roll ups?
Proper storage is key to keeping your homemade fruit roll ups fresh and delicious! Once they're cooled and cut into strips, roll them up tightly and store them in an airtight container at room temperature. They should last for about a week or two, if you can resist eating them all before then.
Storing them like this keeps moisture out so they won't get all sticky!
My homemade fruit roll ups are too tart! What can I do?
If your fruit roll ups are making you pucker up like you've just bitten into a lemon, don't despair! You can easily balance the tartness by adding a touch more honey, maple syrup, or even a little agave nectar to the fruit puree.
Taste as you go, adding a little at a time until you reach your desired level of sweetness. It's all about finding that perfect sweet spot, like getting the milk-to-tea ratio just right!
I don't have a dehydrator; can I still make homemade fruit roll ups?
Fear not, you don't need fancy equipment to enjoy homemade fruit roll ups! While a dehydrator is handy, your oven will work just fine. Simply bake the fruit puree at a very low temperature (around 170°F or 77°C) with the door slightly ajar to allow moisture to escape.
It might take a bit longer than a dehydrator, but the end result will be just as delicious. Think of it as a slow and steady bake, like a proper Sunday roast!
Are homemade fruit roll ups actually healthy?
Compared to store-bought versions loaded with artificial flavors, colors, and preservatives, homemade fruit roll ups are definitely a healthier option! You control the ingredients, so you know exactly what you're eating.
They're a great way to sneak in some extra fruit, but remember they still contain natural sugars, so enjoy them in moderation as part of a balanced diet - everything in moderation, including moderation, as Oscar Wilde might say!
Bursting Berry Homemade Fruit Rollups
Ingredients:
Instructions:
Nutrition Facts:
| Calories | 50-70 |
|---|---|
| Fat | 1g |
| Fiber | 1g |
