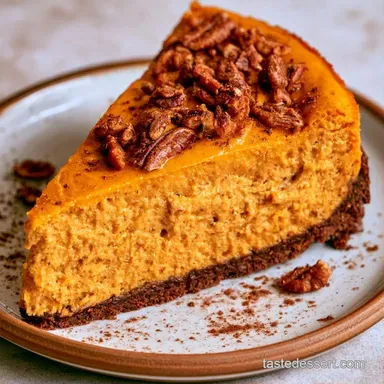
Chocolate Pumpkin Cheesecake Bars with Cocoa Crust
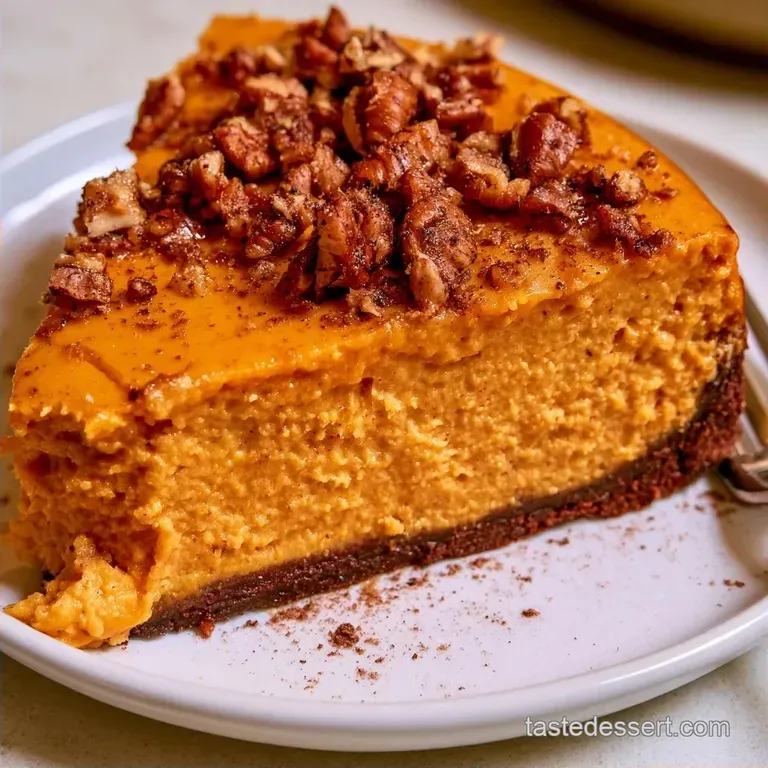
- Time: 10 min active + 4 hours chilling
- Tasting Notes: Fudgy cocoa base with a creamy, spiced top
- Perfect for: Festive gatherings or a luxurious fall dessert
Ever wonder why some autumn desserts feel tedious while others are perfect? Many pumpkin treats suffer from being too mushy or overly sugary. I used to wrestle with that balance until I discovered that pumpkin requires a bold, bitter contrast to truly stand out.
That is where the chocolate comes in. The cocoa's bitterness balances the richness of the cream cheese and the earthy pumpkin notes. These Chocolate Pumpkin Cheesecake Bars are far from a fleeting seasonal trend; they are a sophisticated dessert that tastes like it came from a professional bakery despite the minimal effort required.
You can look forward to a base reminiscent of a dense brownie and a silky, spiced topping. It’s the sort of recipe that fills your home with the scent of cinnamon and melting chocolate while baking.
Why These Bars Work
- The Pre Bake: Searing the chocolate base for 10 minutes creates a barrier. This stops the pumpkin filling from soaking into the crust and making it cakey.
- Room Temp Cheese: Using softened cream cheese ensures the batter is smooth. If the cheese is cold, you'll get tiny white lumps that never disappear.
- Low Speed Mixing: Beating the egg on the lowest setting prevents air bubbles. This is how you avoid those annoying cracks on top.
| Method | Time | Texture | Best For |
|---|---|---|---|
| Oven Baked | 50 min bake + 4 hr chill | Set and creamy | Traditional holiday parties |
| No Bake | 6 hr chill | Softer, mousse like | Hot summer days |
| Stovetop Crust | 5 min prep | More crumbly | Quick weekday cravings |
Recipe Specs
The goal here is a sharp contrast between the mahogany dark base and the bright orange filling. For achieving optimal texture, professional bakers recommend this technique detailed in Achieving Perfect Cheesecake Texture, which focuses on temperature control.
If you enjoy the tang of a Classic New York Cheesecake, you'll love how the pumpkin pie spice adds a warm layer to that familiar flavor. The key is the 4 hour chill, which lets the fats solidify and the spices meld together.
Ingredient Deep Dive
| Ingredient | What It Does | Best Swap |
|---|---|---|
| Cream Cheese | Adds body and a zesty note | Mascarpone (richer, less tangy) |
| Pumpkin Puree | Contributes moisture and seasonal taste | Roasted butternut squash puree |
| Cocoa Powder | Offers a dark, bitter balance | Melted dark chocolate |
| Pumpkin Pie Spice | Delivers the classic autumn scent | Mix of cinnamon, ginger, and cloves |
The Shopping List
For the Chocolate Base
- 1/2 cup (115g) unsalted butter, melted
- 1/2 cup (60g) cocoa powder, unsweetenedWhy this? Provides a deep, non sweet base
- 1/2 cup (100g) granulated sugar
- 1 large egg
- 1 tsp (5ml) vanilla extract
- 1/4 tsp (1.5g) salt
For the Pumpkin Filling
- 8 oz (225g) cream cheese, softenedWhy this? Essential for a creamy, set texture
- 1/2 cup (115g) granulated sugar
- 1/2 cup (120g) pumpkin pureeWhy this? Use pure puree, not pie filling
- 1 tsp (5ml) pumpkin pie spice
- 1 large egg
- 1 tsp (5ml) vanilla extract
For the Swirl - 1/4 cup (60ml) melted semi sweet chocolate chips - 1 tbsp (15ml) heavy cream
Essential Kitchen Tools
No specialized equipment is required for these Chocolate Pumpkin Cheesecake Bars; a basic 8x8 inch baking pan is all you need. I suggest lining it with parchment paper and leaving an overhang on the edges, which makes lifting the entire block out far simpler.
An electric mixer either handheld or a stand model is ideal for the filling. If you choose to mix by hand, be prepared for some effort. It is important that the cream cheese is entirely smooth before you add the pumpkin. To create the swirls, a wooden skewer or a simple toothpick works perfectly.
How to Make Them
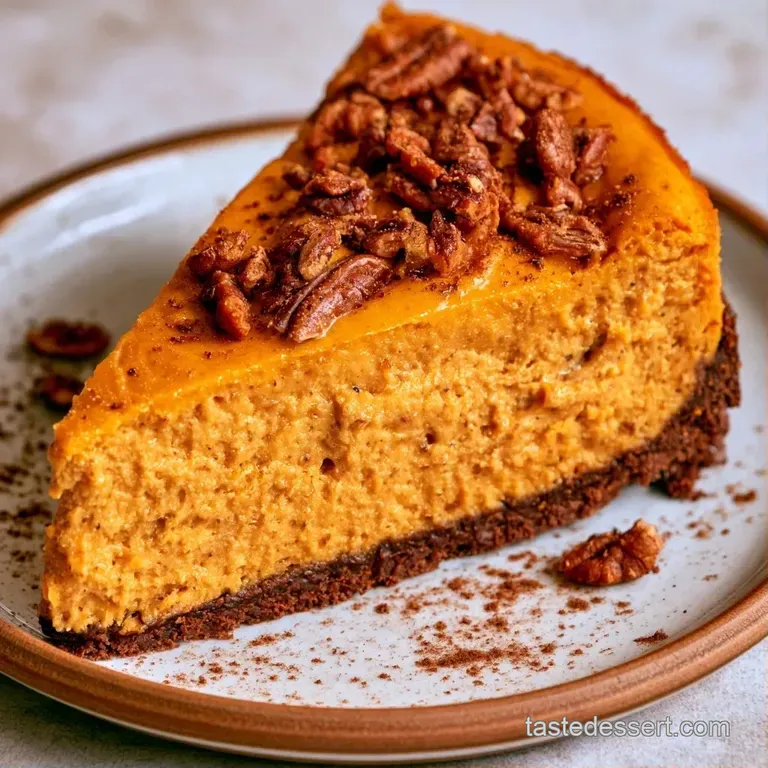
Phase 1: The Fudgy Base
- Set the oven to 350°F (175°C). Line an 8x8 inch pan with parchment paper.
- Whisk melted butter, cocoa powder, sugar, egg, vanilla, and salt. Mix until a dense, glossy paste forms.
- Press the paste evenly into the pan. Note: Use the back of a spoon to get the corners.
- Bake for 10 minutes until the edges look set and smell like brownies. Remove from oven.
Phase 2: The Pumpkin Layer
- Beat softened cream cheese and sugar on medium low. Mix until the texture is smooth and no lumps remain.
- Stir in pumpkin puree, pumpkin pie spice, and vanilla. Mix until the color is a uniform orange.
- Add the egg. Mix on the lowest speed just until the yellow disappears. Note: Overmixing here causes air bubbles.
- Pour the filling over the chocolate base. Smooth the top with a spatula.
Phase 3: The Swirl and Bake
- Combine melted chocolate chips and heavy cream. Drop small spoonfuls of this mixture onto the pumpkin layer.
- Swirl the chocolate into the pumpkin using a toothpick.
- Bake for 40 minutes until the edges are firm but the center has a slight jiggle.
- Cool on a wire rack, then chill in the fridge for 4 hours before slicing.
Fixing Common Issues
Fixing Surface Cracks
Cracks usually happen when the oven is too hot or the batter was over beaten. If you see a split, don't panic. It tastes the same. You can hide it with a bit of whipped cream or a sprinkle of cocoa powder. Next time, try lowering the oven temp by 10 degrees.
Correcting Soft Centers
If the center feels like pudding after 4 hours, it likely didn't reach the set point during baking. Put it back in the fridge for another 2 hours. If it's still too soft, it might be due to too much pumpkin puree. Use a sieve to drain excess liquid from the puree before mixing.
Handling Muddled Swirls
Sometimes the chocolate swirl sinks or disappears. This happens if the chocolate is too hot when you pour it. Let the chocolate and cream mixture cool for 2 minutes before swirling. This makes it thicker so it stays on the surface.
Pairing and Serving
Because these bars are so rich, they benefit from a bright pairing. Fresh raspberries or sliced Granny Smith apples are excellent choices, as the acidity balances the cream cheese.
A mug of black coffee or some spiced cider is a great accompaniment. To get the best look for a crowd, slice them with a warmed knife. Rinse the blade in hot water and dry it after each cut to ensure the edges stay sharp and professional.
| People | Bars Needed | Pans Required |
|---|---|---|
| 4-6 | 6-8 | 1 Pan (Half) |
| 8-12 | 12-16 | 1 Pan (Full) |
| 16-20 | 20-24 | 2 Pans |
Storage and Waste
Keep the bars in a sealed container in the fridge for up to 5 days. They actually taste better on day two because the spices have more time to soak into the cheesecake. For longer storage, you can freeze them for 2 months. Wrap individual bars in plastic wrap and then place them in a freezer bag.
To reheat, just let them thaw in the fridge overnight. Don't use the microwave, or you'll end up with a puddle. If you have leftover pumpkin puree in the can, don't toss it. It's great stirred into oatmeal or used for Libbys Pumpkin Muffins.
Fun Recipe Twists
For a Different Flavor Profile
- Maple Twist: Swap the granulated sugar in the filling for maple syrup. It adds a woody sweetness that pairs well with the cocoa.
- Nutty Crunch: Press 1/4 cup of crushed pecans into the chocolate base before the first bake.
- White Chocolate: Use melted white chocolate for the swirl instead of semi sweet for a creamier, sweeter look.
For Dietary Adjustments - gluten-free: This recipe is naturally gluten-free as long as your cocoa powder is certified. - Lower Sugar: You can reduce the sugar in the base by 2 tablespoons without affecting the set.
Chef's Note: If you want an extra tang, fold in 1 teaspoon of lemon zest to the cream cheese. It wakes up the pumpkin flavor and makes the bars feel lighter.
Debunking Dessert Myths
"Cheesecakes always crack" Not true. Cracks come from over beating air into the eggs or baking at too high a temperature. Keep your mixer low and slow.
"Pumpkin puree must be homemade" While roasting your own pumpkin is great, canned 100% pure pumpkin is more consistent in moisture content. This makes the Chocolate Pumpkin Cheesecake Bars set more reliably.
Scaling the Recipe
Cutting it in half Use a 4x4 inch square pan or a small loaf pan. Reduce the baking time for the base by 2 minutes and the final bake by about 15 minutes. Since you can't easily halve an egg, beat one egg in a small bowl and use 2 tablespoons of it.
Doubling the batch Do not use a deeper pan; use two 8x8 inch pans. If you crowd too much batter into one pan, the edges will overcook before the center sets. Keep the temperature the same, but check for the "jiggle" a few minutes early.
Right then, you've got everything you need. These Chocolate Pumpkin Cheesecake Bars are all about that contrast of dark chocolate and spiced pumpkin. Just remember to be patient with the chilling time. Trust me, the wait is worth it for that clean, creamy slice. Let's get baking!
Recipe FAQs
What makes the chocolate base so fudgy?
Whisking the melted butter and cocoa into a dense, glossy paste creates that rich texture.
Tip: Ensure the butter is completely melted before stirring in the cocoa powder.
How to swirl the chocolate topping?
Combine melted chocolate chips and heavy cream, then use a toothpick to drag the mixture through the pumpkin layer.
Tip: Avoid over swirling to keep the distinct chocolate and orange patterns.
Why does the cheesecake layer sometimes split?
Overmixing the egg into the pumpkin mixture incorporates too much air, causing the bars to puff and then collapse.
Tip: Mix on the lowest speed just until the egg is combined.
Should these bars be refrigerated before cutting?
Chill the pan for at least 4 hours to ensure the cheesecake is fully set.
Tip: Use a hot knife wiped clean between each slice for professional edges.
Can I freeze these bars for later?
Wrap individual bars in plastic wrap and store them in a freezer bag for up to 2 months.
Tip: Thaw them slowly in the fridge overnight to maintain the texture.
Is it true that the center must be solid before baking is done?
False. The center should still have a slight jiggle when you remove the pan from the oven.
Tip: Watch for the edges to be set as your primary cue for doneness.
Which step prevents the crust from getting soggy?
Bake the chocolate base for 10 minutes before pouring on the pumpkin filling.
Tip: If you enjoyed achieving a stable base here, see how that same logic prevents a soggy bottom in our Southern Pecan Pie.
Chocolate Pumpkin Cheesecake Bars