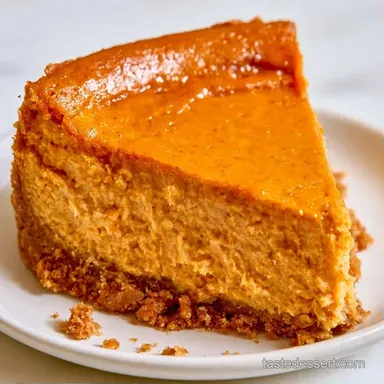
Pumpkin Cheesecake Crust: Buttery and Spiced
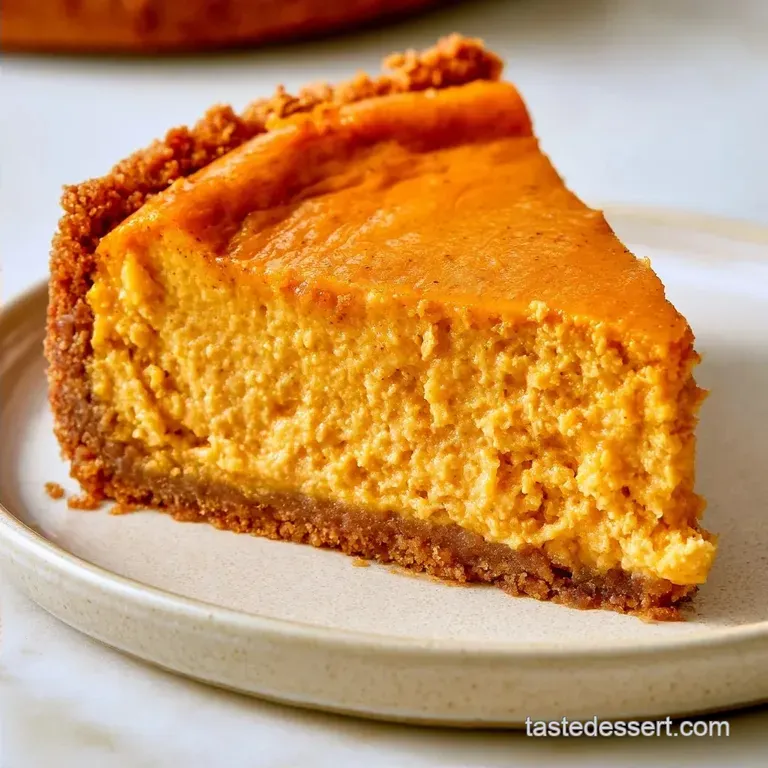
- Time: 10 min active + 10 min baking
- Flavor/Texture Hook: Buttery, salty sweet crunch
- Perfect for: Autumn dinner parties or holiday meal prep
Graham Cracker Crust for Pumpkin Cheesecake
That smell of toasted butter and cinnamon hitting the air is the first sign that fall has actually arrived. There's nothing quite like the sound of a knife cracking through a crisp base into a creamy filling. It's that contrast that makes the whole experience work.
I once made a pumpkin cheesecake where the base looked fine, but the second I sliced it, the crust turned into a wet sponge. It was a total letdown. I realized I'd rushed the process and skipped the pre bake, letting the moisture from the pumpkin filling soak straight into the crumbs.
Now, this Graham Cracker Crust for Pumpkin Cheesecake is my standard. I've tweaked the sugar and the press method to make sure you get a deep mahogany color and a base that actually supports the weight of the cake. Trust me on this, the extra ten minutes in the oven changes everything.
Why This Base Stays Crisp
- The Pre Bake: Heating the butter and sugar before adding the filling creates a hydrophobic barrier. This keeps the moisture from the pumpkin mixture from seeping into the crumbs.
- Brown Sugar: Using brown instead of white sugar adds a hit of molasses. This creates a sturdier, more caramelized structure that pairs better with warm autumn spices.
| Goal | What to change |
|---|---|
| Extra Crunch | Bake for 12 mins |
| Spicier Profile | Add 1/4 tsp ginger |
| Lighter Taste | Swap for white sugar |
Quick Recipe Specifications
This recipe is designed for a standard 9 inch springform pan, but it works just as well for mini cheesecakes. The total time is lean, making it a quick win for anyone who wants a homemade touch without spending hours in the kitchen.
The focus here is on the balance between the salt and the brown sugar. You want the crust to taste like a decadent cookie, not just a sweet wafer. Because the pumpkin filling is so rich, the crust needs that salty edge to cut through the heaviness.
The Necessary Ingredients
I opt for full fat unsalted butter to maintain precise control over the seasoning. If you only have salted butter on hand, simply reduce the added sea salt by half to keep the flavor balanced.
| Ingredient | Role | If You Don't Have It |
|---|---|---|
| Graham Crumbs | Structure | Biscoff or digestive biscuits |
| Melted Butter | Binder | Melted coconut oil |
| Brown Sugar | Depth/Crunch | Maple syrup (reduce butter slightly) |
| Cinnamon | Warmth | Pumpkin spice blend |
- 1 1/2 cups (180g) graham cracker crumbs Why this? Provides a traditional honey wheat taste. (Sub: Ginger snaps for a zingy twist)
- 6 tbsp (85g) unsalted butter, melted Why this? Essential for holding the crust together. (Sub: Coconut oil)
- 1/4 cup (50g) light brown sugar, packed Why this? Molasses tones provide extra richness. (Sub: White sugar)
- 1/2 tsp (1g) ground cinnamon Why this? A cozy spice that pairs perfectly with pumpkin. (Sub: Nutmeg)
- 1/4 tsp (1.5g) fine sea salt Why this? Balances out the sweetness. (Sub: Kosher salt)
Tools You'll Need
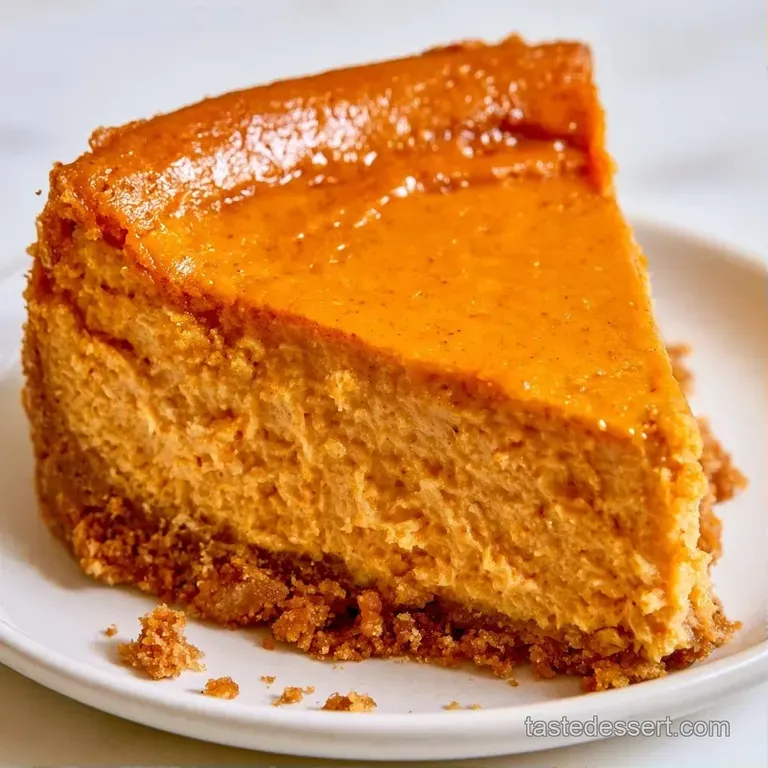
A professional setup isn't required, though a food processor helps achieve a more consistent crumb. Otherwise, a sturdy rolling pin and a freezer bag will do the trick.
I prefer using the flat base of a heavy glass to press the crust. Pressing with your fingers often leaves gaps in the corners, which is where the filling typically leaks. A glass ensures the crumbs are packed tightly from the center all the way to the edges.
Putting The Crust Together
Phase 1: Creating the Fine Crumb
Use a food processor to pulse the graham crackers until they reach a sandy consistency. If you prefer a bag and rolling pin, crush them until no large pieces remain, preventing potential weak spots in the base.
Phase 2: Binding the Base
In a medium bowl, combine the graham cracker crumbs, brown sugar, cinnamon, and salt. Mix in the melted butter until the crumbs resemble damp sand and hold their shape when squeezed.
Phase 3: Setting and Pre Baking
Using the base of a glass, pack the mixture tightly across the bottom and along the walls of a 9 inch springform pan (or mini muffin tin). Bake for 8–10 minutes at 350°F (175°C) until the crust smells nutty and looks golden brown.
Let the crust cool completely before adding the cheesecake filling. This is essential, as filling a hot crust can melt the butter and destroy the snap.
Fixing Common Crust Problems
Fixing a Crumbling Base
If the crust feels loose or falls apart when you slice it, you likely didn't pack it firmly enough. Use a heavy glass to apply significant pressure to the center and the edges before baking. If the mixture is too dry to clump in the bowl, stir in one extra tablespoon of melted butter.
Avoiding a Soggy Bottom
The only way to truly prevent a soggy base is the pre bake. Skipping this step allows the pumpkin puree to soak into the crumbs. Ensure the crust is fully cooled before filling to lock in that toasted texture.
Handling Over browned Edges
Because the sides of the pan are thinner, the edges can brown faster than the center. Rotate your pan halfway through the 10 minute bake to ensure an even, mahogany color across the whole surface.
| Problem | Root Cause | Solution |
|---|---|---|
| Crumbling | Not pressed firmly | Use a heavy glass to pack |
| Soggy Base | Skipped pre bake | Bake 10 mins at 350°F |
| Burnt Edges | Oven hot spots | Rotate pan halfway through |
Flavor Ideas to Try
To embrace the cozy flavors of fall, stir in 1/4 tsp of ground ginger or cloves. For more depth, swap 1/4 cup of the graham crumbs for finely crushed pecans; this adds an earthy quality that pairs beautifully with pumpkin.
If you prefer a different base, Biscoff cookies are a fantastic alternative to graham crackers, offering a decadent, caramelized taste. For a completely different treat, my Strawberry Cheesecake Cookies offer a similar flavor profile in a handheld form.
Storage and Waste Tips
You can bake this crust ahead of time and keep it in the fridge for up to 4 days. If you're prepping for a big holiday, you can even freeze the pre baked crust for 2 months. Just wrap it tightly in foil to keep it from picking up fridge smells.
To avoid waste, never throw away the leftover crumbs at the bottom of the bag. Mix them with a bit of melted butter and a pinch of salt, then toast them in a pan for 2 minutes. They make a great topping for vanilla ice cream or Greek yogurt.
Best Pairing Suggestions
This crust is designed for pumpkin, but it's versatile. It works brilliantly with any rich, creamy filling. If you're hosting a tasting party, I recommend serving a slice of pumpkin cheesecake alongside a piece of Classic New York Cheesecake to show off the contrast between the spiced crust and the tangy NY style.
For a little extra flair, top the finished cheesecake with a dollop of maple infused whipped cream. The maple notes tie back into the brown sugar in the crust, making the whole dessert feel cohesive and warm.
Recipe FAQs
Can a graham cracker crust be used for a pumpkin pie?
It works well as a sturdy alternative to traditional pastry.
Tip: Bake it slightly longer to ensure it holds up against the custard filling.
What is the best crust for pumpkin cheesecake?
A cinnamon spiced graham cracker base provides the ideal balance of sweetness and crunch.
Tip: Use a flat bottomed glass to press the crumbs firmly for a professional finish.
Should I pre-bake graham cracker crust for cheesecake?
Baking the crust for 8 10 minutes at 350°F (175°C) prevents a soggy bottom.
Tip: Let the shell cool completely before pouring in your cheesecake filling.
Which common problems affect pumpkin cheesecake?
Surface cracks and a loose crust are the most frequent issues.
Tip: If you enjoyed mastering the base here, see how the same structural logic applies to our homemade cheesecakes cookbook.
Is it true that brown sugar is optional?
That's a myth.
Tip: Brown sugar adds a caramelized depth that balances the pumpkin spices.
How to prevent the crust from crumbling?
Press the mixture firmly into the pan using a glass.
Tip: Ensure your butter is fully melted before stirring it into the crumbs.
Do I really need a food processor for the crumbs?
Not true.
Tip: You can crush crackers in a sealable bag with a rolling pin for the same result.
Graham Cracker Pumpkin Crust