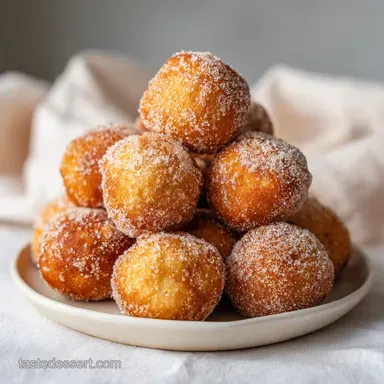
Donut Holes: Failure-Proof and Homemade
- Time: 60 min active + 15 min resting = Total 80 mins (including rise)
- Flavor/Texture Hook: Velvety glaze with a shatter crisp golden exterior
- Perfect for: Sunday brunch, family gatherings, or a little weekend indulgence
- The Secret to Light Airy Donut Holes
- Why These Bites Stay Fluffy
- Component Analysis for Perfect Bites
- Selecting the Best Pantry Staples
- Essential Tools for Frying Success
- Step by Step Frying Guide
- Fixing Common Frying Blunders
- Wonderful Flavor Twists to Try
- Adjusting Your Batch Size
- Truths About Frying Dough
- Keeping Your Treats Fresh
- Beautiful Ways to Serve Them
- Recipe FAQs
- 📝 Recipe Card
The Secret to Light Airy Donut Holes
Have you ever wondered why we call these little spheres "holes" when they aren't actually holes at all? It's a bit of a kitchen joke, really. Back in the day, they were just the centers of ring donuts that bakers would toss into the oil as a treat for themselves.
I remember the first time I tried making these for my grandkids' breakfast party. The house smelled like a professional bakery, and the excitement in the room was just wonderful as we rolled the dough into tiny balls, laughing every time one escaped and rolled across the floor.
The real magic happens when that dough hits the hot oil. There is a specific, happy sizzle that tells you the yeast is doing its job, pushing the dough outward to create those tiny air pockets. Watching them transform from pale dough to a light mahogany gold is honestly one of my favorite parts of baking.
Once they're dipped in that warm, silky glaze, they become something truly special. It's a delightful way to bring the family together in the kitchen.
Why These Bites Stay Fluffy
Yeast Activation: Warm milk wakes up the yeast, creating carbon dioxide bubbles that stretch the dough from the inside.
Butter Integration: Softened butter coats the flour proteins, which keeps the crumb velvety and prevents them from becoming too chewy.
Temperature Control: Frying at exactly 350°F ensures the outside sets quickly while the inside finishes cooking through.
The Second Rest: Letting the shaped spheres sit for 15 minutes allows the gluten to relax, so they expand evenly instead of flattening.
| Method | Time | Texture | Best For |
|---|---|---|---|
| Stovetop Fry | 5 mins | Crispy edges, airy center | Traditional taste |
| Oven Bake | 15 mins | Softer, cake like crumb | Lower oil preference |
Right then, before we get into the ingredients, you should know that the temperature of your oil is the most important part of this whole process. If it's too cold, the dough just soaks up the oil like a sponge. If it's too hot, you'll have a burnt shell and a raw, doughy center.
Component Analysis for Perfect Bites
| Ingredient | Science Role | Pro Secret |
|---|---|---|
| Active Dry Yeast | Leavening agent | Ensure milk is warm, not hot, to avoid killing the yeast |
| All Purpose Flour | Structure provider | Spoon and level your flour to avoid a dense, heavy dough |
| Unsalted Butter | Tenderizer | Use softened butter for easier blending into the wet ingredients |
When you're picking your ingredients, don't be tempted to use low-fat milk or margarine. The fat is what gives these that wonderful, melt in-your mouth quality. I've tried the "light" versions, and honestly, don't even bother. You want the full fat goodness here for that authentic taste.
Selecting the Best Pantry Staples
For the dough, you'll need: - 1/2 cup warm milk Why this? Activates yeast and adds richness (Substitute: Warm coconut milk for a nutty twist) - 2 1/4 tsp active dry yeast Why this? Provides the essential lift (Substitute: Instant yeast, but skip the bloom
Step) - 1/4 cup granulated sugar Why this? Feeds yeast and adds sweetness (Substitute: Cane sugar) - 1 large egg Why this? Emulsifies the dough and adds color (Substitute: 1/4 cup applesauce for a denser result) - 4 tbsp unsalted butter, softened
Why this? Creates a tender crumb (Substitute: Coconut oil) - 2 1/4 cups all purpose flour Why this? Balanced protein for structure (Substitute: Bread flour for a chewier bite) - 1/2 tsp salt Why this? Balances the sugar
(Substitute: Sea salt) - 1 cup vegetable oil Why this? Neutral flavor and high smoke point (Substitute: Canola or peanut oil)
For the glaze: - 2 cups powdered sugar Why this? Dissolves quickly for smoothness (Substitute: Finely sifted icing sugar) - 1/4 cup whole milk Why this? Thins the glaze to a dip able consistency (Substitute: Heavy cream for extra richness) - 1 tsp vanilla
Extract Why this? Adds a classic aromatic note (Substitute: Almond extract) - 1 pinch salt Why this? Cuts through the intense sweetness (Substitute: Fine table salt)
| Original Ingredient | Substitute | Why It Works |
|---|---|---|
| Whole Milk (1/4 cup) | Heavy Cream (1/4 cup) | Higher fat content. Note: Makes the glaze thicker and creamier |
| All Purpose Flour | Bread Flour | More protein. Note: Creates a more "bread like" and chewy texture |
| Vegetable Oil | Peanut Oil | Higher smoke point. Note: Excellent for over high heat frying |
Let's crack on to the tools you'll need. You don't need a fancy professional kitchen, but a few specific items will make your life much easier.
Essential Tools for Frying Success
You'll want a heavy bottomed pot or a deep fryer. A Dutch oven is my go to because it holds the heat steadily, which prevents the oil temperature from dropping when you add the cold dough. You'll also need a digital thermometer - this is non negotiable if you want that shatter crisp exterior.
A slotted spoon is essential for rotating the holes and lifting them out of the oil. I also highly recommend a wire cooling rack. If you put the hot donuts directly on a plate, the bottom will steam and get soggy. The rack lets the air circulate, keeping the crust crisp while you prepare the glaze.
Step by step Frying Guide

Phase 1: The Yeast Bloom & Mix
Combine warm milk and a pinch of sugar in a bowl. Sprinkle yeast on top and let sit for 5-10 minutes until a thick foam forms. Note: If it doesn't foam, your yeast is dead; start over with fresh yeast. Whisk in the remaining sugar, egg, and softened butter.
Stir in flour and salt until a soft, slightly sticky dough forms.
Phase 2: The First Rise
Place dough in a greased bowl, cover with a damp cloth, and let rise in a warm spot for 45-60 minutes until doubled in size. Gently press the air out of the dough on a lightly floured surface.
Phase 3: Shaping the Holes
Divide the dough into 4 equal sections. Roll each section into a long rope about 1 inch wide. Cut the ropes into 1 inch pieces and quickly roll them into tight spheres. Place holes on a parchment lined tray, cover, and let rest for 15 minutes.
Phase 4: The Flash Fry
Heat vegetable oil to exactly 350°F (175°C). Carefully drop 5-6 holes into the oil, rotating frequently with a slotted spoon for 2-3 minutes until light mahogany gold. Remove donut holes and place on a wire cooling rack.
Phase 5: The Glazing Process
Prepare glaze by mixing powdered sugar, whole milk, vanilla extract, and salt. Dip warm donuts into the glaze, swirling them to get an even coating.
Chef's Tip: To get a perfectly smooth glaze, sift your powdered sugar first. Even a tiny lump can ruin that velvety finish. Also, dip them while they're still warm - the heat helps the glaze set into a thin, professional shell.
Fixing Common Frying Blunders
Making kreme donut holes can be a bit tricky the first time. Most issues come down to temperature or handling. If your dough feels too sticky, don't just keep adding flour. Too much flour makes the holes heavy and dense. Instead, lightly grease your hands with oil to handle the dough.
Greasy Dough Problems
If the donuts feel oily, your oil temperature likely dropped below 350°F. This happens when you overcrowd the pot. Work in small batches of 5-6 to keep the heat consistent.
Raw Center Issues
If the outside is brown but the inside is raw, your oil was too hot. The exterior cooked faster than the heat could reach the center. Lower the heat and give them a bit more time at a lower temp.
| Problem | Root Cause | Solution |
|---|---|---|
| Too Greasy | Oil temperature too low | Wait for oil to hit 350°F before adding more |
| Raw Centers | Oil temperature too high | Lower heat; fry in smaller batches |
| Runny Glaze | Too much milk added | Whisk in 2-3 tbsp more powdered sugar |
Common Mistakes Checklist
- ✓ Pat the dough spheres firmly to ensure there are no air gaps (prevents bursting)
- ✓ Use a digital thermometer to verify oil temp (don't guess!)
- ✓ Let the shaped holes rest for 15 minutes (prevents flattening in oil)
- ✓ Dip donuts while warm (ensures glaze adheres properly)
- ✓ Use a wire rack for cooling (prevents soggy bottoms)
Wonderful Flavor Twists to Try
Once you've mastered the basic krispy kreme donut holes recipe, you can start playing with flavors. For a a bit of a different texture, you might enjoy my Italian Zeppole doughnuts, which have a slightly different rise.
For a cinnamon punch, omit the glaze and toss the hot donuts in a mix of granulated sugar and cinnamon immediately after frying. If you want something more decadent, try a chocolate glaze by adding 1/4 cup of cocoa powder to the powdered sugar mix.
You can even fill them using a small piping tip and some raspberry jam for a surprise center.
Another delightful option is to add a pinch of nutmeg to the dough. It gives them that "old-fashioned" bakery scent that makes the whole house feel cozy. For a citrusy vibe, swap the vanilla in the glaze for lemon extract and add a teaspoon of lemon zest.
Adjusting Your Batch Size
When scaling this recipe, be careful with the yeast. If you're doubling the batch, don't double the salt and spices exactly - start with 1.5x and taste. Liquids should be reduced by about 10% when making massive batches to prevent the dough from becoming too slack.
If you only want a small treat, you can halve the recipe. Since you can't easily halve an egg, beat one egg in a small bowl and use exactly half of it. This is a great way to test the recipe without committing to 30 holes. For more inspiration on larger batches, you can check out my homemade donuts recipe.
If you're baking these in the oven instead of frying, lower your oven temp to 180°C (350°F) and extend the time to about 12-15 minutes. They won't have the same shatter crisp edge, but they're still wonderful.
Truths About Frying Dough
Some people believe that you need to "seal" the dough by searing it at a very high temperature first. This is a myth. High heat just burns the outside and leaves the inside raw. The goal is a steady, moderate heat that allows the dough to expand and cook evenly.
Another common misconception is that you can reuse the frying oil indefinitely. While you can reuse it 2-3 times, it eventually breaks down and develops a "burnt" flavor that will seep into your kreme donut holes. Always filter your oil through a fine mesh strainer if you plan to save it.
Keeping Your Treats Fresh
Storage: Store your glazed donut holes in an airtight container at room temperature for up to 2 days. If you put them in the fridge, the glaze may start to weep, and the dough can dry out.
Freezing: You can freeze the unfried dough spheres. Flash freeze them on a tray for an hour, then move them to a freezer bag. Fry them directly from frozen, adding about 1 minute to the cook time.
Zero Waste: Don't throw away the leftover glaze! You can use it as a dip for fresh fruit slices or drizzle it over a warm piece of toast for a quick sweet breakfast. If you have leftover frying oil, don't pour it down the drain. Let it cool, pour it into a jar, and dispose of it in the trash.
Beautiful Ways to Serve Them
The way you present these treats can change the whole mood of the meal. Whether it's a casual morning or a fancy party, there's a way to make these look wonderful.
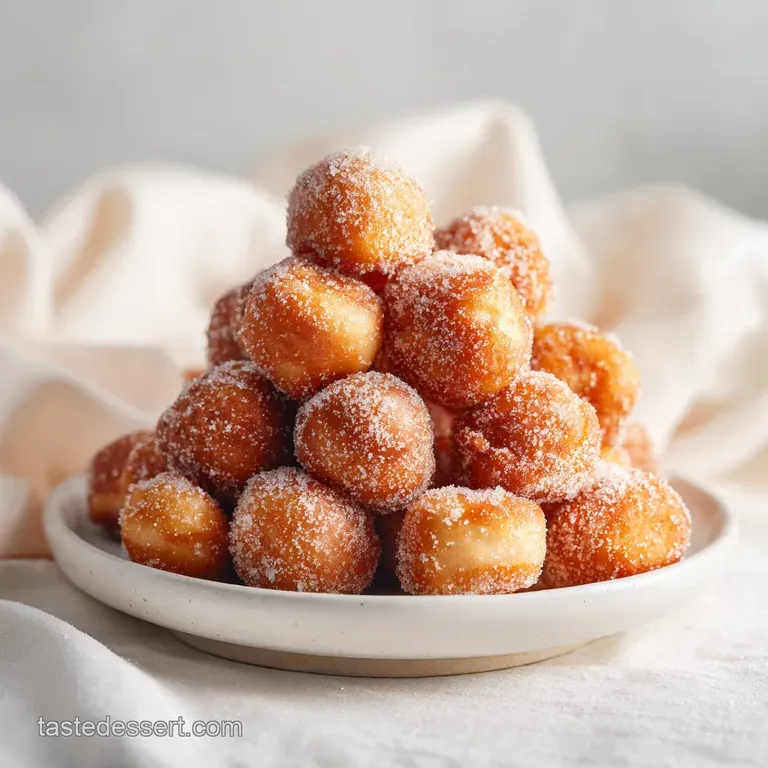
Simple Level: Pile them high in a brown parchment paper bag. This gives that nostalgic, "fresh from the bakery" feel. It's perfect for a quick breakfast on the go.
Polished Level: Arrange them on a white ceramic platter. Dust the whole plate with a light snowfall of powdered sugar and scatter a few fresh raspberries or blueberries between the holes for a pop of color.
Restaurant Level: Create a "Donut Tower" using a tiered cake stand. Drizzle a bit of dark chocolate over the top and garnish with tiny mint leaves and a side of warm salted caramel sauce for dipping.
| Plating Style | Vessel | Garnish | Vibe |
|---|---|---|---|
| Simple | Paper Bag | None | Nostalgic/Casual |
| Polished | Ceramic Plate | Fresh Berries | Elegant Brunch |
| Restaurant | Tiered Stand | Mint & Caramel | Showstopper |
Trust me on this, the effort you put into the presentation makes them taste even more delightful. Whether you're serving them in a bag or on a tower, the joy of sharing homemade krispy kreme donut holes is the best part of the whole experience. Let's get frying!
Recipe FAQs
Do Krispy Kreme do donut holes?
Yes, they are a staple menu item. Most commercial donut shops sell these as a convenient, bite sized option.
What is the best drink to pair with a donut?
Freshly brewed coffee. The bitterness of the roast balances the sugary glaze and the richness of the fried dough.
Can a diabetic eat one donut?
Consult a healthcare provider first. The refined flour and sugar in this recipe can cause rapid spikes in blood glucose levels.
Is it okay to eat donuts once in a while?
Yes, when enjoyed in moderation. Incorporating treats occasionally is perfectly fine as part of a balanced lifestyle.
Why did my donut holes flatten in the oil?
The dough probably didn't rest long enough. Ensure the spheres rest for 15 minutes before frying to preserve their round structure.
How to prevent donut holes from bursting while frying?
Pat the dough spheres firmly. Removing internal air gaps prevents the dough from popping when it hits the 350°F oil.
Can I make these without frying them?
Yes, you can bake them. If you prefer to avoid the fryer, try making baked cake donuts for a lighter alternative.
Homemade Donut Holes