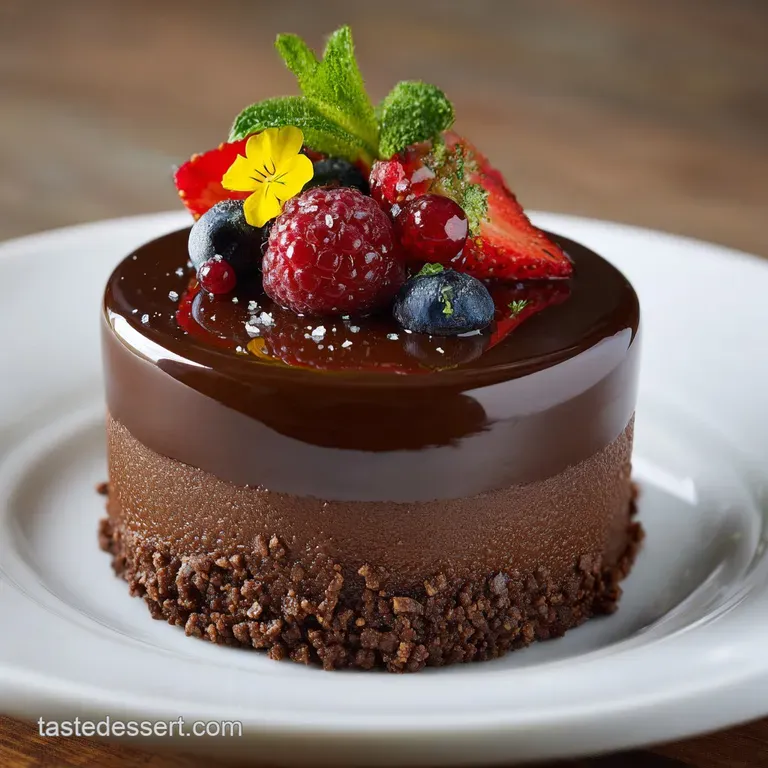
Mirror Glaze Mousse Cake Tutorial
- Time: Active 45 minutes, Passive 6 hours, Total 6 hours 45 mins
- Flavor/Texture Hook: Silky smooth cocoa intensity paired with a buttery, crisp cookie base.
- Perfect for: Milestone birthdays, anniversary dinners, or impressing your toughest food critics.
- Creating the Ultimate Shiny Mirror Glaze Mousse Cake
- The Science Behind Achieving Flawless Reflective Results
- Component Analysis for Successful Results
- Shopping List Breakdown for Smart Budget Bakers
- Essential Equipment for a Professional Looking Finish
- Bringing Everything Together with Total Precision
- Resolving Common Glazing Obstacles and Mistakes
- Smart Dietary Adaptations for Modern Guests
- Preservation Secrets for a Glassy Finish
- Creative Serving Suggestions for Elegant Presentation
- Myths Regarding Mirror Glazes
- Recipe FAQs
- 📝 Recipe Card
Creating the Ultimate Shiny Mirror Glaze Mousse Cake
The first time I attempted a mirror glaze, it was a total disaster. I had chocolate streaks up to my elbows, the glaze was as lumpy as oatmeal, and my "reflection" looked like a blurry thumbprint.
I remember standing in my kitchen at midnight, staring at a dull, matte blob of cake, wondering why I ever thought I could pull off professional pastry work at home. But then I took a bite of that first Mirror Glaze Mousse Cake.
The way the velvety chocolate mousse dissolved on my tongue against the crunch of the sablé base was enough to make me obsessed.
I've spent the last few years failing so you don't have to. I've learned that the secret isn't some expensive laboratory tool; it's all about patience and a cheap digital thermometer.
When you finally get that pour right, and the chocolate liquid sheets over the frozen cake like molten silk, it's the most satisfying feeling in the world. We aren't just making a dessert here, we're making a piece of art that happens to taste like a dream.
Trust me, once you see that first glassy shimmer, you'll be hooked just like I am.
This recipe is designed to give you that high end "patisserie" look without the high end price tag. By using smart ingredient swaps and focusing on the physics of temperature, we're going to transform humble dark chocolate and gelatin into something truly extraordinary.
Whether you're a seasoned baker or just someone who loves a good kitchen challenge, this guide will walk you through every silky step.
The Science Behind Achieving Flawless Reflective Results
The Viscosity Pivot: Glucose syrup and sweetened condensed milk create a non crystalline sugar structure that remains flexible and glossy even when chilled. This prevents the glaze from becoming a hard shell, allowing it to flow smoothly over the curves of the cake.
Thermal Shock Adhesion: Pouring a warm glaze (around 90°F) over a bone cold, frozen mousse causes the gelatin to set instantly upon contact. This creates a thin, even layer that clings to the surface rather than sliding off into a puddle.
Budget Alternatives for Home Bakers
| Premium | Budget | Flavor Impact | Savings |
|---|---|---|---|
| Valrhona Chocolate | Store Brand 70% Dark | Slightly less fruity, still rich | Save $10-15 |
| Liquid Glucose | Light Corn Syrup | Identical shine, slightly sweeter | Save $4-6 |
| Vanilla Bean Paste | Pure Vanilla Extract | No black flecks, same aroma | Save $8-10 |
Choosing a budget chocolate is totally fine for this recipe as long as you stick to a 70% cocoa content. The bitterness of the dark chocolate is necessary to balance out the sweetness of the honey and the condensed milk in the glaze.
Component Analysis for Successful Results
| Ingredient | Science Role | Pro Secret |
|---|---|---|
| Gelatin Sheets | Structural Binder | Always bloom in ice cold water to prevent premature melting. |
| Glucose Syrup | Anti Crystallization | Prevents the sugar from graining, ensuring that mirror like finish. |
| Dark Chocolate | Fat & Flavor | High cocoa butter content ensures the mousse sets with a velvety mouthfeel. |
| Egg Yolks | Emulsifier | Lecithin in the yolks binds the water and fat for a stable, creamy interior. |
Using the right cocoa percentage is vital here because it affects the setting point of your mousse. If you've enjoyed making our Decadent Chocolate Raspberry recipe, you'll notice this technique uses a similar fat to liquid ratio to achieve that signature melt in-your mouth texture.
Shopping List Breakdown for Smart Budget Bakers
- 200g dark chocolate (70% cocoa): This is for your mousse. Why this? The high fat content provides the necessary structure for the cake to stand.
- 250ml heavy cream: Make sure it's at least 35% fat.
- 2 large egg yolks: These provide richness and stability.
- 30g honey: Adds a floral note and keeps the mousse soft when frozen.
- 5g gelatin sheets: For the mousse structure.
- 100g glucose syrup: The key to the glaze shine. Why this? It prevents sugar crystals from forming, keeping the glaze smooth.
- 100g granulated sugar: Standard white sugar works best.
- 50ml water: For the sugar syrup base.
- 70g unsweetened condensed milk: Provides opacity and body to the glaze.
- 100g dark chocolate (for glaze): Use the same quality as the mousse.
- 7g gelatin sheets (for glaze): Slightly more here for a firmer set.
- 6 chocolate sablé cookies: These act as the crunchy base for each portion.
For the dark chocolate, you can substitute with a high-quality semi sweet if 70% is too intense, but you may need to reduce the honey slightly. If you can't find gelatin sheets, you can use powdered gelatin (use a 1:1 weight ratio), but make sure to bloom it in exactly 5 times its weight in water.
Essential Equipment for a Professional Looking Finish
You don't need a professional kitchen, but a few specific tools will make your life much easier. First, a silicone mold is almost mandatory for those smooth, rounded shapes. Hearts, domes, or pucks all work beautifully.
A digital thermometer is your best friend here; guessing the temperature of the glaze is the fastest way to a matte finish.
You'll also want a fine mesh strainer and an immersion blender (like a Braun or KitchenAid). The blender helps emulsify the glaze, but the trick is to keep the blade fully submerged to avoid whisking in air. If you've ever tried the Orange Curacao Mousse Cake recipe, you know that managing air bubbles is half the battle when working with citrus and cream. Finally, a cooling rack set over a parchment lined sheet tray is essential for catching the excess glaze so you can reuse it later.
Bringing Everything Together with Total Precision
Mastering the Thermal Shock
- Bloom the gelatin. Soak 5g of gelatin sheets in a bowl of ice cold water for about 5 to 10 minutes until they are soft and wiggly.
- Create the custard base. Whisk the 2 egg yolks with 30g of honey in a heat proof bowl. Note: This creates a sabayon style base that adds deep richness.
- Melt the chocolate. Gently melt 200g of dark chocolate using a double boiler or 30 second bursts in the microwave until silky and completely liquid.
- Combine and temper. Heat 50ml of the heavy cream (taken from the 250ml total) until steaming, whisk into the yolk mixture, then stir in the bloomed gelatin and melted chocolate.
- Fold the mousse. Whip the remaining heavy cream to soft peaks and gently fold it into the chocolate mixture until no white streaks remain.
- Freeze the cores. Pour the mousse into your silicone molds and freeze for at least 6 hours until rock hard to the touch.
- Prepare the glaze syrup. Boil 100g sugar, 100g glucose, and 50ml water in a saucepan until the bubbles become slow and thick.
- Emulsify the mirror glaze. Pour the hot syrup over 100g chocolate, 70g condensed milk, and 7g bloomed gelatin; use an immersion blender at an angle to mix until a glossy, reflective pool forms.
- The perfect pour. Wait for the glaze to cool to exactly 90°F (32°C), then pour it in a single fluid motion over the frozen mousse hearts.
- Set the base. Carefully lift each glazed cake and place it onto a chocolate sablé cookie until the glaze stops dripping.
Chef's Tip: When using the immersion blender for the glaze, never lift the blade out of the liquid. If you hear a sucking sound, you're pulling in air which will create tiny bubbles that ruin the "mirror" effect.
Resolving Common Glazing Obstacles and Mistakes
Managing the Temperature Gap
If your glaze is too hot, it will simply run off the cake, leaving a translucent, sad looking layer. If it's too cold, it will set too quickly, creating thick "slugs" of chocolate rather than a smooth sheet. The sweet spot is always between 89°F and 92°F.
If the glaze thickens too much while you're working, just give it a 5 second pulse in the microwave and stir gently.
Why Your Glaze Has Bubbles
Air bubbles are the ultimate enemy of the Mirror Glaze Mousse Cake. They usually happen during the blending phase or if you stir too vigorously with a whisk. To fix this, pass the glaze through a fine mesh sieve twice before pouring. This catches any unmelted gelatin bits and breaks up larger air pockets.
| Problem | Root Cause | Solution |
|---|---|---|
| Glaze is dull/matte | Temperature was too low during pour | Reheat to 90°F and strain again |
| Mousse is melting | Mousse wasn't frozen solid | Freeze for a full 6-8 hours before glazing |
| Glaze sliding off | Glaze was too hot or mousse had frost | Wipe frost off mousse; cool glaze to 90°F |
Common Mistakes Checklist
- ✓ Never skip straining the glaze - even tiny lumps of gelatin will show up like boulders on the surface.
- ✓ Ensure the mousse is frozen "stone cold" - any warmth will prevent the glaze from sticking properly.
- ✓ Tap the bowl of glaze on the counter for 2 minutes before pouring to force bubbles to the surface.
- ✓ Use a spatula to "swipe" the bottom of the cake after glazing to remove hanging drips before moving it.
- ✓ Don't over whip the cream for the mousse; soft peaks fold in easier and create a more velvety texture.
Smart Dietary Adaptations for Modern Guests
If you need a dairy-free version, you can swap the heavy cream for full fat coconut milk (the kind in the tin). Keep in mind this will add a distinct tropical flavor and the mousse will be slightly softer.
For the glaze, use a dairy-free condensed milk (oat or coconut based) and ensure your dark chocolate is vegan certified.
For a gluten-free option, the main culprit is the sablé cookie base. You can easily swap these for gluten-free chocolate wafers or even a base made of crushed nuts and dates.
The mousse and glaze themselves are naturally gluten-free as long as your glucose syrup is derived from corn or potatoes (which most are in the US).
Decision Shortcut
- If you want maximum shine, use a higher ratio of glucose syrup.
- If you want deep flavor, use a dark chocolate with at least 72% cocoa.
- If you want faster setting, increase the gelatin sheets by 2g in the mousse.
Preservation Secrets for a Glassy Finish
Once glazed, these cakes are best served within 24 hours to maintain that high gloss look. You can store them in the fridge, but be aware that home refrigerators are often humid, which can cause "beading" on the surface of the glaze over time.
If you need to make them ahead, keep the mousse frozen in the molds and only glaze them on the day you plan to serve.
Storage:Fridge: 2 to 3 days in an airtight container. Freezer: Un glazed mousse can stay frozen for up to 1 month. Glazed cakes do not freeze well as the glaze loses its shine and becomes tacky upon thawing.
Zero Waste Tip: Don't throw away the leftover glaze that drips into the tray! You can scrape it up, store it in a jar in the fridge for up to a week, and reheat it for a second batch of cakes or use it as a decadent chocolate sauce over ice cream.
Creative Serving Suggestions for Elegant Presentation
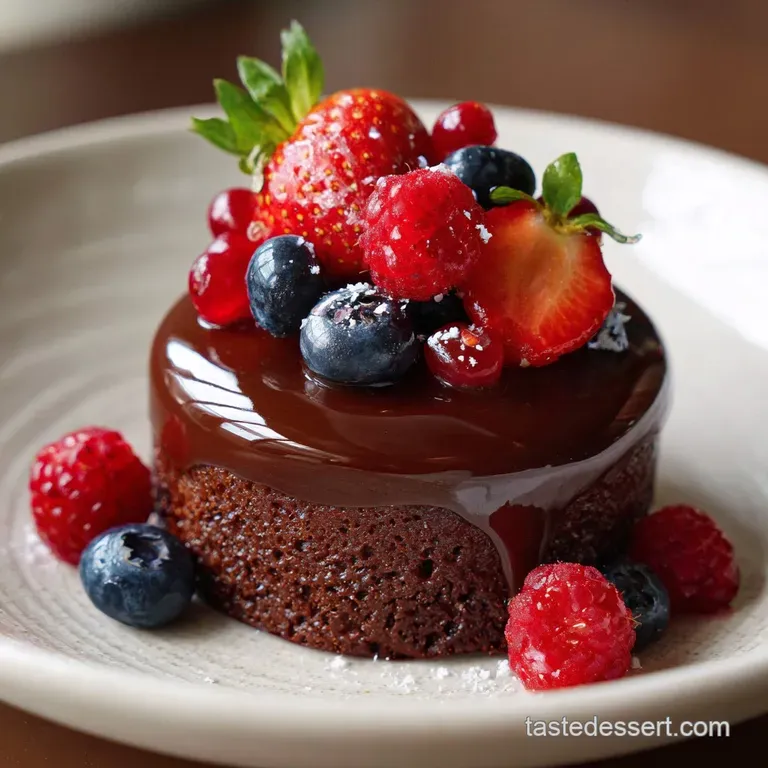
Presentation is everything with a Mirror Glaze Mousse Cake. Since the surface is so shiny, I like to add a bit of contrast. A single gold leaf flake or a tiny sprig of mint can look incredibly sophisticated.
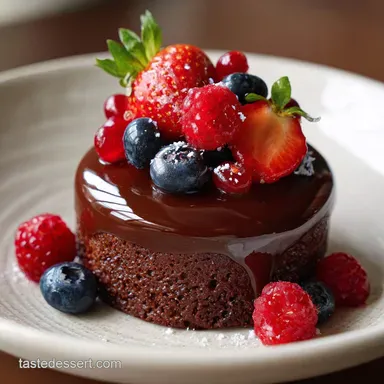
Because the cake is quite rich, serving it with a few tart raspberries or a smear of passionfruit curd provides a much needed acid hit that cuts through the fat of the cocoa butter.
If you’re feeling extra, you can experiment with "spider web" effects by drizzling a small amount of white chocolate glaze over the dark glaze while it's still wet. Just like when making a Tuxedo Cake Recipe, the visual contrast between the dark and light elements is what makes the dessert truly pop on the plate. Always serve these on a clean, white plate to let the chocolate's natural shimmer be the star of the show.
Myths Regarding Mirror Glazes
One of the biggest myths is that you need a "professional" blast freezer to make this happen. A standard home freezer works perfectly fine as long as you give it enough time. Another common misconception is that you can't reuse glaze. You absolutely can!
As long as you strain out any crumbs that might have fallen in during the first pour, reheated glaze performs almost exactly like fresh glaze. Finally,, people think mirror glaze is hard to eat in reality, it’s just a soft, gel like coating that should melt away just as easily as the mousse beneath it.

Recipe FAQs
What is the difference between glaze and mirror glaze?
A mirror glaze is a type of glaze known specifically for its high, reflective shine. Standard glazes (like a simple powdered sugar/milk mix) are opaque and matte; mirror glaze relies on glucose syrup and gelatin to create a smooth, glass like sheen.
Does mirror glaze set hard?
No, it sets flexible and slightly gelatinous. If the mirror glaze sets too hard, it will crack when sliced; the correct texture should be soft enough to cut through smoothly along with the mousse.
What are common mirror glaze problems?
The most common issues are dullness, streaks, or air bubbles. Dullness usually results from pouring the glaze when it’s too cool, while streaks happen if the underlying mousse isn't perfectly frozen.
What is the purpose of mirror glaze?
Its primary purpose is visual presentation, creating a flawless, high gloss, reflective finish. It seals the mousse beautifully and provides a stunning contrast to the internal texture; if you enjoyed mastering the emulsion needed for this, see how the same principle works in our Classic Flannel Cake recipe.
What temperature should I pour the mirror glaze onto the frozen cake?
Aim for exactly 90°F (32°C). Pouring slightly cooler ensures the glaze sets instantly upon hitting the frozen surface, creating a thin, perfect layer that won't slide off.
Is it true I must use an immersion blender to avoid bubbles?
Yes, the immersion blender is critical, but use it carefully. You must keep the blade completely submerged during blending; lifting it even slightly will introduce air, causing the bubbles that ruin the mirror effect.
How do I fix a batch of glaze that has set too thick before I could pour it?
Gently reheat the glaze in the microwave for short bursts. Heat it in 5-second intervals, stirring well between each, until it flows smoothly again, then check the temperature before pouring.
Mirror Glaze Mousse Cake
Ingredients:
Instructions:
Nutrition Facts:
| Calories | 712 calories |
|---|---|
| Protein | 8.4g |
| Fat | 41.2g |
| Carbs | 70.5g |
| Fiber | 5.2g |
| Sugar | 56.8g |
| Sodium | 112mg |
