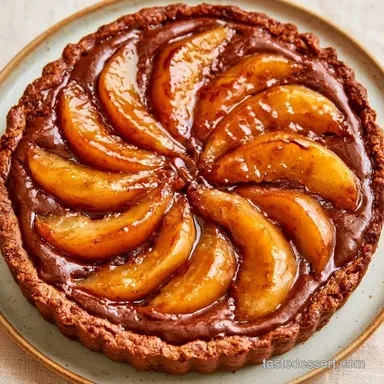
Pear Chocolate Tart: Rich and Fudgy
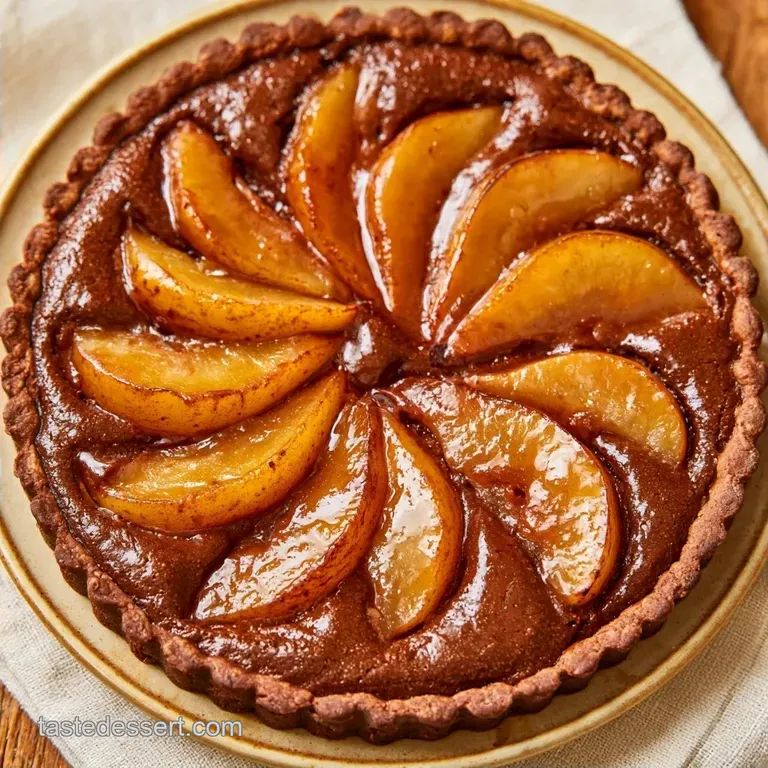
- Prep Time: 30 min active + 30 min chilling
- Taste & Texture: Fudgy chocolate and crisp buttery crust
- Best for: Dinner party finales or a cozy date night
The aroma of toasted almonds and caramelized sugar filling the air is easily the highlight of this recipe. I first discovered this style while reading about rustic French tarts, specifically those from the countryside where the fruit is the star.
They avoid unnecessary complexity, letting the butter and the fresh harvest provide the depth.
You're creating a treat with professional bakery appeal that still feels cozy and inviting. This Pear Chocolate Tart isn't about intricate piping or gold leaf; it's all about the contrast between a brittle crust and a molten, rich center.
Stick with Bosc pears for the best results. They maintain their shape while baking, which prevents the crust from getting soggy. Let's get started on this Pear Chocolate Tart.
Why the Filling Stays Put
Almond Flour Buffer: The ground almonds provide a thick, cake-like consistency. This prevents the fruit from settling at the base of the Pear Chocolate Tart.
Controlled Melting: Combining melted chocolate with butter creates a stable emulsion. This yields a rich, fudge-like filling that won't seep into the pastry.
For a change of pace, a classic orange tart employs a similar crust but offers a bright, citrusy zing.
| Method | Time | Texture | Best For |
|---|---|---|---|
| Creamed Butter | 15 mins | Fluffy and cakey | A lighter Pear Chocolate Tart |
| Melted Chocolate | 10 mins | Fudgy and dense | Decadent, rich results |
Tools for the Job
Must Have Tools
To keep the butter cold for the crust, a food processor is highly recommended. While a pastry cutter is a viable alternative, you'll need to work more quickly. To ensure your Pear Chocolate Tart stays intact when serving, use a 9-inch tart tin with a pop-out base.
Essential Basics
Standard mixing bowls, a whisk, and parchment paper for the blind bake. Using a sharp knife for the pears allows for clean slices that sit flat against the chocolate.
Shopping List Breakdown
For the Pastry Shell
- 1.5 cups (190g) all purpose flour
- 0.5 cup (115g) unsalted butter, chilled and cubed Why this? Cold butter creates the flaky layers.
- 0.25 cup (50g) powdered sugar
- 1 large egg yolk
- 2 tbsp (30ml) ice cold water
- 0.25 tsp (1.5g) salt
For the Chocolate Frangipane
- 0.5 cup (115g) unsalted butter, softened
- 0.5 cup (100g) granulated sugar
- 1 cup (95g) almond flour Why this? Adds structure and a nutty depth.
- 2 large eggs, room temperature
- 3 oz (85g) dark chocolate (60% cocoa), melted
- 2 tbsp (15g) unsweetened cocoa powder
- 1 tsp (5ml) vanilla extract
- 0.25 tsp (1.5g) salt
For the Pear Topping
- 3 medium Bosc or Anjou pears, peeled, halved, and sliced Why this? Bosc pears stay firm when baked.
- 1 tbsp (15ml) melted butter
- 1 tbsp (15ml) maple syrup
| Component | Purpose | Substitute Notes |
|---|---|---|
| Almond Flour | Structure | Hazelnut flour: Nuttier flavor, slightly denser |
| Dark Chocolate | Deep flavor | Milk chocolate: Sweeter, less stable structure |
| Bosc Pears | Texture | Anjou pears: Softer, slightly sweeter |
Right then, let's look at some swaps. If you're out of maple syrup, honey works just fine for the pear glaze. For the crust, you can use a store-bought shortcrust if you're in a rush, though the homemade version makes the Pear Chocolate Tart feel much more special.
Quick Recipe Specs
- Preparation: 30 minutes
- Chill time: 30 minutes
- Baking time: 45 minutes
- Total duration: 1 hour 45 mins
- Yields: 8 slices
- Oven Temperature: 350°F (180°C)
Baking the Tart
Phase 1: Building the Foundation
- Combine flour, powdered sugar, and salt in a food processor. Pulse in chilled butter until the texture resembles coarse crumbs.
- Mix in the egg yolk and ice water, pulsing just until the dough starts to clump. Note: Avoid over-processing to prevent a tough crust.
- Shape the dough into a disk, wrap with plastic, and chill in the refrigerator for 30 minutes.
- Roll out the cold dough and press it firmly into a 9 inch tart pan.
- Prick the base with a fork, line with parchment and pie weights, then bake for 12 minutes at 350°F (180°C) until the edges are set and pale gold.
Phase 2: Crafting the Chocolate Heart
- Cream together softened butter and granulated sugar until the mixture is light and fluffy.
- Mix in the cocoa powder, almond flour, vanilla extract, and salt.
- Incorporate the eggs individually, mixing thoroughly after each one.
- Gently fold in the melted dark chocolate until the batter is smooth.
Phase 3: The Assembly and Finish
- Pour the filling into the pre-baked crust and smooth it out.
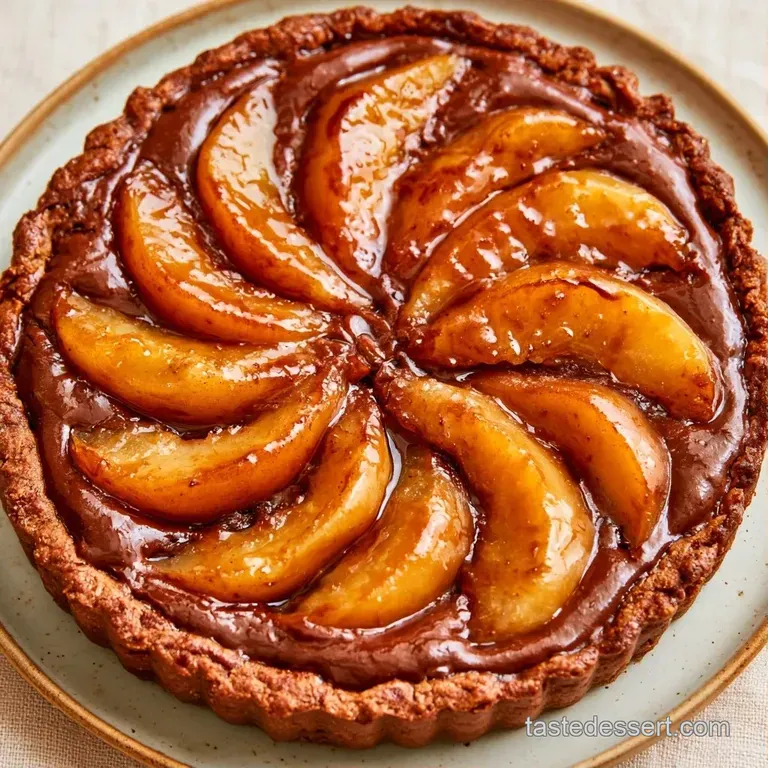
- Place pear slices on top in a circular arrangement.
- Brush the pear slices with a combination of melted butter and maple syrup.
- Bake for 33 minutes until the filling is set and the pears are tender.
Fixing Common Issues
It's easy to get a bit nervous with pastry, but most things are fixable. If your crust shrinks, it's usually because the gluten got too tight from overworking it or it didn't rest long enough. Just press the edges back up with a spoon before the blind bake.
If the filling looks a bit grainy, it's often because the eggs were too cold when they hit the creamed butter. This happens to the best of us. Let the Pear Chocolate Tart cool completely, and the texture usually smooths out.
Crust Pulls Away
The dough contracted during baking. Ensure you chill it for the full 30 minutes.
Filling is Grainy
Eggs were too cold, breaking the emulsion. Use room temperature eggs.
Pears are Sinking
The filling was too thin or the pears were too heavy. Slice them thinner and press them gently.
| Problem | Root Cause | Solution |
|---|---|---|
| Soggy Bottom | Under baked crust | Bake for full 12 mins with weights |
| Cracked Top | Over baked filling | Remove when center has a slight jiggle |
| Pears Browned | Oxidation | Toss sliced pears in lemon juice first |
Busting Baking Myths
Some people say you have to use a fancy tart ring for this. That's just not true. A standard tart pan with a removable bottom works perfectly for a Pear Chocolate Tart.
Another myth is that you need to poach pears before putting them in a tart. While that's a thing for some desserts, Bosc pears are sturdy enough to cook right in the oven. They absorb the chocolate flavor better when baked raw.
Storage and Zero Waste
Keep this Pear Chocolate Tart refrigerated in a sealed box; it will last up to 3 days. For freezer storage, slice the tart first and wrap each piece in parchment paper, where it remains good for about a month.
To warm a slice, heat it at 300°F (150°C) for 5-8 minutes. This restores the buttery crispness of the crust.
Save the pear peels rather than tossing them. I usually simmer them with a bit of sugar and water to make a simple syrup for cocktails or pancakes. It would be a waste of great flavor to throw them away.
Customizing the Flavors
If you want a twist, try adding a pinch of cinnamon to the almond flour. It brings out the warmth of the pears. For those who love intense chocolate, a dash of espresso powder in the filling makes the dark chocolate pop. If you're craving something even more airy, you might like a chocolate souffle, but the tart is much better for sharing.
For a dairy-free version of this Pear Chocolate Tart, use a high-quality vegan butter and an egg substitute like flax meal, though the texture will be slightly denser.
| Goal | What to change |
|---|---|
| More crunch | Add toasted slivered almonds on top |
| Less sweet | Use 70% cocoa chocolate |
| Softer pears | Poach pears in syrup for 5 mins first |
Serving and Plating
The Pear Chocolate Tart looks best when served at room temperature. This allows the chocolate frangipane to soften and the flavors to open up. I like to dust the top with a little powdered sugar right before it hits the table.
Pair a slice with a dollop of unsweetened whipped cream or a scoop of vanilla bean ice cream. The cold cream against the rich chocolate is a wonderful contrast. If you're serving this for a holiday, a few fresh raspberries around the plate add a pop of color that makes the Pear Chocolate Tart look professional.
Right then, you've got everything you need. This Pear Chocolate Tart is all about that homemade feel, so don't sweat it if the pear slices aren't perfectly symmetrical. It just adds to the rustic charm. Enjoy every bite!
Recipe FAQs
Do chocolate and pears pair well?
Yes, they are a classic combination. The slight bitterness of dark chocolate balances the natural sweetness and floral notes of the pears.
Should pears be peeled for the tart?
Yes, peel them first. This ensures a smooth, refined texture that complements the velvety chocolate filling.
Which pastry is best for this recipe?
A buttery shortcrust is ideal. The combination of chilled butter and powdered sugar provides the necessary structure to support the dense chocolate and fruit.
How to ensure the crust is perfectly baked?
Prick the bottom with a fork and use pie weights. Bake at 350°F (175°C) for 12 minutes to set the base and prevent puffing before adding your filling.
Is it true that only Bosc pears work for this tart?
No, and here's why. While Bosc and Anjou are recommended because they hold their shape during baking, any firm pear variety will work well.
Can I use milk chocolate instead?
Yes, but the flavor will be significantly sweeter. Stick with 60% dark chocolate for a richer profile, which also pairs beautifully with vanilla bean ice cream.
Where should I store leftovers?
Place slices in a sealed container in the cooler. They remain delicious for three days, or you can freeze individual pieces wrapped in parchment for up to a month.
What to do with extra pears?
Bake them into tarts or simmer the peels. You can create a simple syrup by simmering the peels with sugar and water for cocktails or pancakes.
Pear Chocolate Tart for 8 Slices