Homemade Chocolate Ice Cream Cake: Fudgy Cocoa
- Time: 40 min active + 6 hours 40 mins chilling
- Flavor/Texture Hook: Fudgy cake meets a frozen, creamy center
- Perfect for: Birthday parties and summer celebrations
The smell of boiling water hitting cocoa powder is one of my favorites. It's that instant, deep chocolate aroma that fills the whole kitchen and makes everyone run toward the oven.
I remember making this for a family reunion once, and the look on my cousins' faces when they saw the layers was worth every minute of the freezer wait.
It's a bit of a project, but it's more about timing than difficulty. You're basically building a frozen skyscraper of chocolate. Most people get intimidated by the layers, but if you keep your ice cream at the right temperature, it slides right into place.
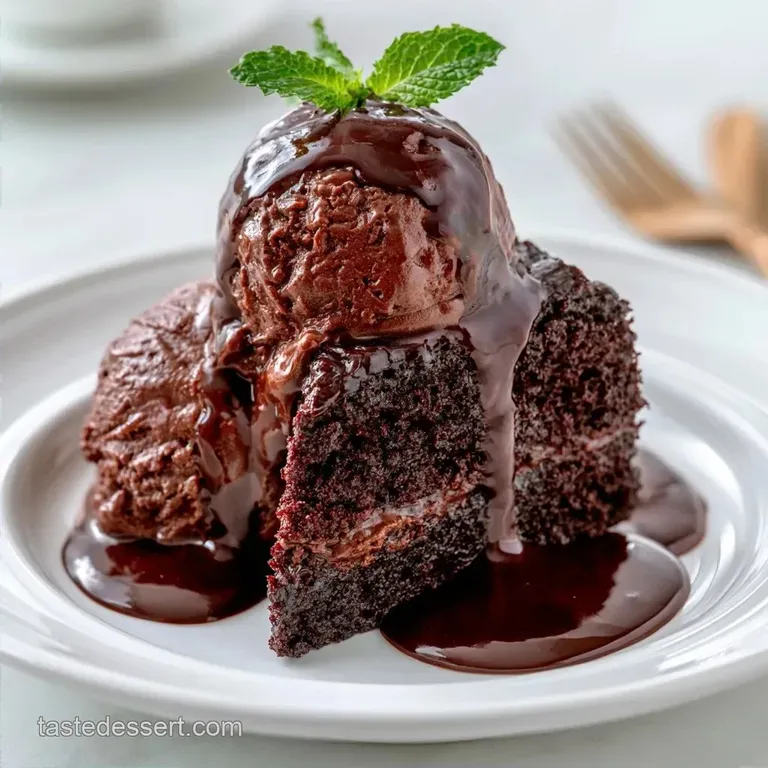
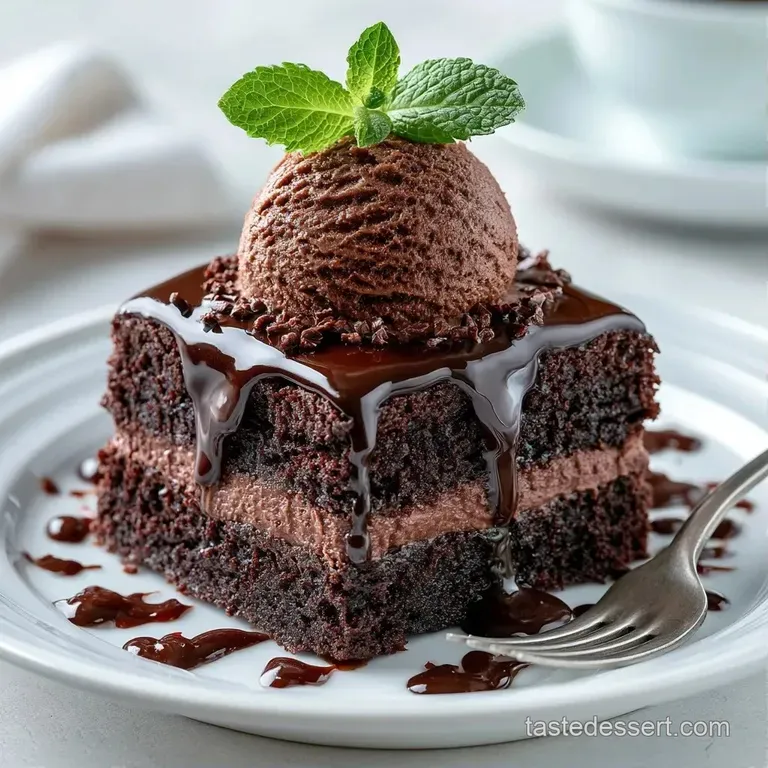
You can expect a dessert that feels fancy but tastes like a childhood dream. This Homemade Chocolate Ice Cream Cake has a moist cake bottom, a salty sweet Oreo crunch, and a frosting that stays stable even when it's cold.
Homemade Chocolate Ice Cream Cake Specs
The trick to this cake is the contrast. You have the dense, moist cake on the bottom and the airy, cold cream on top. Most store-bought versions are too sweet and a bit icy, but making it from scratch lets you control the richness of the cocoa.
Since we're working with frozen elements, the biggest hurdle is the "slump." If your ice cream is too melted, the layers bleed together. If it's too hard, you'll tear the cake base while spreading. The goal is a soft serve consistency.
This recipe is designed for a 9 inch springform pan. It's the only way to get those clean, vertical sides without the cake falling apart when you remove the ring.
| Method | Time | Texture | Best For |
|---|---|---|---|
| Fresh Baked Base | 30 min bake | Fudgy and moist | Special events |
| Pre made Crust | 5 min prep | Crunchy and dense | Last minute parties |
The Trick To Texture
The way we handle the ingredients determines if the cake is a brick or a treat.
Boiling Water: Adding hot water to the batter "blooms" the cocoa powder, which makes the chocolate flavor much more intense. Pudding Mix: A tablespoon of instant pudding in the whipped cream keeps it from deflating in the freezer.
What Each Ingredient Does
Every part of this cake has a specific job. If you skip the boiling water or the pudding mix, the texture shifts.
| Ingredient | What It Does | Best Swap |
|---|---|---|
| Cocoa Powder | Provides deep chocolate base | Dutch processed cocoa for a darker look |
| Boiling Water | Dissolves cocoa and thins batter | Hot coffee to deepen chocolate notes |
| Heavy Cream | Creates the stable frosting | Mascarpone mixed with cream (richer) |
| Oreo Cookies | Adds the signature crunch | Chocolate wafers (less sweet) |
Everything You Need
For the mahogany base, you'll need 1.75 cups all purpose flour, 2 cups granulated sugar, and 0.75 cup unsweetened cocoa powder. Add 1.5 tsp baking powder, 1.5 tsp baking soda, and 1 tsp salt. For the wet mix, grab 2 large eggs, 1 cup whole milk, 0.5 cup unsalted butter (melted), and 2 tsp vanilla extract.
You'll also need 1 cup boiling water.
The crunch layer requires 1.5 cups crushed Oreo cookies and 2 tbsp unsalted butter (melted). For the filling, use 1 quart chocolate ice cream and 1 quart cookies and cream ice cream, along with 0.5 cup sweetened condensed milk.
The frosting uses 2 cups cold heavy whipping cream, 0.5 cup powdered sugar, 1 tsp vanilla extract, and 1 tbsp instant pudding mix. You'll also want 1 cup semi sweet chocolate chips melted with 0.5 cup heavy cream for a drizzle.
Chef's Note: Use the highest fat cream you can find for the frosting. It holds the air bubbles better, which prevents the frosting from becoming icy.
Tools For The Job
You'll need a 9 inch springform pan. This is non negotiable if you want to get the cake out without it crumbling. Parchment paper is also a must for the bottom.
A hand mixer or stand mixer such as KitchenAid works best for the frosting. For the cake batter, a simple whisk and a spatula will do. I also recommend a large offset spatula for smoothing the ice cream layers.
Step-by-step Assembly
Phase 1: Baking the Mahogany Base
Preheat your oven to 350°F (175°C). Grease your 9 inch springform pan and line the bottom with parchment paper.
Whisk the flour, sugar, cocoa, baking powder, baking soda, and salt in a large bowl. Add the eggs, milk, melted butter, and vanilla. Beat on medium speed for 2 minutes. Stir in the boiling water by hand until the batter is smooth and thin.
Pour the batter into the pan and bake for 30 minutes until a toothpick comes out with just a few moist crumbs. Let it cool completely in the pan.
Phase 2: Constructing the Crunch Layer
Mix the crushed Oreos with 2 tbsp melted butter. Press this mixture firmly into the cooled cake base.
Use the bottom of a glass to pack it down hard. This creates a seal that stops the ice cream from soaking into the cake. Place the pan in the freezer for 15 minutes to set.
Phase 3: The Frozen Assembly
Let your chocolate ice cream sit on the counter for 5-10 minutes. It should be spreadable but not runny. Spread half of the chocolate ice cream over the Oreo layer.
Drizzle the sweetened condensed milk over the ice cream and swirl it with a knife. Top this with the cookies and cream ice cream, smoothing the top with your offset spatula. Freeze for at least 4 hours.
Phase 4: The Final Frosting
Beat the cold heavy cream, powdered sugar, vanilla, and pudding mix until stiff peaks form.
Spread the frosting over the chilled cake. Heat the chocolate chips and heavy cream in the microwave for 30 seconds, stir until smooth, and drizzle over the top. Return to the freezer for 1 hour before serving.
Fixing Common Cake Issues
The most common problem is the "lean," where the cake starts to tilt. This usually happens because the ice cream wasn't cold enough when the frosting went on, or the base wasn't level.
If you find the cake is too hard to slice, it's usually because the cake base was overbaked, making it too dense to cut through with the ice cream.
Hard To Slice Cake
The cake base was likely in the oven too long or the freezer is set to "deep freeze." Let the cake sit at room temperature for 10 minutes before cutting.
Sliding Layers
The ice cream was too soft when you added the next layer. Ensure each ice cream layer is slightly firm before adding the next.
Icy Frosting
The whipped cream wasn't stabilized with pudding mix or was beaten too long. Stop mixing as soon as you see stiff peaks.
| Problem | Root Cause | Solution |
|---|---|---|
| Melting Layers | Room temp too high during assembly | Work in a cool kitchen |
| Soggy Base | Ice cream added to warm cake | Cool cake for 2 hours first |
| Crumbly Crust | Not enough melted butter | Add 1 extra tbsp of butter |
Flavor Twist Ideas
If you want a different vibe, try a Homemade Chocolate Oreo Ice Cream Cake by swapping the base for a crushed Oreo crust and using double cookies and cream ice cream. If you love salty notes, a Homemade Chocolate Peanut Butter Ice Cream Cake works great. Just swirl peanut butter into the chocolate ice cream layer.
For a creamier, denser feel, a Homemade Chocolate Ice Cream Cake with condensed milk is the way to go. Increase the condensed milk to 0.75 cup and fold it directly into the ice cream before spreading.
If you're looking for other treats to serve alongside this, my homemade Oreos are a great addition to a dessert platter. For something with a bit more chew, you might like these cheesecake cookies.
Adjusting the Size
To make a smaller version, use an 8 inch pan. Reduce the bake time by about 20% and use slightly less frosting.
For a larger 10 inch pan, increase the cake ingredients by 1.5x. Don't double the baking soda or powder, as that can make the cake taste metallic. Lower the oven temp to 325°F (160°C) and bake for a few minutes longer to ensure the center is set.
Cake Myths
One big myth is that you need a professional ice cream maker for this. You don't. high-quality store-bought ice cream works perfectly as long as you temper it to the right softness.
Another common misconception is that you should freeze the cake indefinitely. While it lasts a while, the cake base can eventually develop freezer burn, which ruins the fudgy texture.
Storage And Leftover Tips
Keep the cake in the springform pan or move it to an airtight container. It stays fresh in the freezer for up to 2 weeks. If you leave it uncovered, the frosting will absorb "freezer smells," which isn't great.
According to Serious Eats, storing ice cream cakes in a freezer safe container with plastic wrap pressed against the surface prevents ice crystals from forming.
For zero waste, if you have leftover cake batter, bake it in muffin tins for mini chocolate cakes. If you have leftover whipped cream, fold it into fresh berries for a quick breakfast.
Serving And Slicing
The trick to the professional slice is the knife. Dip a long, sharp knife in hot water and wipe it dry between every single cut. This melts through the ice cream and cake smoothly without dragging the frosting down.
Let the cake sit on the counter for 10 minutes. This makes the cake base a bit softer and the ice cream a bit creamier.
Pairing Suggestions
This cake is very rich, so pair it with something bright. Fresh raspberries or a tart cherry sauce cut through the chocolate. A cold glass of milk is the classic choice, but a strong espresso also balances the sweetness.
Recipe FAQs
How to make the best ice cream cake at home?
Layer a moist chocolate cake base with softened chocolate and cookies and cream ice cream. Finish with a stable whipped cream frosting and a crust of crushed Oreo cookies for a professional texture.
Can I use box cake mix for ice cream cake?
Yes, you can. While this recipe uses a from scratch batter, a box mix provides a consistent structure that holds up well under the weight of the frozen layers.
What kind of cake is used for ice cream cake?
A dense yet moist chocolate cake is ideal. This ensures the base does not crumble when sliced and complements the richness of the ice cream.
How to prevent the cake base from freezing too hard?
Stir in boiling water by hand until the batter is smooth before baking at 350°F. This specific step creates a tender crumb that remains soft even at freezer temperatures.
Is it true that ice cream cakes must be frozen for a week to set?
No, this is a common misconception. The cake is ready to serve once the ice cream layers and frosting have firmed up, which typically happens in a few hours.
How to store leftover ice cream cake?
Keep it in an airtight container or press plastic wrap directly against the frosting. This prevents the cake from absorbing freezer odors and stops ice crystals from forming.
Can I substitute the semi sweet chocolate chips?
Yes, any chocolate chip variety works. If you enjoyed the rich profile here, you can use similar chocolate techniques found in our chocolate souffle for a different dessert.
Homemade Chocolate Ice Cream Cake

