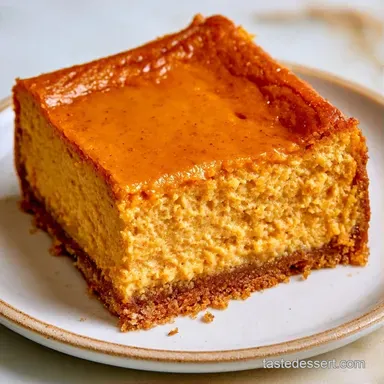
Pumpkin Cheesecake Squares with Gingersnap Crust
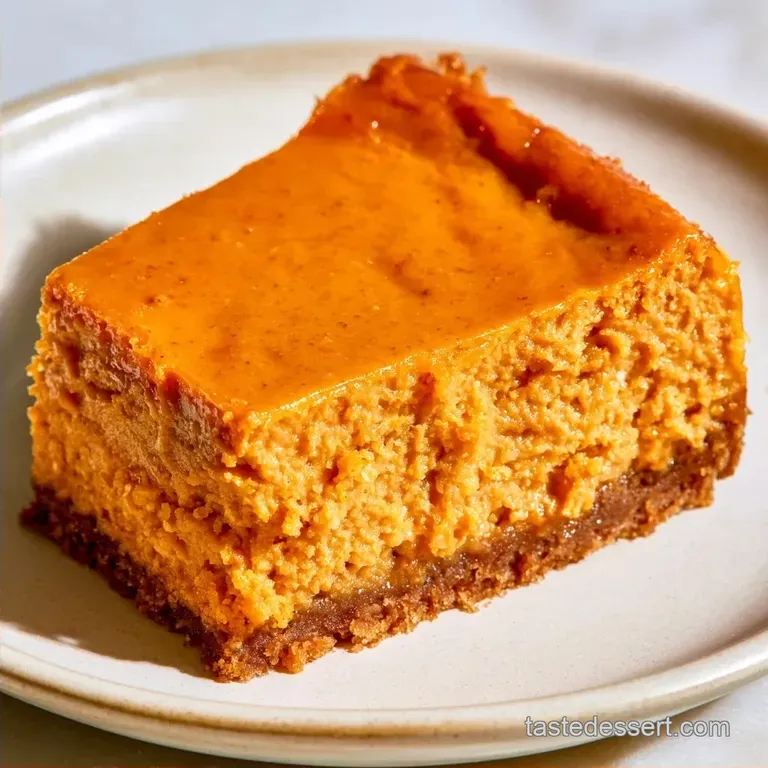
- Time: 20 min active + 4 hours chilling
- Flavor/Texture Hook: A crisp, spicy snap paired with a velvety, thick center
- Perfect for: Autumn gatherings or festive holiday dessert spreads
The aroma of ginger and cinnamon wafting through a warm oven is the quintessential smell of October. I first served these at a small party years ago, and they were gone before the coffee was even ready. Unlike many store-bought options that feel too light or taste overly synthetic, these have a real depth of flavor.
The effort required is minimal compared to the impressive result. You get a professional bakery experience without the steep price per slice. These Pumpkin Cheesecake Squares are all about the tension between the crunchy, spiced base and the decadent, heavy filling.
The goal here is an intense, concentrated taste. This is a substantial, indulgent treat rather than a light mousse. Plus, once you realize how simple it is to cut perfect squares, you'll stop fighting with the difficulty of slicing a whole round cheesecake.
Why Pumpkin Cheesecake Squares Work
- Room Temp Cheese: Softened cream cheese integrates better with the pumpkin, preventing those frustrating little white clumps.
- The Freezer Step: A 10-minute chill in the freezer keeps the butter from soaking into the filling, ensuring the base remains crisp.
- Low Speed Mixing: Use a low mixer setting when incorporating eggs to limit air bubbles, which stops the top from puffing and cracking.
Quick Recipe Specs
These are the numbers you need to keep in mind to get it right. I've found that sticking to the temp is the only way to avoid a cracked top.
- Oven Temp: 325°F (160°C)
- Bake Time: 50-60 minutes
- Chill Time: 4 hours minimum
Ingredients Roles
Before we dive into the ingredients, let's look at the flavor balance. The peppery kick of the gingersnaps creates a sharp contrast to the sweet pumpkin. To keep things simple, you can swap the individual spices for a homemade pumpkin pie spice blend.
Using full fat cream cheese is essential; low-fat alternatives contain too much moisture, which can result in runny squares. I recommend canned pumpkin puree for its consistency just be careful not to use "pumpkin pie filling," as that already includes sugar and spices.
The Components
For the Crust
- 1.5 cups (180g) gingersnap cookie crumbsWhy this? Creates a spicy, crisp base
- 1/4 cup (55g) melted unsalted butterWhy this? Helps bind the crumbs
- 2 tbsp (25g) packed brown sugarWhy this? Adds a subtle molasses note
For the Filling
- 16 oz (450g) softened full fat cream cheeseWhy this? Ensures a rich, dense consistency
- 3/4 cup (150g) granulated sugarWhy this? Provides the primary sweetness
- 1 cup (245g) canned pumpkin pureeWhy this? Gives the filling its seasonal flavor
- 2 large (100g) room temperature eggsWhy this? Helps the custard set
- 1 tsp (5ml) vanilla extractWhy this? Smooths out the spice notes
- 1.5 tsp (4g) ground cinnamonWhy this? Adds classic warmth
- 0.5 tsp (1g) ground gingerWhy this? Complements the crust's spice
- 1/4 tsp (0.5g) ground clovesWhy this? Adds deep, aromatic warmth
- 1/4 tsp (1.5g) saltWhy this? Offsets the sweetness
| Original Ingredient | Substitute | Why It Works |
|---|---|---|
| Gingersnap Crumbs | Graham Crackers | A more neutral option. Note: Provides less spicy contrast |
| Pumpkin Puree | Roasted Butternut Squash | Very similar texture. Note: Slightly sweeter with less pumpkin intensity |
| Cream Cheese | Neufchatel | Similar flavor profile. Note: Lower fat content, may set slightly softer |
Essential Kitchen Tools
You don't need specialized equipment, but a few tools simplify the process. While a 9x9 inch square pan is typical, lining it with parchment paper is a game changer. This ensures you can easily remove the cheesecake from the pan for precise, clean slices.
A hand mixer is my go-to, though a stand mixer like a KitchenAid is equally effective. Be sure to use a rubber spatula to scrape down the bowl frequently. If any unblended cream cheese remains, it will show up as a white speck in your finished Pumpkin Cheesecake Squares.
Key Steps for Success
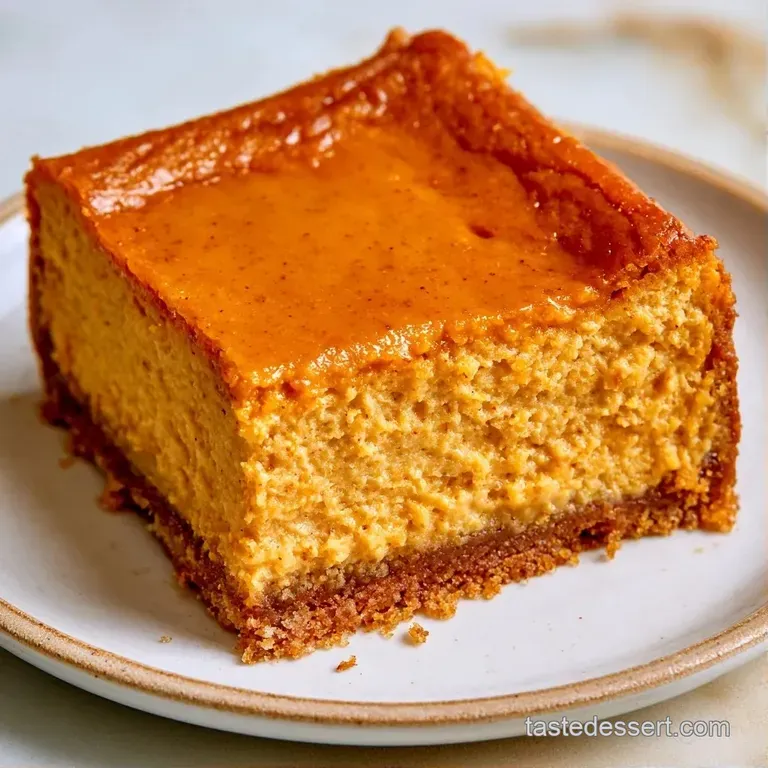
Phase 1: The Pressed Crust
- In a medium bowl, stir together the gingersnap crumbs, melted butter, and brown sugar until the texture resembles wet sand.
- Fit a 9x9 inch square baking pan with parchment paper, ensuring it hangs over the sides. Using the base of a measuring cup, press the mixture firmly into the bottom
until it's a tight, even seal. - Pop the pan into the freezer for 10 minutes to firm up the crust.
Phase 2: The Batter
- Using medium high speed, beat the softened cream cheese and granulated sugar
until the batter is smoothand well combined. - Reduce the speed and stir in the pumpkin puree, vanilla, cinnamon, ginger, cloves, and salt until fully blended.
- Incorporate the eggs individually, beating on a low setting. Note: Stop the moment the yellow streaks vanish to avoid adding too much air.
Phase 3: The Bake
- Pour the batter over the cold crust and spread it evenly.
- Bake at 325°F (160°C) for 50-60 minutes; the edges should be firm, but
the center should still have a slight wobble. - Let the pan cool at room temperature, then refrigerate for at least 4 hours before cutting into 16 squares.
Chef's Note: If you notice the top browning too fast around the 40 minute mark, cover it loosely with foil. The goal is a pale, creamy finish rather than a toasted look.
Avoiding Kitchen Disasters
Fixing a Cracked Top
Cracks usually happen because of two things: overbeating the eggs or baking at too high a temperature. If you beat the eggs too fast, you incorporate air that expands and then pops. Always keep the mixer on the lowest setting for the final step.
Solving Lumpy Batter
Lumps are almost always a sign that the cream cheese was too cold. If you've already started mixing and see lumps, don't keep beating it (which adds air). Instead, stop and use a whisk by hand or a rubber spatula to smash the lumps against the side of the bowl.
Stopping Runny Squares
If your Pumpkin Cheesecake Squares feel too soft after the 4 hour chill, they probably just need more time. Cheesecake is a custard, and it takes a while for the fats to fully solidify. Give them another 2 hours in the fridge.
Preventing Soggy Crusts
If the crust feels mushy, it's usually because the butter wasn't fully incorporated or the crust wasn't pressed hard enough. Using the flat bottom of a measuring cup is the best way to pack it down.
Variations and Substitutions
You can easily tweak this recipe depending on what's in your pantry. For those who want a more traditional cake experience, you can refer to a classic New York cheesecake for ideas on how to scale up the height.
For a different crunch: Try using Biscoff cookies or gingersnaps mixed with crushed pecans. The pecans add a woody flavor that pairs well with the pumpkin.
For a topping: A dollop of whipped cream is the standard, but a drizzle of salted caramel or a sprinkle of cinnamon sugar really makes these stand out.
For a lower sugar version: You can reduce the granulated sugar to 1/2 cup. The pumpkin and the spicy crust provide enough flavor that you don't lose much of the impact.
For gluten-free needs: Just swap the gingersnaps for your favorite gluten-free ginger cookie. Most of the other ingredients are naturally gluten-free.
| Method | Texture | Prep/Set Time |
|---|---|---|
| Baked (This Recipe) | Dense and creamy | Long (Bake + Chill) |
| No Bake | Soft and mousse like | Medium (Chill only) |
| Stovetop Custard | Silky and pudding like | Short (Cool only) |
Make-ahead and Leftover Tips
These actually taste better the next day once the spices have had time to meld. Keep them in a container with a lid in the fridge for up to 5 days. To get a clean cut, dip your knife in hot water and wipe it dry between every single slice.
You can freeze these too. Wrap the individual squares in parchment paper and place them in a freezer bag. They'll stay good for about 3 months. Just thaw them in the fridge overnight before eating.
To avoid waste, if you have leftover pumpkin puree in the can, freeze it in 1/2 cup portions on a tray before bagging them. This is great for adding to morning oatmeal or smoothies.
Presentation Tips
Since these are squares, the presentation is all about the edges. Lifting them out with the parchment paper allows you to place them on a platter without any smashed sides.
For a festive look, pipe small stars of cream cheese frosting or whipped cream on top of each square. A tiny pinch of cinnamon or a single gingersnap crumb on top of the cream adds a professional touch.
If you're serving these at a party, arrange them in a staggered grid on a wooden board. Scatter some whole cinnamon sticks and a few dried orange slices around the plate to lean into the autumn vibe. It makes the Pumpkin Cheesecake Squares look like they came from a boutique bakery.
Recipe FAQs
Which ingredients are needed for these squares?
Gather cream cheese, pumpkin puree, eggs, and gingersnap crumbs. You will also need butter, sugars, and spices like cinnamon and cloves.
What is the secret to a smooth texture?
Mix the eggs on low speed only until the yellow streaks disappear. If you enjoyed mastering this air-control technique, see how it's used in our fudgy brownies.
Is it true that all cheesecakes must be baked to set?
Surprisingly, no. Some versions use gelatin, though this recipe requires 325°F (160°C) for 50 60 minutes to achieve the right structure.
Can baked cheesecake be piped?
Yes, you can pipe it using a sturdy bag and a large tip. Make sure the squares are completely chilled first so the shape holds.
How should the crust be prepared?
Combine gingersnap crumbs, melted butter, and brown sugar in a bowl. Press the mixture firmly into a parchment lined 9x9 inch pan and freeze for 10 minutes.
Does the crust really need to be frozen?
No, and here's why. Freezing the base locks the butter and crumbs together, which prevents the crust from crumbling when you add the filling.
Pumpkin Cheesecake Squares