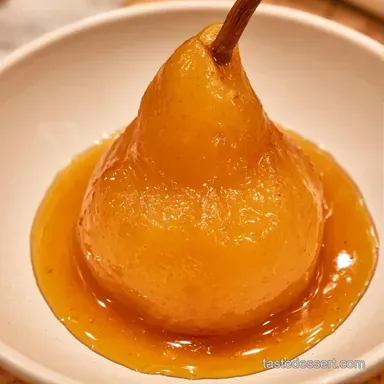
Easy Poached Pears: Spiced and Tender
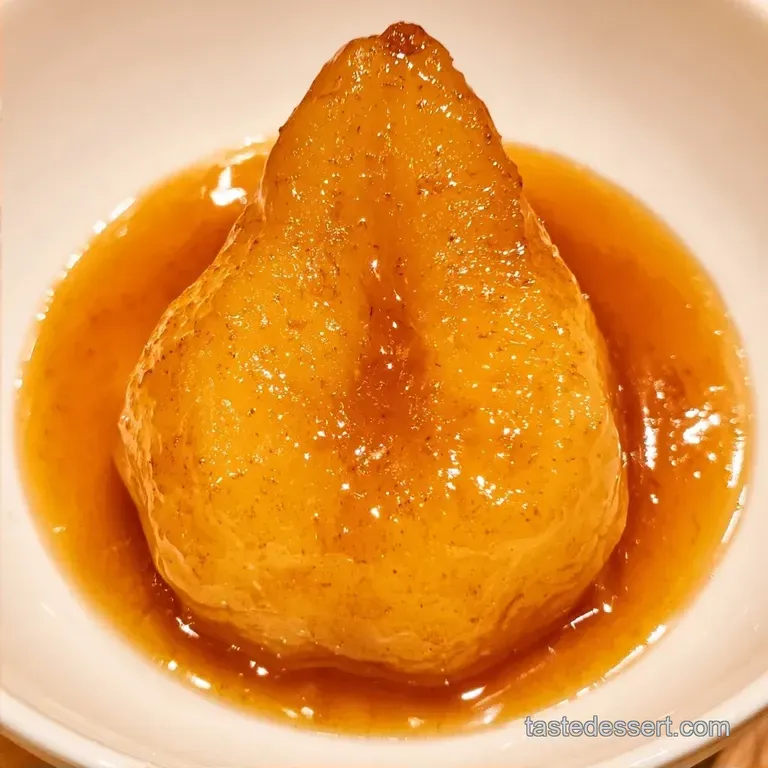
- Duration: 15 min active + 30 min cooking
- Taste Profile: Fragrant cinnamon notes with a silky cream finish
- Best for: A low-stress dinner party or a cozy autumn night
- Easy Poached Pears For Dessert
- Quick Recipe Specs
- Why This Method Works
- Ingredient Deep Dive
- Ingredients & Substitutes
- Required Cooking Gear
- Making the Fruit
- Troubleshooting Your Pears
- Try These Variations
- Decision Shortcut
- Adjusting the Batch Size
- Storage and Reheating
- Pairing Your Dessert
- The Logic Behind the Flavor
- Recipe FAQs
- 📝 Recipe Card
Easy Poached Pears For Dessert
The smell of cinnamon and cloves hitting a simmering pot of syrup is, for me, the official start of autumn. I remember one rainy October afternoon when I tried to rush this process, turning the heat up too high. I ended up with fruit that looked like mushy apples instead of the elegant, standing pears I wanted.
It was a messy lesson in patience.
You don't need expensive red wine or a professional kitchen to get that deep, mahogany glow. Forget the idea that this is a high effort dish reserved for fancy restaurants. With a few pantry staples and a bit of time, you can make a version that tastes like a decadent treat but feels light enough for a weeknight.
This Poached Pears recipe focuses on the balance of sweetness from maple syrup and the brightness of lemon. It's all about that slow infusion, where the fruit becomes a sponge for the spices. Trust me on this, the waiting is the best part because your whole house starts smelling like a spiced bakery.
Quick Recipe Specs
When you're planning your evening, keep in mind that the actual "hands on" time is very low. Most of the 45 minutes is just the fruit bubbling away in the pot.
For those who like to prep ahead, you can actually poach the fruit a day early. They stay great in their liquid, and the flavors actually get deeper as they sit. Just make sure you don't overcook them during the first round, or they'll turn to jam in the fridge.
The Bosc pear is the star here. If you use a variety that's too soft, like a very ripe Bartlett, they might collapse. Bosc holds its shape, which is what gives this dish its look.
Why This Method Works
The magic here isn't about fancy tools, it's about how the fruit reacts to the liquid.
- Steady Simmer: Keeping the temperature low prevents the fruit from breaking apart. A hard boil would shatter the cell walls, but a simmer keeps them intact.
- Sugar Saturation: The maple syrup creates a denser liquid that pushes flavor into the pear through osmosis, replacing some of the water inside the fruit with spiced syrup.
The different ways to cook these can change the result. Here is how I've found the methods compare:
| Method | Time | Texture | Best For |
|---|---|---|---|
| Stovetop | 30 min | Firm and glossy | Quick prep and control |
| Oven | 1.5 hrs | Very tender | Large batches |
| Slow Cooker | 4 hrs | Soft/Butter like | Set and forget |
Ingredient Deep Dive
Not all ingredients play the same role here. The spices provide the aroma, but the acid from the lemon keeps the flavor from becoming one dimensional.
| Ingredient | Role | If You Don't Have It |
|---|---|---|
| Bosc Pears | Main structure | Anjou pears (slightly softer) |
| Maple Syrup | Sweetness and color | Brown sugar or honey |
| Lemon Juice | Cuts the sweetness | A splash of apple cider vinegar |
| Star Anise | Earthy, licorice note | A pinch of ground anise |
Ingredients & Substitutes
Gather these items before you start. I prefer using a heavy bottomed pot so the syrup doesn't burn on the bottom.
- 4 medium Bosc Pears Why this? Holds shape better than other varieties during poaching.
- 3 cups water (Substitute: Apple cider for a deeper fruit flavor)
- 1/2 cup pure maple syrup (Substitute: Honey, but it's slightly less maple woody)
- 1 cinnamon stick (Substitute: 1/2 tsp ground cinnamon, though it makes the syrup cloudier)
- 3 whole cloves (Substitute: 1/8 tsp ground cloves)
- 1 star anise (Substitute: omit, but you lose that specific warmth)
- 1 tbsp lemon juice (Substitute: Lime juice)
- 1/2 cup mascarpone cheese Why this? Adds a rich, creamy contrast to the fruit. (Substitute: Greek yogurt for a tangier, lighter version)
- 1 tsp vanilla extract (Substitute: Almond extract for a different nutty vibe)
- 1 tbsp honey (Substitute: Maple syrup)
Required Cooking Gear
Preparing these Poached Pears doesn't require fancy equipment; basic kitchen tools will suffice.
I suggest using a melon baller to core the fruit. It is more efficient than a paring knife and reduces the chance of accidentally piercing the side of the pear. A small spoon is a great alternative.
You will also need a slotted spoon to rotate the pears every ten minutes without splashing hot syrup across your cooktop. Finally, a heavy pot, such as a Dutch oven, is ideal for keeping the temperature stable.
Making the Fruit
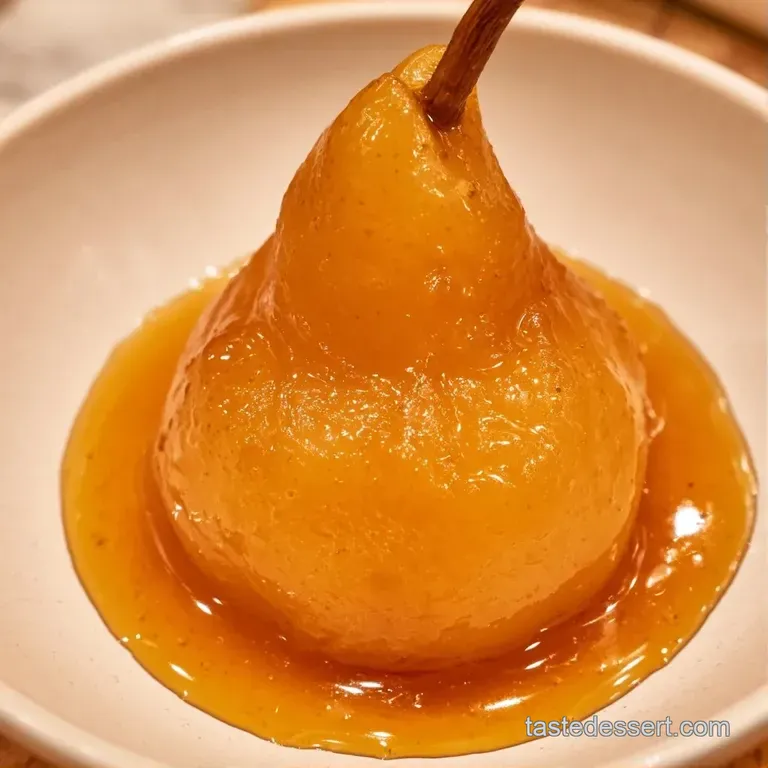
Right then, let's crack on. Follow these steps to get that professional look.
Phase 1: Preparing the Pears
- Peel the pears, leaving the stems intact. Slice a thin sliver off the bottom of each pear so they can stand upright.
- Using a melon baller, scoop out the core from the bottom. Note: Be careful not to puncture the top.
Phase 2: Simmering the Syrup
- In a heavy bottomed pot, combine water, maple syrup, cinnamon stick, cloves, star anise, and lemon juice.
- Bring to a gentle boil over medium heat, then reduce to a low simmer. Listen for a soft bubble, not a roar.
Phase 3: Poaching the Fruit
- Gently lower the pears into the liquid.
- Poach for 20-30 minutes. Rotate them every 10 minutes with a slotted spoon until they are tender but not mushy.
- Test for doneness by sliding a knife into the thickest part; it should meet little to no resistance.
Phase 4: Reducing the Glaze
- Remove the pears from the pot and set them aside.
- Increase heat to medium high and boil the liquid for 8-12 minutes until the syrup is reduced by half and looks glossy.
- Whisk together the mascarpone, vanilla, and honey until.
Troubleshooting Your Pears
Even basic recipes can have hiccups. Most issues stem from temperature control or how ripe the fruit is.
If your pears are mushy, they were probably overcooked or too ripe to begin with. While Bosc pears are a great choice, reduce your poaching time by five minutes if the fruit already feels soft.
A thin syrup usually means there was too much water or the final boil was too short. Continue simmering; as it reduces, the liquid will thicken and better adhere to the fruit.
Preventing Mushy Fruit
Too much heat causes this. Maintain a gentle simmer and test for doneness sooner.
Thickening Watery Syrup
You didn't boil the liquid down enough. Continue the reduction process until the syrup reaches a thicker consistency.
Stopping Pears from Browning
Peeling too far in advance causes oxidation. To prevent this, place the pears directly into the syrup or a bowl of lemon water.
| Problem | Root Cause | Solution |
|---|---|---|
| Pears are tough | Undercooked | Simmer for another 5-10 mins |
| Syrup is too sweet | Too much syrup | Add a teaspoon of lemon juice |
| Pears won't stand | Bottom not flat | Trim a slightly larger sliver off the base |
Try These Variations
Once you've nailed the basics of Poached Pears, you can play with the flavors. The balance of sweet and acid is actually quite similar to how Pickled Herring is made, though this is obviously a dessert.
Using Red Wine
Replace 2 cups of water with a dry red like Cabernet. This gives you that classic, deep red color and a more sophisticated, tart taste.
Going Vegan
Swap the mascarpone for a coconut cream alternative. Whisk it with the vanilla and honey (or agave) for a similar rich texture.
Adding Citrus
Add a few strips of orange zest to the simmering pot. It adds a bright, sunny note that works wonderfully with the cinnamon.
No Wine Version
This maple version is already wine free, making it a great Poached Pears dessert for kids or those avoiding alcohol.
Decision Shortcut
- More tartness? → add 1 tsp extra lemon juice
- Deeper color? → substitute water with apple cider
- Nuttier cream? → replace vanilla with almond extract
Adjusting the Batch Size
Modifying the quantities is simple, though keeping an eye on the liquid volume is essential.
If you are preparing only two pears, avoid cutting the syrup in half; the fruit still needs to be fully submerged. Use approximately 75% of the original liquid and decrease the poaching time by about 20%.
For larger groups (8-12 pears), it is best to work in batches. Overcrowding the pot makes it harder to rotate the pears, which can cause uneven coloring. Additionally, when doubling the recipe, only increase the cinnamon and cloves by 1.5x, as these spices can be too overpowering if fully doubled.
Storage and Reheating
Poached Pears actually taste even better after a day. Place them in a glass jar, ensuring they stay covered by the syrup.
They will stay fresh in the refrigerator for 4 days. The syrup helps preserve the fruit, and the pears soak up more flavor as they cool. I suggest avoiding the freezer, as thawing often leads to a grainy texture.
To make the most of your ingredients, repurpose the remaining poaching liquid. It works wonderfully as a glaze for roasted carrots or can be reduced into a thick syrup for pancakes.
To warm them up, you can use a microwave for 30 seconds, though I prefer a small pan with a bit of syrup. This method ensures a glossy exterior and a warm center.
Pairing Your Dessert
The richness of the mascarpone cream makes these Poached Pears feel like a full meal.
The Classic Pairing
Serve the pear upright on a small plate with a generous dollop of the honey mascarpone cream. Drizzle the reduced syrup over the top and garnish with a fresh mint leaf.
The Modern Twist
Pair the fruit with a slice of toasted almond cake or a scoop of ginger ice cream. The spice of the ginger cuts through the sweetness of the maple syrup.
Since this is such a light dessert, it works well after a heavier meal. For example, if you've had a rich Chicken Salad for lunch, this is a wonderful way to end the day without feeling overstuffed.
The Logic Behind the Flavor
These Poached Pears depend on the synergy between the sugar in the syrup and the pectin found in the fruit. Pectin is the natural fiber responsible for maintaining the pear's shape. By simmering the fruit slowly, we achieve a tender texture without breaking down this essential structure.
The lemon juice is an essential addition. Its acidity offsets the maple syrup, ensuring the final dessert tastes bright and clean rather than cloying. This precise balance elevates the Poached Pears, making them taste sophisticated instead of simply sugary.
Recipe FAQs
Which pears work best for poaching?
Use Bosc pears because they hold their shape well during the cooking process. Their firm texture prevents them from turning into mush.
How to poach pears for the best results?
Simmer the fruit in a mixture of water, maple syrup, and spices for 20 to 30 minutes. Rotate them every 10 minutes with a slotted spoon to ensure even color.
Do I need to peel them first?
Yes, peel the pears while leaving the stems attached. This keeps them looking elegant while allowing the syrup to penetrate the fruit.
Is it true that removing the stems is necessary for them to cook?
This one's false: Leaving the stems intact actually helps the pears maintain their structure and presentation.
Why is my poaching syrup not thickening?
Keep simmering the liquid on medium high heat for a few more minutes. It needs to boil for about 8 to 12 minutes to reduce by half and become glossy.
What should I do with a surplus of pears?
Turn the extra fruit into a preserve or a savory accompaniment. If you enjoyed balancing sweetness with acidity here, apply the same principle to our fig chutney.
Spiced Poached Pears