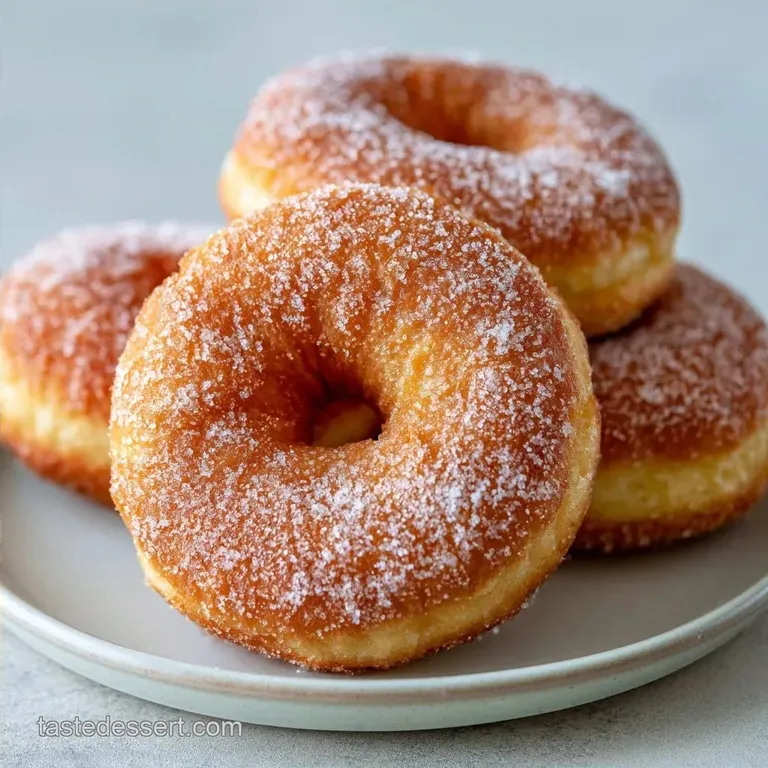
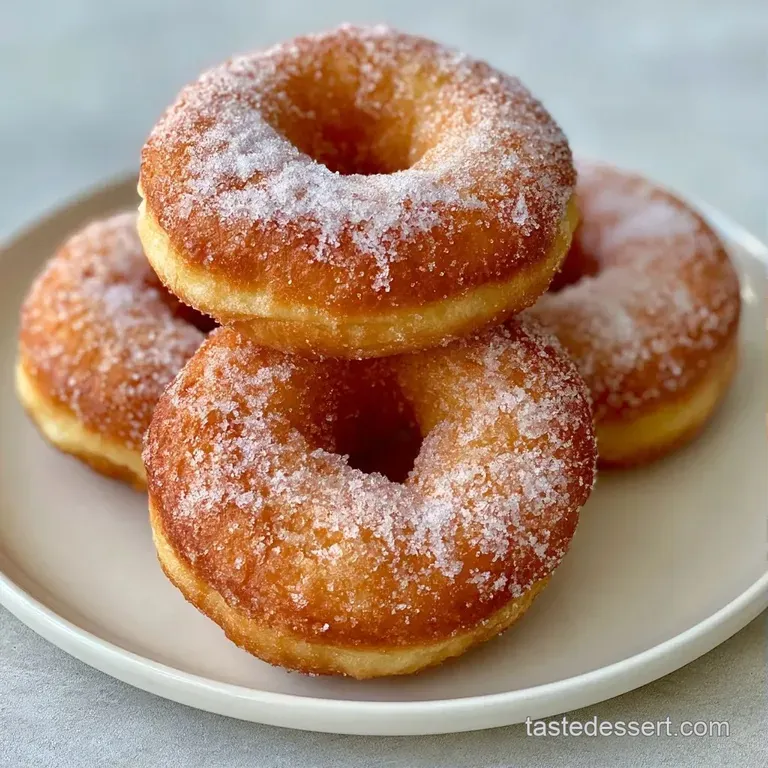
Tangy Buttermilk Donuts: Tender and Golden
- Time:15 minutes active + 60 minutes resting = Total 90 minutes
- Flavor/Texture Hook: Tangy, mahogany gold crust with a shatter crisp exterior
- Perfect for: Slow weekend brunches or an impressive homemade treat for guests
Buttermilk Donuts
The sound of a donut hitting hot oil is a very specific, aggressive sizzle that tells you everything you need to know. If it's too quiet, your oil is cold and you're about to make a greasy sponge. If it's too violent, you'll burn the outside before the middle is even warm.
I remember the first time I tried to make these, I thought I could skip the resting time because I was too excited to eat. The result? Rubbery rings that felt more like chewing on a pencil eraser than a treat.
Forget the idea that you need a professional bakery or a complicated yeast starter to get a high end result at home. Most people think "cake donuts" are just a cheat version of the real thing, but when you use the right acid fat balance, they're actually more decadent.
These Buttermilk Donuts aren't trying to be light as-air puffs, they're meant to be rich, satisfying, and slightly tangy.
We're going for a specific contrast here: a thin, crisp outer shell that gives way to a moist, tender center. The magic is in the buttermilk and the patience. By letting the dough chill out for an hour, we're ensuring the texture is velvety rather than bready.
Trust me, that hour of waiting is where the actual magic happens.
Common Dough Mistakes
A lot of folks treat donut dough like bread dough, and that's the biggest mistake you can make. If you knead the life out of this mixture, you're developing too much gluten. While gluten is great for a sourdough loaf, it's the enemy of a tender donut.
When you over mix, you create a tough structure that resists the oil and feels heavy. I've seen so many recipes tell you to "mix until smooth," but the real secret is to stop the moment the flour streaks vanish.
Another common slip up is the temperature of the ingredients. Using cold buttermilk or cold eggs can cause your melted butter to seize up into little clumps. This creates an uneven fat distribution, meaning some parts of your Buttermilk Donuts will be oily while others are dry.
Getting everything to room temperature ensures the emulsion is stable, which leads to a consistent rise and a more uniform color.
Then there's the oil temperature trap. Many home cooks rely on "the bubble test" with a piece of bread, which is a bit outdated and imprecise. If your oil drops too low because you've crowded the pan, the dough absorbs the fat instead of pushing it out. This is why we use a thermometer to hit that exact mark.
For a Tender Crumb
To keep the texture cake like, avoid any aggressive stirring. Use a spatula to fold the wet into the dry ingredients. This prevents the flour from over developing, which is the only way to ensure your Buttermilk Donuts don't turn into fried bread.
To Eliminate Greasiness
The key to a non greasy finish is the oil temperature and the drainage. Always use a wire rack, never a paper towel. Paper towels trap steam against the donut, which turns that crisp mahogany crust soft and soggy within minutes.
For the Tangy Profile
Don't swap the buttermilk for regular milk unless you're adding an acid. The lactic acid is what reacts with the baking soda to create those tiny, tender air pockets. It also provides that signature "tang" that cuts through the sweetness of the glaze.
Recipe Details
Before we dive in, let's look at the benchmarks for success. These Buttermilk Donuts rely on a specific balance of leavening and fat. Since we aren't using yeast, we are relying on a chemical reaction between the acid in the buttermilk and the baking soda.
| Method | Time | Texture | Best For |
|---|---|---|---|
| Stovetop Fried | 15 mins | Crisp & Airy | Authentic treat |
| Oven Baked | 12 mins | Cake like | Lighter option |
If you find yourself wanting something even more decadent, you might like my Sour Cream Donuts recipe, which uses a similar cake dough logic but with a denser, creamier profile.
The Shopping List
You don't need fancy ingredients, but you do need the right versions of them. Using full fat buttermilk is non negotiable here because the fat carries the flavor and contributes to the velvety interior of the Buttermilk Donuts.
- 3 cups (375g) all purpose flour Why this? Balanced protein for a tender but stable structure
- 3/4 cup (150g) granulated sugar Why this? Provides sweetness and aids in browning
- 2 tsp (10g) baking powder Why this? Primary lift for a fluffy interior
- 1/2 tsp (3g) baking soda Why this? Reacts with buttermilk for extra bubbles
- 1/2 tsp (3g) salt Why this? Balances the sugar and enhances flavor
- 1/4 tsp (1g) ground nutmeg Why this? The "secret" bakery aroma
- 1 cup (240ml) full fat buttermilk, room temperature Why this? Adds tang and tenderizes the gluten
- 2 large eggs, room temperature Why this? Provides structure and richness
- 4 tbsp (57g) unsalted butter, melted and cooled Why this? Adds a velvety mouthfeel
- 1 tsp (5ml) pure vanilla extract Why this? Depth of flavor
- 2 cups (250g) powdered sugar, sifted (for glaze)
- 3 tbsp (45ml) buttermilk (for glaze)
- 1 tsp (5ml) pure vanilla extract (for glaze)
- 1g salt (for glaze)
| Original Ingredient | Substitute | Why It Works |
|---|---|---|
| Buttermilk (1 cup) | Whole milk + 1 tbsp lemon juice | Mimics acidity. Note: Slightly less creamy than real buttermilk |
| All Purpose Flour | Cake Flour | Softer crumb. Note: May require slightly more frying time |
| Unsalted Butter | Coconut Oil (melted) | Similar fat content. Note: Adds a subtle coconut flavor |
Essential Kitchen Gear
You can get by with basic tools, but a few specific items make the process much smoother. A deep fryer is great, but a heavy bottomed Dutch oven is actually better for maintaining a steady temperature.
- Dutch Oven or Deep Fryer: Something that can hold 2-3 inches of oil safely.
- Digital Thermometer: This is the only way to ensure you're at 350°F.
- Spider Strainer: Essential for lifting the Buttermilk Donuts out of the oil without burning your fingers.
- Wire Cooling Rack: To prevent the bottoms from getting soggy.
- Donut Cutter or Glass/Bottle Cap: For that classic ring shape.
- Whisk and Large Mixing Bowl: For combining the dry and wet components.
From Prep to Plate
Now we get to the fun part. Remember, the goal is to handle the dough as little as possible. The more you touch it, the tougher it gets.
Phase 1: Crafting the Dough
- Combine all purpose flour, granulated sugar, baking powder, baking soda, salt, and nutmeg in a large bowl, whisking to remove clumps. Note: Whisking aerates the flour for a lighter result.
- Create a well in the center of the dry ingredients and pour in the buttermilk, eggs, melted butter, and vanilla extract.
- Stir the mixture until just combined; stop as soon as no dry flour streaks remain to prevent the dough from becoming tough. Note: Lumps are okay; over mixing is not.
- Let the dough rest for 60 minutes to relax the gluten and activate the leavening agents.
Phase 2: Shaping and Frying
- Heat 2-3 inches of neutral oil in a deep fryer or Dutch oven to exactly 350°F (175°C). Note: Use a thermometer to avoid oil absorption.
- Roll the rested dough to 1/2 inch thickness on a floured surface and cut into rings using a donut cutter.
- Gently slide the donuts into the hot oil and fry for 60-90 seconds per side until they reach a deep mahogany gold color.
- Remove donuts with a spider strainer and transfer to a wire cooling rack.
Phase 3: The Final Glaze
- Whisk together powdered sugar, buttermilk, vanilla, and salt until the glaze is smooth.
- Dip each side of the warm Buttermilk Donuts into the glaze and set on a wire rack for 5 minutes to allow the coating to set.
Chef's Note: If your glaze is too thick to dip, add buttermilk one teaspoon at a time. If it's too runny, sift in a bit more powdered sugar. The goal is a coating that clings but doesn't pool.
Solving Dough Issues
Even the best of us have a batch that doesn't go as planned. Most Buttermilk Donuts issues stem from temperature or timing.
Troubleshooting Common Issues
| Issue | Solution |
|---|---|
| Why Your Donuts Are Greasy | This usually happens when the oil temperature drops. When you add too many donuts at once, the oil temp plummets, and the dough absorbs the oil instead of searing. |
| Why Your Donuts Are Flat | If your Buttermilk Donuts didn't rise, your baking soda or powder might be expired. These chemical leaveners lose their punch over time. Always check the date on your tins. |
| Why Your Glaze Is Runny | This is often due to the warmth of the donut or too much liquid. If the donuts are piping hot, the glaze will melt and run off. Let them cool for a few minutes before dipping. |
Common Mistakes Checklist:
- ✓ Did you use room temperature buttermilk and eggs?
- ✓ Did you stop stirring the moment the flour disappeared?
- ✓ Did you let the dough rest for a full 60 minutes?
- ✓ Is your oil exactly 350°F (175°C)?
- ✓ Are you using a wire rack for cooling?
Creative Flavor Twists
Once you've nailed the basic Buttermilk Donuts, you can start playing with the flavor profiles. The beauty of a cake donut is how well it takes on other tastes.
For a zesty version, add the zest of one lemon to the dry ingredients and replace the vanilla in the glaze with lemon extract. This creates a bright, summery treat that balances the richness of the fry.
If you're feeling more autumn inspired, a pinch of cinnamon and a dash of cloves in the dough will make these feel like a cozy morning staple.
For a "Dunkin' Style" vibe, you can actually try adding a bit of yeast to this recipe, though it changes the nature of the dough. If you prefer a lighter, air-fried version, you can brush the rings with melted butter and air fry at 350°F for about 5-7 minutes.
However, the stovetop method remains the gold standard for that specific shatter crisp crust.
If you're looking for another way to use your buttermilk, you might consider making some homemade peanut milk for a high protein pairing on the side.
Adjusting Batch Sizes
Scaling Buttermilk Donuts requires a bit of care, especially with the leavening agents. You can't always just double everything and expect the same result.
Scaling Down (Half Batch): When cutting the recipe in half, the trickiest part is the egg. Beat one egg in a small bowl and use exactly half of it (about 2 tbsp). Use a smaller pot for frying so you can maintain the oil depth without wasting gallons of oil.
Reduce your resting time slightly to 45 minutes, as smaller masses of dough reach room temperature faster.
Scaling Up (Double or Triple Batch): When doubling, do not double the salt or nutmeg fully - go for 1.5x instead. These strong flavors can become overwhelming in larger quantities. Most importantly, work in batches.
If you try to fry 36 Buttermilk Donuts at once, you'll crash the oil temperature and end up with a greasy mess. I recommend mixing the dough in one big batch but keeping the remaining dough in the fridge while the first batch fries.
Truth About Donut Myths
There are a few things people believe about frying that just aren't true. Let's clear those up.
Myth: Searing the dough "seals in" the moisture. Actually, frying doesn't seal anything. The crisp crust is a result of water evaporating rapidly from the surface of the dough, leaving behind a dehydrated, crunchy layer. The moisture inside stays because the cooking time is so short.
Myth: You must use lard for the best flavor. While lard was traditional, neutral oils like canola or peanut oil are far superior for Buttermilk Donuts today. They have a higher smoke point and don't leave a heavy, animal fat aftertaste that masks the tang of the buttermilk.
Myth: Cold dough is better for frying. Actually, if the dough is ice cold when it hits 350°F oil, the outside will burn before the center can cook through. Let your rested dough sit at room temperature for about 10-15 minutes before rolling and cutting.
Storage & Reheating
Because these are cake style Buttermilk Donuts, they stay moist longer than yeast donuts, but they still have a shelf life.
Storage Guidelines: Keep your Buttermilk Donuts in an airtight container at room temperature for up to 2 days. If you've glazed them, they're best eaten the day they're made, as the glaze can start to weep over time.
For longer storage, the fridge works for about 5 days, but you'll definitely need to reheat them to bring back the texture.
Freezing Tips: You can freeze these! I recommend freezing them before glazing. Flash freeze the fried rings on a baking sheet for an hour, then toss them into a freezer bag. They'll keep for up to 3 months.
When you're ready, just pop them in a 350°F oven for 5 minutes.
Zero Waste Ideas: Don't throw away the "donut holes" (the center cuts). Fry them exactly like the rings! They're the perfect bite sized snack. If you have leftover glaze, it actually makes a great dip for fresh fruit or can be drizzled over a slice of pound cake.
Best Pairing Ideas
Buttermilk Donuts are quite rich, so they pair best with things that have a bit of acidity or bitterness to balance the sugar. A strong, black coffee is the classic choice for a reason - the bitterness cuts right through the velvety glaze.
If you're serving these for a party, a bowl of fresh raspberries or sliced strawberries adds a fresh, tart contrast. For something more substantial, try serving them alongside a savory breakfast platter of eggs and avocado.
If you love this kind of homemade comfort, you might also enjoy my Grandbaby Cakes Sock recipe, which shares that same dense, buttery satisfaction. Whether you're dipping them in coffee or sharing them with friends, these Buttermilk Donuts are all about the joy of something made from scratch.
Recipe FAQs
How to achieve the perfect tang in buttermilk donuts?
Use full fat buttermilk at room temperature. The acidity in the buttermilk reacts with the baking soda to create both the signature flavor and a better rise.
Why are my buttermilk donuts greasy?
Keep your oil temperature at exactly 350°F (175°C). Greasiness occurs when the oil temperature drops because too many donuts were added at once, causing the dough to absorb oil instead of searing.
Is it true I can skip the 60-minute dough rest?
No, this is a common misconception. Resting the dough relaxes the gluten and activates the leaveners for a tender crumb. If you enjoyed mastering this gluten relaxation here, see how the same principle works in our quick easy pizza dough.
Why did my buttermilk donuts stay flat after frying?
Check the expiration date on your baking soda and baking powder. If these chemical leaveners are old, they lose their potency and cannot lift the dough during frying.
How to stop the glaze from running off the donuts?
Let the donuts cool slightly before dipping. Glaze becomes too runny if the donuts are piping hot or if too much buttermilk is added to the powdered sugar mixture.
Can I freeze buttermilk donuts for later?
Yes, but freeze them before glazing. Flash freeze the plain donuts first, then glaze them after thawing and reheating to maintain the best texture.
How to ensure the donuts have a deep mahogany gold color?
Fry for 60-90 seconds per side. Using a thermometer to maintain a steady 350°F (175°C) ensures they brown perfectly without burning.
Tangy Buttermilk Donuts

