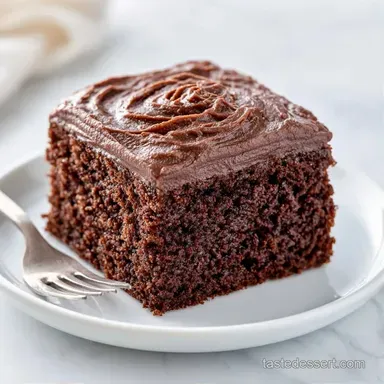
Buttermilk Chocolate Sheet Cake: Failure-Proof
- Time:15 minutes active + 20 minutes baking = Total 35 minutes
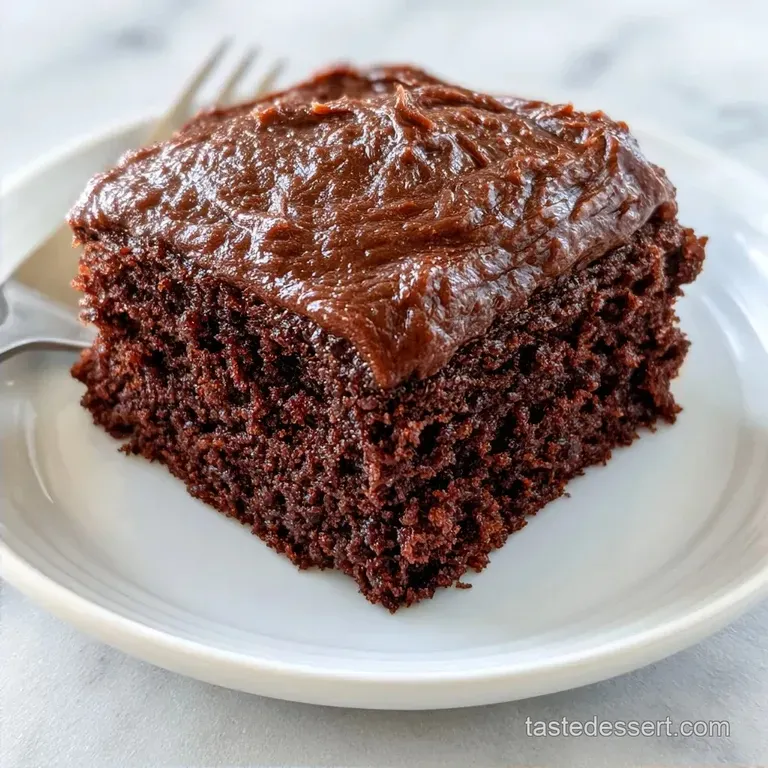
- Flavor/Texture Hook: Fudgy, mahogany colored sponge with a glossy, silk like fudge glaze
- Perfect for: Family reunions, potlucks, or a nostalgic weekend treat
I can still smell the rich, toasted cocoa wafting through my grandmother's kitchen every July. She had this oversized, weathered rimmed baking sheet that looked like it had seen a thousand Sunday dinners, and every time she pulled a cake out of the oven, the whole house felt warm and safe.
It wasn't about being fancy; it was about having a timeless dessert that could feed twenty people without making the cook spend the whole afternoon hovering over a stove.
That's the beauty of this specific treat. It doesn't require the precision of a tiered wedding cake or the stress of a soufflé. It's a classic, honest bake that brings everyone to the table.
When you pour that glossy frosting over the steaming sponge, you're not just making a dessert, you're recreating a feeling of home.
You can expect a cake that is deeply chocolatey, with a crumb that is soft and springy. Because we use a sheet pan, the surface area is huge, meaning it bakes fast and stays incredibly moist. The Buttermilk Chocolate Sheet Cake is the kind of recipe that becomes a cherished family heirloom because it's nearly impossible to mess up once you know the cues.
Buttermilk Chocolate Sheet Cake
Why This Bake Works
I've always been curious about why some chocolate cakes turn out dry while others feel like a cloud. It turns out, the magic is in the chemistry of the ingredients and the way we apply heat.
- The Acid Lift: Buttermilk contains lactic acid which reacts instantly with the baking soda. This creates tiny carbon dioxide bubbles that lift the heavy cocoa batter, ensuring it doesn't turn into a chocolate brick.
- The Moisture Lock: The fats in full fat buttermilk coat the flour proteins, preventing too much gluten from forming. This is why the texture stays velvety rather than bread like.
- The Warm Pour Method: Pouring boiling hot frosting onto a hot cake allows some of the glaze to seep into the top layer. This creates a fudgy transition zone between the sponge and the icing.
- Rapid Heat Transfer: Using a rimmed sheet pan instead of a deep round tin means the heat hits the batter quickly and evenly. This prevents the edges from drying out before the center is set.
For those wondering about the difference in how we handle the heat, check out this breakdown of the two main stages of this recipe.
| Stage | Heat Source | Purpose | Texture Result |
|---|---|---|---|
| Cake Base | Oven (Dry Heat) | Set structure & rise | Springy & moist |
| Fudge Glaze | Stovetop (Wet Heat) | Melt sugars & fats | Glossy & velvety |
It's this combination of oven baked structure and stovetop simmered richness that makes the Buttermilk Chocolate Sheet Cake so distinct from a standard layer cake.
Component Analysis
I used to think all flour was the same, but when you're dealing with a thin sheet cake, the specifics matter. According to King Arthur Baking, the protein content of your flour directly affects the tenderness of the crumb.
| Ingredient | Science Role | Pro Secret |
|---|---|---|
| Buttermilk | Tenderizer & Leavening | Use full fat for a more nostalgic, creamy mouthfeel |
| Cocoa Powder | Flavor & Structure | Sift it to avoid those tiny bitter clumps in the batter |
| Baking Soda | Chemical Leavener | Reacts with buttermilk to create a rapid, airy rise |
| Powdered Sugar | Stabilizer & Sweetener | Provides the "shatter" and shine to the final glaze |
Pantry Staples Needed
Right then, let's get your shopping list together. I've stuck to classic ingredients here because this is a timeless sweet, not an experiment.
For the Cake Batter: 2 cups (250g) all purpose flour Why this? Standard protein level for a sturdy but soft cake 2 cups (400g) granulated sugar Why this? Dissolves easily for a uniform sweetness 1/2 cup (45g) unsweetened cocoa powder
Why this? Provides that deep mahogany color 1 tsp (5g) baking soda Why this? Essential for the lift when combined with buttermilk 1/2 tsp (3g) salt Why this? Balances the sugar and enhances the chocolate 2 large (100g) eggs,
Beaten Why this? Provides structure and a bit of richness 1 cup (240ml) full fat buttermilk Why this? The secret to the moist, tender crumb 1/2 cup (115g) unsalted butter, melted Why this? Adds a velvety fat profile to the
Sponge 1 tsp (5ml) vanilla extract Why this? Rounds out the cocoa bitterness
For the Fudge Frosting: 1/2 cup (115g) unsalted butter Why this? Base for the glossy emulsion 1/4 cup (25g) unsweetened cocoa powder Why this? Deepens the color of the glaze 1/3 cup (65g) whole milk Why this? Thins
The frosting for easy spreading 3 cups (600g) powdered sugar Why this? Creates the smooth, fudge like finish 1 tsp (5ml) vanilla extract Why this? Enhances the overall sweetness
| Original Ingredient | Substitute | Why It Works |
|---|---|---|
| Buttermilk (1 cup) | 1 cup milk + 1 tbsp lemon juice | Mimics the acidity. Note: Slightly less creamy than real buttermilk |
| All Purpose Flour | Cake Flour | Lower protein. Note: Result is softer but less sturdy |
| Powdered Sugar | Blitzed Granulated Sugar | Similar sweetness. Note: Glaze will be grainier and less glossy |
If you're missing buttermilk, the lemon juice trick is a lifesaver, but honestly, don't even bother with low-fat milk if you want that authentic, old-fashioned taste.
The Baking Process
To make this Buttermilk Chocolate Sheet Cake work, you need a flow. I like to think of it in three phases: the prep, the bake, and the finish. Trust me on this, the timing of the frosting is everything.
Phase 1: Preparing the Base 1. Preheat your oven to 350°F (175°C). Line an 18x13 inch rimmed baking sheet with parchment paper. Note: Parchment is a must; otherwise, the edges might stick. 2.
In a large bowl, whisk together the flour, sugar, cocoa powder, baking soda, and salt. Whisk until no lumps remain. Note: Sifting the cocoa here prevents "cocoa pockets" later. 3. Stir in the melted butter, buttermilk, beaten eggs, and vanilla extract.
Whisk until the batter is smooth and mahogany colored. Note: Stop whisking as soon as the flour disappears to avoid a tough cake.
Phase 2: The Bake 4. Pour the batter into the prepared pan. Use a spatula to spread it evenly to the edges. 5. Bake for 18-22 minutes. You'll know it's done when the edges just begin to pull away from the sides and the center springs back when lightly touched.
Phase 3: The Finishing Touch 6. While the cake is in its final 5 minutes of baking, put the frosting butter, cocoa powder, and whole milk in a saucepan over medium heat. 7. Bring the mixture to a gentle simmer.
Remove from heat and whisk in powdered sugar and vanilla extract until the glaze is glossy and smooth. 8. Pour the frosting immediately over the hot cake. Tilt the pan to ensure total coverage.
Chef's Note: If your frosting seems too thick to pour, add one tablespoon of milk at a time. It should be thick enough to coat the cake but fluid enough to spread without tearing the sponge.
Fixing Common Issues

Even for a seasoned home cook, things can go sideways. Maybe the cake sank, or the frosting looks like curdled milk. Don't panic; it's usually a quick fix.
Troubleshooting Common Issues
| Issue | Solution |
|---|---|
| Why Your Cake Sank | This usually happens because the oven door was opened too early or the baking soda is expired. If the structure hasn't set, the air bubbles collapse. |
| Why Frosting is Lumpy | Lumps happen when the powdered sugar isn't incorporated properly or the heat was too high, causing the butter to separate. |
| Why Cake is Dry | Overbaking is the main culprit. Because a sheet pan is thin, 2 minutes can be the difference between "fudgy" and "dry". Always start checking at the 18 minute mark. |
Common Mistakes Checklist:
- ✓ Did you line the pan with parchment?
- ✓ Is the buttermilk at room temperature?
- ✓ Did you stop whisking the batter early?
- ✓ Did you pour the frosting while the cake was still hot?
- ✓ Did you check the center with a toothpick at 18 minutes?
Adjusting the Batch
Sometimes you don't need 24 slices, or maybe you're feeding a whole church congregation. Adjusting a Buttermilk Chocolate Sheet Cake is simple, but the physics of the pan change.
Scaling Down (Half Batch): If you want a smaller cake, use a 9x13 inch pan. Reduce the baking time by about 20% (start checking at 14 minutes). Since you'll need one egg, beat a single egg in a cup and use half of it to keep the ratios correct.
Scaling Up (Double Batch): Never try to bake a double batch in one pan; it'll be raw in the middle and burnt on the edges. Instead, use two separate 18x13 inch pans.
When baking two pans at once, lower the oven temp to 325°F (160°C) and extend the time by 5-8 minutes to account for the crowded oven.
- If you want it fudgier
- Underbake by 2 minutes.
- If you want more punch
- Add 1 tsp instant espresso powder to the dry ingredients.
- If you want a thinner glaze
- Add 1 tbsp extra whole milk to the frosting.
Whether you're making a mini version or a feast, the key is maintaining that ratio of fat to acid. If you love these types of rich desserts, you might also enjoy my [German Chocolate Cake recipe](https://tastedessert.com/recipes/classic german-chocolate cake-recipe/) for a different take on chocolate indulgence.
Busting Cake Myths
There are a few things people tell you about chocolate cakes that just aren't true. Let's clear the air.
Myth: You must cool the cake before frosting. Actually, for this specific recipe, that's a mistake. The "hot on hot" method is what creates that signature fudge like layer. If the cake is cold, the frosting just sits on top like a sheet of plastic.
Myth: Buttermilk is only for pancakes. Far from it. In a chocolate cake, buttermilk is a structural tool. It breaks down the gluten, which is why this cake feels velvety and doesn't have that "bready" chew.
Myth: Cocoa powder should be boiled first. While "blooming" cocoa in hot water can intensify flavor, it's not necessary for this Buttermilk Chocolate Sheet Cake. The moisture from the buttermilk and the heat of the oven do a great job of releasing the chocolate notes.
Storage and Scraps
This cake stays moist longer than almost any other chocolate dessert because of the buttermilk.
- Fridge
- Store in an airtight container for up to 5 days. The frosting stays glossy, though the cake firms up.
- Freezer
- Wrap individual slices in plastic wrap and foil. They'll stay fresh for 3 months. Thaw in the fridge overnight.
- Reheating
- Pop a slice in the microwave for 10-15 seconds. This melts the fudge frosting back into a velvety state.
Zero Waste Tips: If you have uneven edges or "ugly" pieces from the corners, don't throw them away! Crumble the scraps into a bowl and mix them with a bit of cream cheese frosting. These make the perfect base for homemade cake pops, which are a hit with kids and adults alike.
Best Side Pairings
A Buttermilk Chocolate Sheet Cake is rich, so you want sides that provide a sharp or refreshing contrast.
The Drink Pairing: A cold glass of whole milk is the classic choice, but a strong, black coffee cuts through the sugar of the fudge frosting perfectly. If you're looking for something a bit more unique, a homemade peanut milk adds a nutty depth that complements the cocoa.
The Fresh Pairing: Fresh raspberries or sliced strawberries are the best way to brighten this dish. The acidity of the berries cuts through the richness of the butter and chocolate.
The Texture Pairing: Serve a slice with a dollop of unsweetened whipped cream. The airy lightness of the cream balances the dense, fudgy nature of the sheet cake, making the whole experience feel a bit more balanced.
Recipe FAQs
Is this an old fashioned buttermilk chocolate sheet cake?
Yes, it is. It uses the traditional method of pouring a warm cocoa frosting over a hot cake to create a fudge like finish.
Why is my chocolate sheet cake dry?
You likely overbaked it. Because sheet pans are thin, checking the cake at the 18-minute mark is critical to keep it fudgy.
Is it true that only expired baking soda causes a cake to sink?
No, this is a common misconception. Opening the oven door too early can also cause air bubbles to collapse before the structure sets.
How to store buttermilk chocolate sheet cake?
Store in an airtight container in the fridge for up to 5 days. For longer preservation, wrap individual slices in plastic and foil to freeze for 3 months.
Why is my chocolate frosting lumpy?
The powdered sugar wasn't fully incorporated or the heat was too high. This causes the butter to separate rather than forming a smooth, glossy glaze.
How to ensure the cake has a moist, tender crumb?
Whisk the batter until smooth but avoid overmixing. If you enjoyed mastering this texture, see how we manage moisture in our flaky pie recipe.
How to prepare the pan for baking?
Preheat the oven to 350°F and line an 18x13 inch rimmed baking sheet with parchment paper. This ensures the cake releases easily and slices cleanly.
Buttermilk Chocolate Sheet Cake