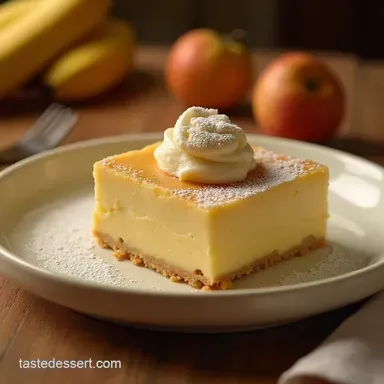
The Oh My Goodness Homemade Classic Banana Pudding Magnolia Inspired
- Unlocking the Secret to Truly Velvety Banana Pudding Bliss
- Why This Bakery-Style Recipe Triumphs Over Store-Bought
- Assembling the Pantheon of Pudding Components
- Selecting the Perfect Produce and Pantry Staples for Authentic Flavor
- Crafting the Silky Vanilla Custard Base: Step-by-Step
- The Art of Assembly: Perfecting the Layers and Chill Time
- Troubleshooting and Elevating Your Homemade Banana Pudding
- Recipe FAQs
- 📝 Recipe Card
Unlocking the Secret to Truly Velvety Banana Pudding Bliss
There are certain desserts that transcend mere food status and become nostalgic touchstones. Banana Pudding is undeniably one of them. We’re not talking about the quick mix powder variety; we’re diving deep into the rich, creamy, soul satisfying texture that cemented the fame of bakeries across the country.
This comprehensive guide will walk you through creating a truly iconic Banana Pudding Recipe From Scratch , one that rivals even the most sought after versions.
Our goal is simple: to create a Classic Banana Pudding so luscious it earns the title of the Best Banana Pudding Recipe you’ll ever encounter.
Why This Bakery Style Recipe Triumphs Over store-bought
The fundamental difference between commercial puddings and the homemade variety lies in depth of flavour and sheer richness. store-bought often uses stabilizers and artificial flavourings, resulting in a texture that can feel gelatinous or thin.
Our homemade approach, drawing inspiration from the legendary Magnolia Bakery Banana Pudding Recipe , focuses on creating a slow cooked, intense vanilla custard that forms the foundation of true indulgence.
The Allure of the Iconic Layered Dessert
What makes this layered Banana Dessert so captivating? It’s the textural interplay. You start with the intense sweetness of ripe bananas, which mingle beautifully with the crisp integrity of the vanilla wafers.
As this dessert rests, those wafers surrender their crunch, transforming into tender, cake like layers saturated with creamy custard. This absorption process is what defines this dessert, making it infinitely more complex than a simple bowl of pudding.
A Culinary Hug: Setting Expectations for Richness
When you commit to this recipe, set your expectations high for decadence. We are relying on whole milk and sweetened condensed milk, not just water and sugar, which results in a higher fat content and an unparalleled mouthfeel.
This isn't a light, airy dessert; it's a substantial, satisfying end to any meal, offering a tangible sense of comfort with every spoonful.
Mastering the Magnolia Flavor Profile Without the Fuss
The hallmark of the Copycat Magnolia Banana Pudding is its commitment to pure vanilla and banana notes, elevated by the specific sweetness provided by the condensed milk.
We will achieve this signature taste profile by ensuring the vanilla extract is high quality and by utilizing the precise balance of dairy richness, allowing the star ingredients the fruit and the creamy base to shine through without being masked by heavy spices or excessive sugar.
This recipe proves that achieving that sought after bakery style is actually an Easy Banana Pudding Recipe once the proper technique is understood.
Assembling the Pantheon of Pudding Components
Creating perfection requires using the right building blocks. While the ingredients list may appear short, their quality dictates the final outcome. We must treat each component the custard, the fruit, and the wafer with respect, as each plays a non-negotiable role in the final symphony of flavours.
Related Recipes Worth Trying
- Easy Fudgy Banana Brownies Recipe The Ultimate TwoinOne Treat — Tired of dry banana bread Master these intensely fudgy banana brownies that use up spotty bananas perfectly Easy onebowl method guaranteed Get the recipe now
- Ultimate Fudgy Banana Brownie Bliss Recipe Naturally Sweet — Craving fudgy brownies but want something lighter This Banana Brownie Bliss recipe uses ripe bananas for natural sweetness and incredible moisture A quick...
- The Easiest Nannas Banana Pudding Recipe Ready in Minutes — Ditch the fuss with this dead simple Easy Banana Pudding recipe featuring layers of soft wafers and creamy custard Perfect comfort food that tastes like home
Selecting the Perfect Produce and Pantry Staples for Authentic Flavor

Choosing your ingredients wisely is half the battle won. For a truly authentic experience, resist the urge to substitute key items, particularly in the custard base.
Essential Dairy and Sweeteners: The Custard Foundation
The heart of this Banana Pudding lies in the custard. We use whole milk for its fat content, which contributes significantly to the velvety texture. The sweetened condensed milk is non-negotiable; it provides the perfect level of concentrated sweetness and aids in thickening without needing excessive cooking time that might lead to scorching.
These elements combine to form a far superior base than simple milk and sugar mixes.
The Crucial Role of Ripe Bananas in the Best Banana Pudding
When selecting your bananas, look for specimens that are mostly yellow but generously speckled with brown spots. Green bananas will be starchy and lack the necessary sweetness. Conversely, bananas that are completely brown and mushy will disintegrate entirely into the pudding during the chilling process.
We seek that sweet spot where they offer intense flavour but retain just enough structural integrity to provide distinct slices within the layers.
Tools of the Trade: Essential Kitchen Gear for Success
A heavy bottomed saucepan is your best friend here. Puddings, particularly those involving eggs and cornstarch, are notorious for scorching if the heat is unevenly distributed. A quality balloon whisk is also essential to incorporate air during the tempering process and ensure there are absolutely no lumps lurking in your finished custard.
Crafting the Silky Vanilla Custard Base: step-by-step
The magic of the smooth texture comes entirely from how you manage heat and incorporate the egg yolks. We begin by preparing our thickener base. In a medium bowl, thoroughly whisk four large egg yolks together with 1/2 cup of cornstarch until the mixture is pale yellow and entirely smooth this eliminates any powdery clumps that could ruin the final product.
Next, gently heat two cups of whole milk and the entire 14-ounce can of sweetened condensed milk in your heavy bottomed saucepan over medium heat until the mixture is steaming hot but not yet boiling.
Now comes the crucial tempering step: slowly drizzle about one cup of this hot dairy mixture into the egg yolk and cornstarch blend while whisking vigorously and constantly. This gently raises the temperature of the eggs, preventing them from scrambling instantly when they hit the main saucepan.
Once tempered, pour this entire egg mixture back into the saucepan with the remaining milk. Return the pan to medium heat. It is imperative that you whisk continuously, scraping the bottom and sides of the pan as the mixture heats.
Soon, you will notice a visible change the liquid will start to cling to the whisk, and eventually, it will boil vigorously. Once it reaches a rolling boil, continue whisking and cooking for exactly one full minute. This ensures the cornstarch is fully activated, eliminating any raw, starchy taste.
Remove the saucepan from the heat immediately. Stir in two tablespoons of cold, unsalted butter until it melts and incorporates fully, lending a beautiful gloss to the custard. Finally, whisk in two teaspoons of pure vanilla extract.
Transfer the finished custard to a clean bowl, press plastic wrap directly onto the surface to prevent a skin from forming, and let it cool slightly on the counter for about thirty minutes before assembly.
The Art of Assembly: Perfecting the Layers and Chill Time
With your rich custard slightly cooled and your bananas sliced into uniform 1/4 inch rounds, you are ready for layering. A clear, large serving dish, such as a trifle bowl or a 9x13 inch glass baking dish, is ideal so you can admire the distinct strata of your creation.
Tempering Eggs Without the Panic
We have already covered the crucial tempering of the eggs in the previous section, ensuring the custard base remains perfectly smooth and lump free, which is the first step towards achieving that famously silky texture of this Magnolia Bakery Banana Pudding .
Simmering the Pudding to That Signature Thickness
Remember that one-minute hard boil after the mixture thickens? That’s the key to avoiding a runny pudding. This ensures the cornstarch has done its job fully, setting the stage for a custard that will hold its shape beautifully as it chills.
Strategic Layering: Banana-to-Wafer Ratios That Matter
The classic method involves creating three distinct layers of both cookies and bananas, finished with a final layer of custard on top. Start with a generous layer of Nilla Wafers covering the bottom of your dish.
Follow this with an even distribution of banana slices, then ladle a generous amount of the slightly warm custard over the top, ensuring it seeps down into all the crevices between the cookies. Repeat this pattern twice more.
The goal is generous distribution you want plenty of custard in every bite, but enough wafers and bananas to provide substance.
The Mandatory Chill Period: Patience for Peak Creaminess
This is perhaps the hardest, yet most vital, step in making the Best Banana Pudding Recipe . Once the final layer of custard is spread smoothly over the top, cover the dish tightly with plastic wrap. Refrigerate for a minimum of four hours, though overnight is highly recommended.
This time is essential for two reasons: it allows the pudding to fully set to its proper creamy density, and critically, it allows the vanilla wafers to soften, absorbing the moisture and creating that unique, almost cake like layer that distinguishes this Banana Pudding .
Troubleshooting and Elevating Your Homemade Banana Pudding
Even the best recipes can encounter minor hiccups. If your custard seems a bit too thin, it likely needed that full minute of boiling time; next time, be sure to cook it longer after it starts to bubble vigorously.
For slight graininess, sometimes a tiny bit of over whisking after removing from the heat can correct it, but prevention (using a heavy bottomed pan) is always best.
Preventing a Soggy Disaster: Tips for Wafer Integrity
If you are worried about the wafers becoming too saturated, lightly crush about a third of them before placing them into the bottom layer. The crushed pieces will dissolve quickly, acting as a binder, while the whole wafers will provide more structure higher up in the layers.
Creative Twists: Meringue vs. Whipped Toppings
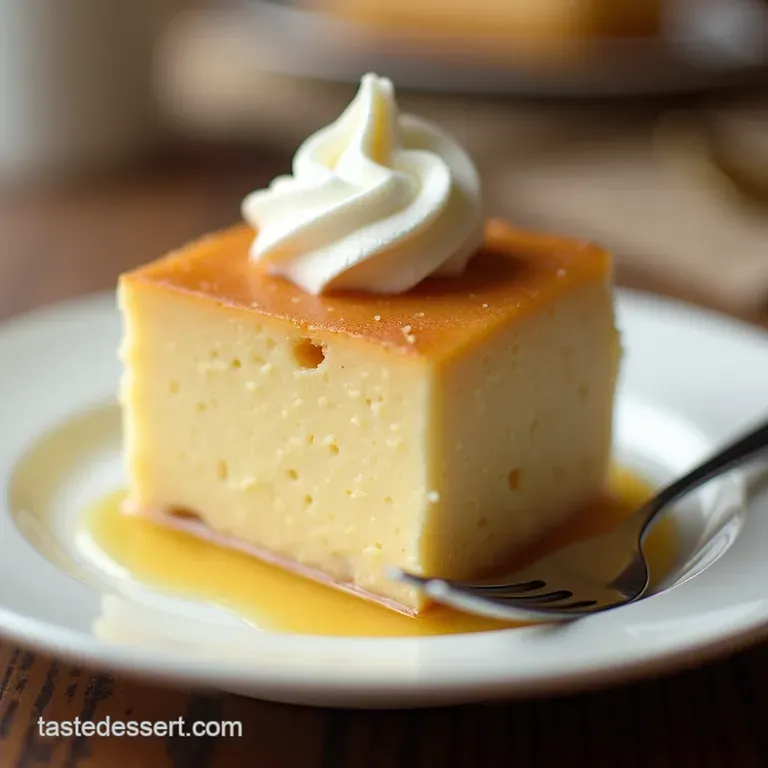
While the classic Magnolia Bakery Banana Pudding is often topped with a simple layer of freshly whipped cream heavy cream beaten with a bit of powdered sugar and vanilla you can certainly elevate this.
A toasted Italian meringue, applied decoratively, offers a sophisticated, lighter texture that contrasts beautifully with the dense pudding below.
Making Ahead: Planning Your Pudding Party
This recipe truly shines when made ahead of time. In fact, it’s best prepared the day before serving. When making it ahead, ensure the plastic wrap is tightly sealed to prevent any refrigerator odours from affecting the delicate vanilla notes.
When serving, only apply the whipped cream topping right before it hits the table for the freshest look and texture.
Making This Recipe Uncooked: A Quick Guide
If you are short on time and want an Easy Banana Pudding Recipe but are willing to forgo the rich custard, you can create a 'no-cook' version. This involves using instant vanilla pudding mixed according to package directions, but instead of water, use the sweetened condensed milk (diluted slightly with milk) to achieve maximum richness.
Layer as usual. While quicker, this method sacrifices the profound depth of flavour achieved by cooking the custard base from scratch.
Recipe FAQs
Why is my homemade Banana Pudding custard grainy or lumpy?
That’s usually down to a couple of common pitfalls! The most likely culprit is not whisking constantly enough while the custard cooks, which causes the egg proteins to set unevenly.
Secondly, make absolutely sure you temper the eggs correctly by slowly adding the hot milk if you dump it all in at once, you’ll end up with egg drop soup instead of smooth pudding.
How long does this Banana Pudding need to chill, and what happens if I eat it too soon?
The absolute minimum chilling time is four hours, but honestly, leaving it overnight is the ticket to perfection. If you rush it, your Nilla Wafers will remain crunchy rather than softening beautifully into a cake like layer, which is the hallmark of a truly great batch.
Can I make this Banana Pudding ahead of time, and how do I store leftovers?
Yes, making it ahead is ideal, as the chilling time allows the flavours to meld. Store any leftovers tightly covered in the fridge; it should keep well for about three to four days. Be aware that the bananas will continue to soften and darken the longer it sits, but that’s perfectly fine for this recipe!
My bananas are browning quickly even in the pudding what’s the trick to keeping them looking fresh?
The best way to combat banana browning is to use bananas that are ripe but still quite firm and slice them just before assembly. If you’re worried, you can toss the slices lightly in a splash of lemon or pineapple juice (just a teaspoon!) before layering, as the acid helps slow down oxidation.
I don't have Nilla Wafers; what's a decent substitute for this classic Banana Pudding?
While Nilla Wafers are the gold standard for that specific texture, you can use other plain vanilla cookies or perhaps some simple shortbread biscuits in a pinch. Just avoid anything overly flavoured or chocolatey, as it will clash with the traditional vanilla custard profile we are aiming for.
Classic Banana Pudding Recipe