The Absolute Bees Knees Proper Creamy Peanut Butter Fudge
- The Absolute Bees’ Knees: Proper Creamy Peanut Butter Fudge
- Ingredients & Equipment for the Best Peanut Butter Fudge Recipe
- The Critical Cook: Reaching Soft Ball
- Cooking Method: The Road to Non-Grainy Perfection
- Serving Suggestions
- Storage Tips
- Variations
- Nutrition Basics
- Frequently Asked Questions
- 📝 Recipe Card
The Absolute Bees’ Knees: Proper Creamy Peanut Butter Fudge
Quick Hook
Have you ever tried to make proper fudge only for it to turn into a sugary, crumbly mess? It’s happened to the best of us.
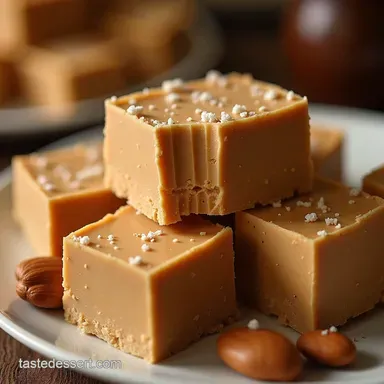
That’s why I’m thrilled to share my absolute favourite recipe for Creamy Peanut Butter Fudge . This isn't one of those speedy, powdered sugar jobs.
The resulting texture is a smooth peanut butter confectionery dream the kind that melts the moment it hits your tongue.
Brief Overview
Fudge is a classic kitchen staple, especially beloved during the holidays or trips to the seaside sweet shops. This particular Peanut Butter Fudge Recipe uses the traditional, old-fashioned boiling method with evaporated milk .
It requires a bit more focus than simply mixing things in a bowl, so I’d rate this one as medium difficulty.
Success hinges entirely on following the temperature guidelines. You definitely need a reliable candy thermometer fudge recipe for this. When you’re done, you’ll have about 36 satisfying squares of Homemade Fudge , perfect for gifting or sharing.
Main Benefits
Okay, let’s be honest, we aren’t claiming this is a health food! But if you need a comfort food boost, few Fudge Desserts deliver satisfaction better.
It’s perfect for gifting or bringing along to a bake sale; everyone goes absolutely wild for it. The secret to perfection is hitting that precise peanut butter fudge soft ball stage particularly 234° F ( 112° C) which guarantees a truly non grainy peanut butter fudge .
Once you nail this technique, you’ll have the Best peanut butter fudge recipe in your repertoire.
The Chef’s Insight
I spent years battling grainy fudge until I realised the quiet power of peanut butter fudge with evaporated milk . Using this specific ingredient gives it an unmatched depth and density.
My big lesson learned? Don’t stop beating too early. I used to think the mixture was thick enough when it still looked glossy, but you need to power through that last stage.
You’re looking for the moment it loses its shine and starts grabbing the sides of the pot that transition ensures a truly smooth peanut butter confectionery .
It’s hard work, but the incredible rich aroma when you start beating is your first reward.
Now, let’s grab our gear and get started on this brilliant, proper fudge. We need a heavy bottomed pan and, of course, that trusty thermometer.
Ingredients & Equipment for the Best Peanut Butter Fudge Recipe
If you’re ready to graduate from quick microwaved treats to a truly spectacular Creamy Peanut Butter Fudge , the ingredients listed here are non-negotiable.
This classic technique hinges on precise measurements, so grab your scales and measuring cups. Trust me, the extra effort is worth it for that perfect, smooth peanut butter confectionery .
Main Ingredients
For fudge this good, quality matters, particularly the peanut butter itself. This isn't the time for fancy, separated natural stuff.
We need the consistency of a standard, processed brand for the non grainy peanut butter fudge texture we are after.
| Ingredient | US Customary | Metric | Quality Indicators |
|---|---|---|---|
| Granulated Sugar | 3 cups | 700 g | Standard white sugar only. |
| Evaporated Milk (Full Fat) | 1 cup | 240 ml | Critical for richness (Hello, peanut butter fudge with evaporated milk !) |
| Unsalted Butter | 1/2 cup (1 stick) | 115 g | Use real butter; cut it into cubes. |
| Smooth Peanut Butter | 1 cup | 250 g | Use processed peanut butter (like Skippy or Jif). |
| Vanilla Extract | 1 teaspoon | 5 ml | Good quality vanilla makes a difference. |
Seasoning Notes
The salt listed in the main recipe is essential. It balances the overwhelming sweetness of the sugar base. Fudge is a Fudge Dessert , after all, and a tiny bit of salt is the flavour enhancer that truly makes it pop! Don't skip it, even if you normally use salted butter we need to control the exact amount here.
Equipment Needed
You absolutely need a heavy bottomed pan and a specific tool for this Homemade Fudge . If you skip the thermometer, you are playing Russian Roulette with sugar science.
- Heavy bottomed saucepan (3-quart minimum).
- 9x9 inch pan, lined with parchment paper.
- Reliable Candy Thermometer. This is the star of the show for achieving the peanut butter fudge soft ball stage . Check that it works before you start!
- Electric Hand Mixer (or serious elbow grease).
The Critical Cook: Reaching Soft Ball
Dissolving the Sugar
Before anything else, we have to make sure the sugar is fully dissolved. If you rush this part, your gorgeous Peanut Butter Fudge Easy dream turns instantly gritty.
Combine the sugar, milk, butter, and salt in the pot. Heat it over medium low, stirring constantly. You should feel the bottom of the pot with your spoon when you can no longer feel gritty sugar crystals, you are ready to boil.
This usually takes about 5 minutes.
The No-Stir Boil
Now, crank the heat up to medium high and clip on your thermometer. This is where we enter the true science of a candy thermometer fudge recipe .
Crucially: Stop stirring. Once it starts boiling hard, stirring reintroduces crystals clinging to the side of the pot, making your fudge grainy.
I learned this the hard way many years ago my first batch looked beautiful, then tasted like sand!
We must let the temperature rise steadily until it hits exactly 234° F ( 112° C) . This specific number is the soft ball stage, which gives the fudge that perfect, chewy, yet melt-in-your mouth texture.
Watch it like a hawk. When that needle hits the mark, pull the pot off the heat instantly. That's the secret to the best peanut butter fudge recipe you'll ever make.
Cooking Method: The Road to Non-Grainy Perfection
Making truly perfect, Creamy Peanut Butter Fudge isn't complicated, but it demands respect. We aren’t aiming for some grainy old-fashioned monstrosity; we want that smooth peanut butter confectionery that melts on the tongue.
Focus on these steps, and you’ll nail the texture every time.
Prep Steps: Get Your Kit Sorted
Before the heat is even on, let’s get everything ready. Trust me, when dealing with molten sugar, you don't want to be faffing about looking for ingredients.
This is the difference between the best peanut butter fudge recipe and a sticky disaster.
First up, your pan. Line that 9x9 tin with parchment paper, leaving generous overhangs. Those little flaps are crucial handles for lifting the solid slab out later, pure genius! Measure every single ingredient out that means the sugar, the Evaporated Milk (go full fat!), and especially the peanut butter, which needs to be ready to dive in the second the cooking stops.
Safety reminder: keep the kids and pets away when the sugar is boiling; it gets seriously hot.
Step-by-step Process: Hitting Soft Ball Stage
This is where the magic happens, particularly reaching the peanut butter fudge soft ball stage . Pay close attention to your candy thermometer fudge recipe requirements.
- Dissolve the Sugar: Combine the sugar, butter, salt, and evaporated milk in your heavy pot. Cook over medium low heat, stirring constantly until the butter is melted and the mixture looks completely clear no granules left. This dissolving step is non-negotiable for achieving non grainy peanut butter fudge .
- Crank the Heat: Once dissolved, increase the heat to medium high and clip on your thermometer. Stop Stirring. If you touch it now, you risk encouraging crystallization.
- Boil to Target: Let the mixture boil steadily until the thermometer reads exactly 234° F ( 112° C) . This is the soft ball benchmark. It usually takes about 8 to 10 minutes .
- Resting Period: Remove the pot immediately from the heat. Plonk the peanut butter and vanilla extract right on top. Do not stir! Let it rest, untouched, for precisely 5 minutes . This crucial rest allows the temperature to drop slightly before the beating starts.
Pro Tips: The Great Beat Down
The texture of your homemade fudge relies entirely on the final mixing stage. Don’t hesitate here.
After the five minutes are up, grab your electric mixer (or be ready for a serious workout with a wooden spoon).
You need to beat the mixture vigorously. You’ll watch it transform: it will lose its intense glossy shine, thicken noticeably, and start pulling away from the sides of the pot like a thick icing.
When it looks dull and heavy, it's ready. You have roughly 30 seconds to act! If you beat it too long, it sets instantly into a rocky lump.
My personal lesson? When in doubt, pour fast! Scrape it straight into your prepared pan and let it cool.
Once thoroughly chilled (give it at least 2 hours in the fridge), you’ll have the perfect sliceable Fudge Dessert . It’s the bees' knees.
Right, so you’ve managed the 234° F ( 112° C) magic and navigated the soft ball stage without a hitch. Well done, you! Now you have a tray full of the most glorious, intense, and absolutely decadent Creamy Peanut Butter Fudge .
This isn’t the grainy, dusty stuff; this is the real deal a truly smooth peanut butter confectionery .
Let's talk about the finishing touches and keeping this homemade fudge perfect.
Serving Suggestions
The Perfect Pairing
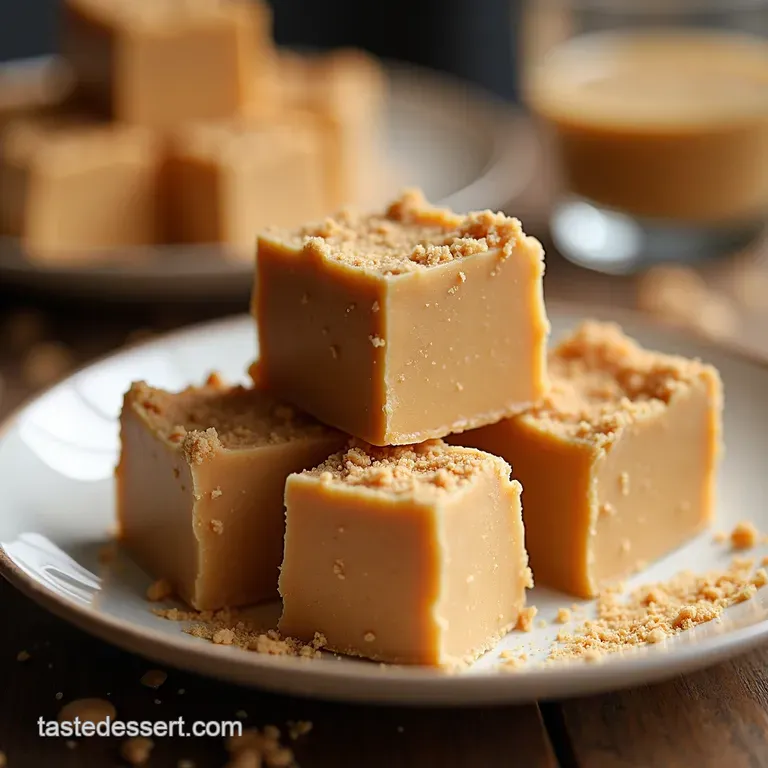
Because this fudge dessert is so rich, you need something punchy to serve alongside it. Think about the contrast. I usually chop mine into small, neat cubes and serve them chilled with a tiny, piping hot cup of black coffee or maybe a strong builder’s tea.
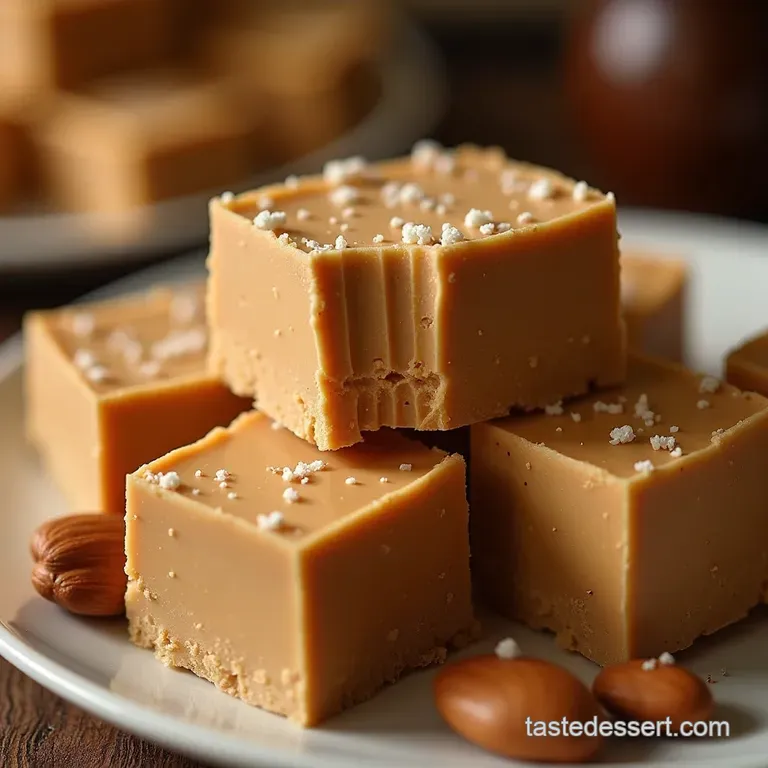
The bitterness of the drink really cuts through the sweetness beautifully. If you’re feeling fancy, a sprinkle of flaked sea salt right before serving elevates the flavour profile instantly.
It’s a trick that makes this peanut butter fudge recipe feel totally gourmet.
Storage Tips
Keeping it Creamy
The beauty of this method, using the candy thermometer fudge recipe technique, is that you get a fantastic non grainy peanut butter fudge that keeps brilliantly.
Once fully set, store the squares in an airtight container. Keep them cool and dry. If you leave them out on the counter, they will soften slightly which is fine, especially if you like them slightly gooey but they stay freshest and firmest in a cool pantry or fridge.
They’ll last easily for a week, sometimes two, if they aren’t gobbled up first!
Variations
Easy Swaps for Flavour
We’ve nailed the classic, which truly is the best peanut butter fudge recipe , but there are always tweaks you can make.
Want to make this Peanut Butter Fudge Easy for gifting? Try turning it into ‘Buckeye Fudge’. Once you pour the mixture into the pan, immediately scatter some mini dark chocolate chips or a dark chocolate drizzle across the top.
The warm fudge will melt them just enough to set beautifully. Another easy win is substituting a cup of almond butter for the peanut butter it’s a simple swap if you have family members who prefer a different nut flavour.
Nutrition Basics
A Treat, Not a Salad
Let’s be honest, this is a beautiful fudge dessert , not health food, but everything is fine in moderation! This specific recipe uses the traditional method with evaporated milk, which provides a really silky texture and a good amount of calcium and protein along with all the delightful sugar and fats.
It’s high in energy, which is why a small square is usually enough to satisfy that intense craving.
You have truly mastered a difficult classic. Hold your head high you’ve made a batch of perfect peanut butter fudge soft ball stage confectionery. Enjoy every bite!
Frequently Asked Questions
Why has my fudge gone grainy? It feels like I'm eating sugar crystals!
Ah, the classic confectioner's woe! Graininess happens when sugar crystals reform too quickly. The likely culprits are either stirring the mixture after the rapid boil began, or not washing down the sugar crystals that splash onto the side of the pot.
Remember, once you hit that rapid boil, you must stop stirring or you’ll find yourself with a grainy texture that’s simply not the standard.
Help! I made the Creamy Peanut Butter Fudge, but it’s still too soft and won't slice. What can I do?
If your fudge is too soft, the most common issue is not reaching the precise soft ball stage of 234°F (112°C). This temperature is crucial for the sugar concentration. If it’s only slightly soft, try chilling it overnight; sometimes it just needs a bit longer to set up shop.
If it’s truly gooey, you can carefully re-melt it with a splash of milk, and boil it again, ensuring your thermometer is accurate this time!
I only have natural, oily peanut butter. Can I use that instead of the smooth stuff?
When making proper confectionery like this, sticking to processed, smooth peanut butter (the standard, emulsified type) is the absolute bees’ knees. Natural peanut butter, with its separated oils and coarser texture, can really mess with the delicate chemistry of the fudge.
Using the wrong type can prevent the fats and sugar from properly emulsifying, leading to a disastrously oily or crumbly final product.
How should I keep this delightful treat so it stays fresh for ages?
For best results, store your gorgeous squares in an airtight container, separated by sheets of parchment paper. If you keep them at a cool room temperature (below 21°C), they'll be spot-on for about a week.
Popping them in the fridge will extend their life for several weeks, but they will become slightly firmer perfect alongside that strong cup of tea, mind you.
What if I want to add chocolate or a salty crunch to the recipe?
Absolutely! Fudge is wonderfully flexible once you nail the base. For a classic “Buckeye” flavour, immediately after pouring the hot fudge, sprinkle the top with mini chocolate chips or a drizzle of melted dark chocolate.
Alternatively, if you fancy a bit of texture, substitute the smooth peanut butter for crunchy peanut butter and finish it off with a generous dusting of flaky sea salt (like Maldon) for that sophisticated sweet and salty kick.
The Absolute Bees Knees Proper Creamy Peanut But