The Oh My Goodness Chocolate Lava Dump Cake Effortless Decadence
- Unveiling the Magic of the Lazy Baker's Dream Dessert
- Why This Chocolate Dump Cake Reigns Supreme
- Assembling Your No-Fuss Chocolate Dump Cake Arsenal
- The Simple Art of Layering: Step-by-Step Baking Sequence
- Achieving Peak Doneness and Internal Molten Texture
- Elevating Your Chocolate Dump Cake Experience: Serving Suggestions
- Long-Term Storage Secrets for Leftover Indulgence
- Recipe FAQs
- 📝 Recipe Card
Unveiling the Magic of the Lazy Baker's Dream Dessert
There are moments in every home baker’s life when the desire for something deeply, unequivocally decadent collides head-on with a severe lack of available time or energy. This is where culinary alchemy steps in, transforming humble pantry staples into extraordinary desserts with almost no effort.
Enter the Chocolate Dump Cake . Forget complicated creaming methods, carefully measured wet and dry ingredients that must be folded just so this recipe is the epitome of minimalist effort yielding maximal reward.
It’s a self saucing, fudge like marvel designed for instant gratification, making it the perfect centerpiece for a weeknight treat or an unexpected gathering.
Why This Chocolate Dump Cake Reigns Supreme
This particular iteration, which I affectionately call "The 'Oh My Goodness' Chocolate Lava Dump Cake," takes the classic concept and infuses it with layers of intense chocolate flavor. It manages to be simultaneously light on preparation time while delivering a texture that borders on molten perfection.
The magic lies not in complex technique, but in strategic layering that allows the ingredients to interact chemically during the baking process.
The Instant Gratification Factor: Zero Whisking Required
The core appeal of this Easy Chocolate Dump Cake lies in its name. There is no gentle folding, no concern over over mixing, and certainly no need for an electric mixer.
You are literally layering ingredients dry mix, chips, condensed milk, and melted butter one atop the other in a baking vessel. This simplicity makes it accessible to absolute beginners while still thrilling seasoned bakers who appreciate a genuinely Quick Chocolate Cake Recipe without the commitment.
A Deep Dive into American Dessert Ingenuity
The concept of the dump cake is a wonderful piece of American baking history, flourishing in eras where convenience was king. It embraces pre-made ingredients, trusting that the interaction between a dry cake mix, canned dairy, and melted fat will create something spectacular when baked.
This specific Chocolate Dump Cake Recipe focuses heavily on chocolate, using a combination of chips to ensure that the resulting structure is intensely fudgy rather than purely cake like. It’s a powerful testament to creative shortcuts.
Setting Expectations: What 'Dump Cake' Truly Means
When we discuss How To Make Chocolate Dump Cake , it’s vital to understand that the resulting texture is not that of a traditional, airy layer cake. Instead, the dry cake mix absorbs the moisture from the condensed milk and butter, sinking slightly to form a dense, moist base, while the pockets of melted chocolate create pockets of near liquid lava.
If you are seeking a truly homemade experience without undertaking a Chocolate Dump Cake From Scratch , this method utilizes boxed mixes beautifully to achieve that desired, gooey interior.
Assembling Your No-Fuss Chocolate Dump Cake Arsenal
To achieve this decadent result in approximately 10 minutes of active prep time, you’ll want to have your ingredients ready to go. We are aiming for a rich, three dimensional texture that moves beyond just sprinkling a dry mix over fruit we’re building a proper layered chocolate experience that sometimes incorporates elements found in a Chocolate Dump Cake With Cherry Pie Filling , but here, we focus purely on the cocoa bean.
Mapping Out the Core Components (Dry vs. Wet)
For this recipe, we utilize a standard box of yellow or white cake mix unused and dry as the foundational structure. This dry layer is the absorbent agent. Contrastingly, the wet components are crucial: sweetened condensed milk provides the necessary binding richness and sweetness, while melted butter is essential for creating those signature pockets of molten texture.
We also introduce 1 cup of water, often whisked with the butter, to slightly hydrate the dry cake layer, preventing the very bottom from becoming too dense or dry, a potential pitfall even in an otherwise simple Slow Cooker Chocolate Dump Cake .
Securing Premium Chocolate Chips for Maximum Melt
Do not skimp on your chips here. We are layering two types: semi sweet and milk chocolate chips. This dual approach ensures complexity; the semi sweet offers that deep, dark note, while the milk chocolate melts into a creamier, more luxurious pool.
This generous scattering of chocolate is what pushes this dessert into the realm of true indulgence.
The Crucial Role of Unsalted Butter in Binding Layers
The butter, typically two sticks (one cup), is usually melted and poured over the top, or sometimes whisked with water, as we suggest here for optimal hydration. As the cake bakes, this fat percolates down through the dry mix and around the chocolate chips.
It’s this separation of fat and sugar that guarantees the unique, slightly sticky, fudge like quality that defines a successful dump cake.
Related Recipes Worth Trying
- Foolproof Chocolate Covered Pretzels Recipe The Ultimate Snap — Master the art of beautiful Chocolate Covered Pretzels This easy recipe guarantees a glossy professional finish Perfect for your next gathering
- The Classic Snap Perfect Salted Chocolate Covered Pretzels — Make irresistible homemade chocolate covered pretzels that taste better than storebought This easy recipe guarantees a thick velvety coating and perfect...
- Easy Tres Leches Cupcakes Recipe Incredibly Moist Sponge — Skip the slicing These easy Tres Leches Cupcakes deliver that legendary threemilk soak in a perfect single serving Learn the best soaking tips here
The Simple Art of Layering: step-by-step Baking Sequence
Preparation involves nothing more strenuous than assembling the layers in the correct order within your chosen 9x13 inch baking dish. After preheating your oven to 350° F ( 175° C) and lightly greasing the vessel, the process begins.
First, the entire dry cake mix is sprinkled evenly across the bottom. Next, we strategically distribute the semi sweet and milk chocolate chips (and any optional nuts) over this dry layer.
Following this, the entire can of sweetened condensed milk is drizzled slowly and deliberately across the surface, ensuring coverage. Finally, for optimal results, we create a quick slurry by whisking the cup of water into the melted butter and gently pouring that mixture over everything else.
Achieving Peak Doneness and Internal Molten Texture
The baking phase requires patience, mostly because resisting the urge to check every five minutes is difficult when the kitchen smells this divine.
Preparing the Vessel: Greasing for Easy Release
Before you begin layering, thoroughly greasing your 9x13 dish with butter or non-stick spray is non-negotiable. Because the base of this cake can become quite rich and sticky, a well prepared pan ensures that serving slices will be clean and beautiful, not ripped apart upon removal.
Strategic Placement of Dry Ingredients First
Placing the dry cake mix down first establishes a protective barrier between the greased dish and the wet ingredients. This layer acts as the primary structural element that will bake up around the liquid components, preventing the bottom from becoming overly saturated or turning into candy.
Baking Dynamics: Temperature and Time Checks
Bake time hovers between 45 and 55 minutes at 350° F ( 175° C). You are looking for visual cues: the edges must be set, bubbly, and pulling away slightly from the sides of the dish.
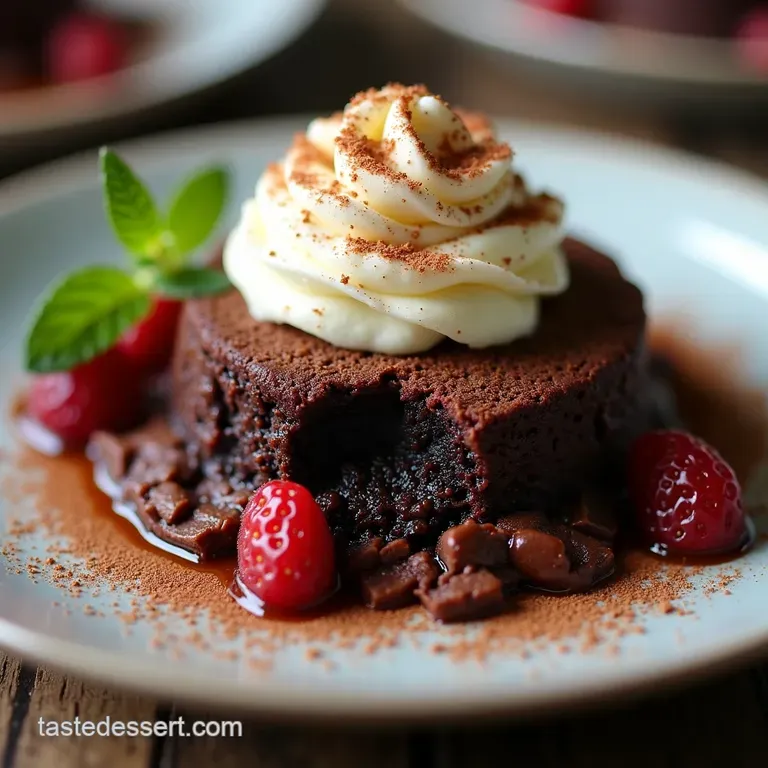
Crucially, because we desire that molten center, do not aim for a clean toothpick test throughout the entire area. A knife inserted near the middle should still come out coated in goo this is success!
The Crucial Rest Period After Oven Removal
Once removed, the Chocolate Dump Cake needs at least 15 minutes to settle. This rest period is essential; it allows the molten pockets to firm up just enough so that when you scoop a serving, it holds its shape somewhat, transforming from a liquid mess into a gloriously dense, fudgy square.
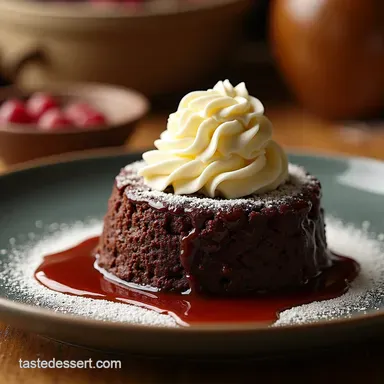
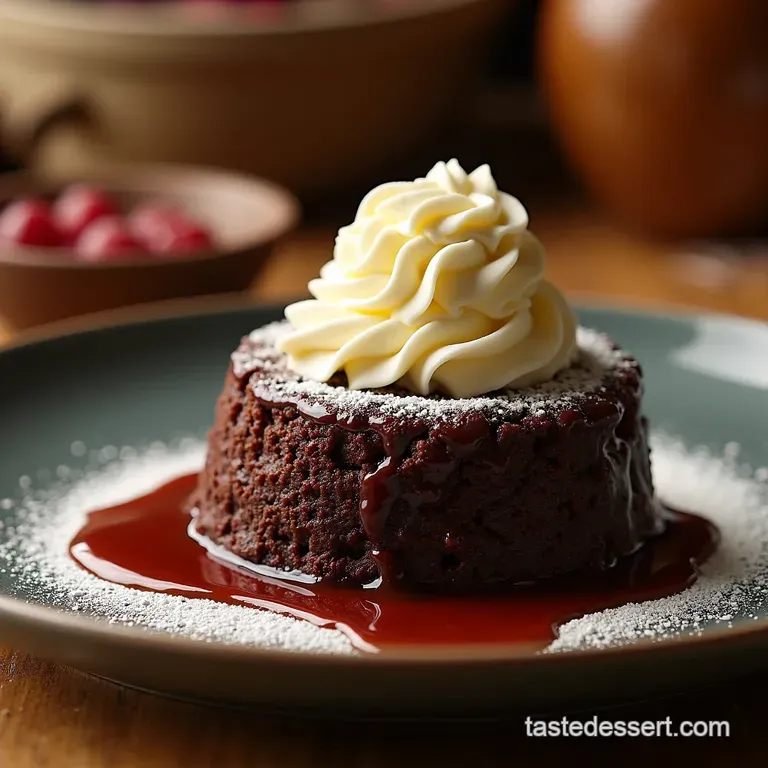
Elevating Your Chocolate Dump Cake Experience: Serving Suggestions
This cake is inherently rich, so accompaniments should either enhance the chocolate or provide a necessary textural or temperature contrast. While some might opt for a simple scoop of ice cream, consider the possibilities introduced by variations like a Chocolate Dump Cake With Cream Cheese swirl (added before baking), which brings a slight tang.
Beyond Vanilla: Creative Topping Variations
For true decadence, top each warm slice with a homemade salted caramel sauce or a spoonful of fluffy whipped cream infused with a touch of espresso powder. If you’ve experimented with a Chocolate Dump Cake With Cherry Pie Filling , a sharp cherry sauce is the obvious pairing, but for this pure chocolate version, tart berries like raspberries or even orange zest provide a bright counterpoint to the deep cocoa notes.
Long Term Storage Secrets for Leftover Indulgence
This dessert actually improves the next day, especially for those who prefer a denser, more brownie like texture.
Troubleshooting: Avoiding a Dry Bottom Layer
If you find your bottom layer is ever too dry a rare occurrence when using enough butter and condensed milk it usually means the liquid components didn't fully penetrate.
Next time, consider adding a teaspoon of high-quality vanilla extract to your butter/water mixture to ensure better distribution, or try using a Slow Cooker Chocolate Dump Cake method, which cooks with steam and is inherently more moist.
Optimal Cooling Times for That Perfect Gooey Center
To achieve that perfect balance firm enough to serve but still warm and oozing aim for that 15-minute rest out of the oven. If you chill the entire cake overnight, it transforms into a spectacular, sliceable fudge bar, perfect for cutting into small squares and serving cold.
Reheating Slices for Next Day Enjoyment
To bring back that fresh from-the-oven lava effect, microwave individual slices briefly about 15 to 20 seconds until the center starts to warm and liquefy again. Pair this reheated slice with a cold glass of milk for a delightful nostalgic experience.
Recipe FAQs
What is the secret to getting that perfect gooey texture in a Chocolate Dump Cake?
The magic lies in the layering! Ensure you spread the chocolate chips evenly over the dry cake mix, and crucially, distribute the melted or cubed butter right across the top. When the butter melts during baking, it seeps down, creating those rich, self saucing lava pockets you're after.
Can I make this Chocolate Dump Cake ahead of time, or does it need to be served fresh from the oven?
While it’s glorious fresh and warm (ideal with ice cream!), it reheats surprisingly well. For storage, cover the cooled cake tightly and keep it in the fridge for up to four days.
If you want a super fudgy, dense slice almost like a chilled brownie let it cool completely and chill overnight; it’s brilliant cold!
My cake mix layer seems a bit dry around the edges; have I done something wrong?
Not at all, that’s a common minor hiccup in dump cakes! To prevent it, ensure you drizzle the cup of water (or coffee, if using a variation) evenly over the top layer before baking, as this helps hydrate the dry edges.
Also, avoid overbaking; pulling it out when the centre still looks a bit jiggly helps keep everything moist.
Can I swap out the yellow cake mix for chocolate cake mix in the Chocolate Dump Cake recipe?
Absolutely! While using yellow cake mix gives you that lovely contrast between the sweet base and the rich chocolate layers, using a chocolate cake mix will make the entire dish intensely decadent think triple chocolate fudge territory!
If you do switch, you might want to add a teaspoon of vanilla extract to the wet ingredients to boost the flavour complexity.
How can I make this recipe a bit lighter or healthier without losing all the flavour?
It’s a rich bake, no bones about it, but you can make minor tweaks. Try using dark chocolate chips instead of milk or semi sweet, as they have less sugar. For a slight reduction in fat, you could substitute half the butter with unsweetened applesauce, though you may lose a bit of that signature rich 'melt' factor.
What are the best serving suggestions to elevate this simple dessert?
For a proper 'wow' factor, serve generous scoops warm with a scoop of top-tier vanilla bean ice cream the hot/cold contrast is unbeatable. Alternatively, a drizzle of salted caramel sauce or a scattering of fresh tart berries, like raspberries, cuts through the chocolate richness splendidly.
Ultimate Chocolate Dump Cake