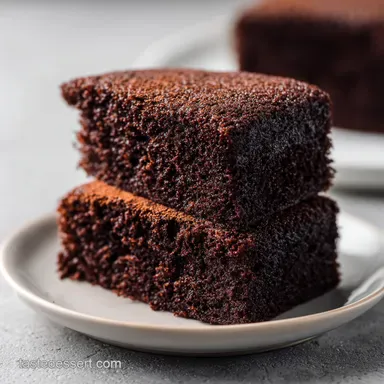
Chocolate Cake Two: Velvety and Rich
- Time: 10 min active + 20 min baking = Total 30 minutes
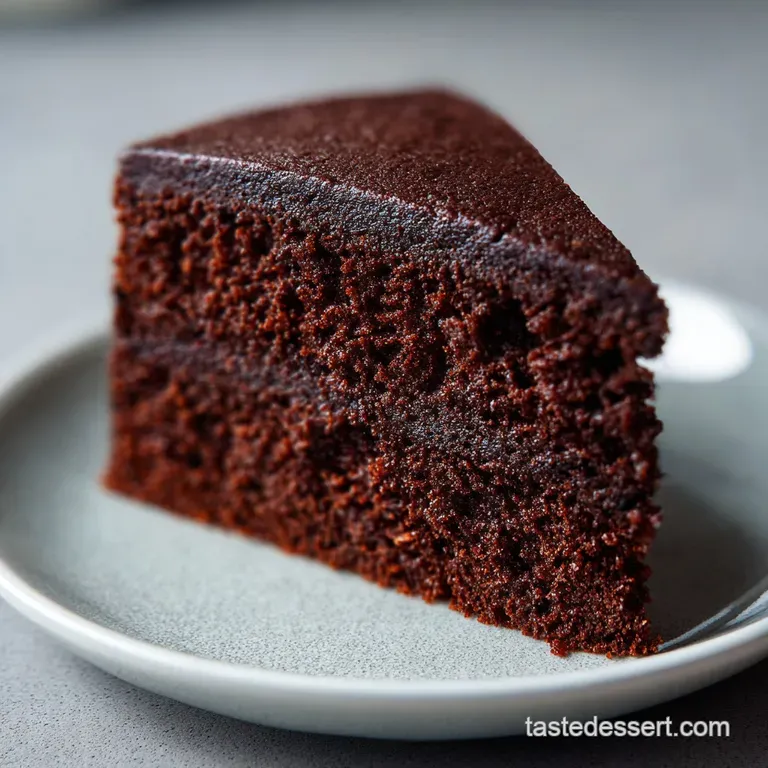
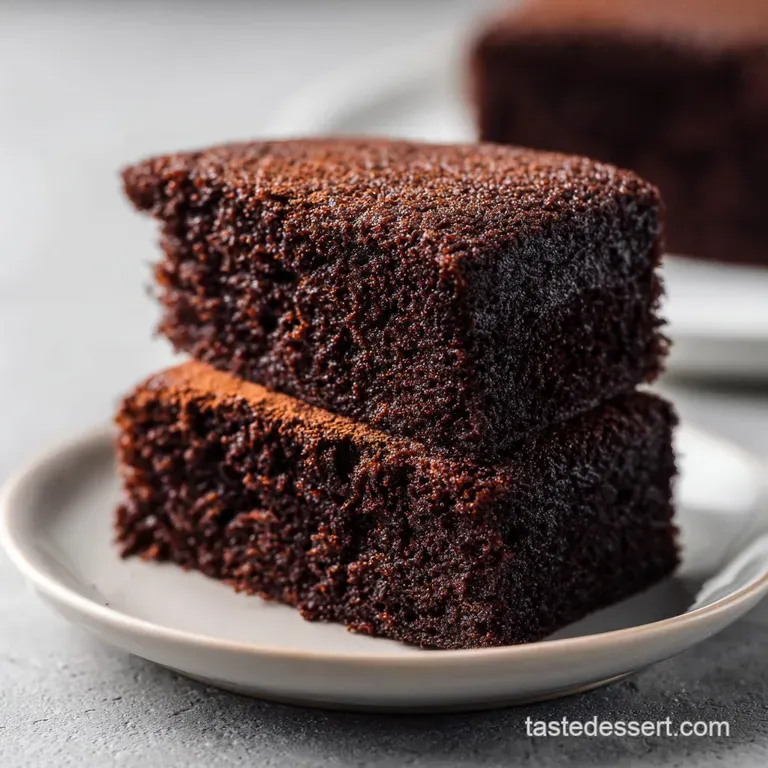
- Flavor/Texture Hook: Velvety crumb with a glossy, mirror like chocolate glaze
- Perfect for: Date nights, small birthday celebrations, or a midnight craving
The smell of warm cocoa and melted butter hitting the air always takes me back to my grandmother's kitchen. She had this old, chipped ceramic dish she used for "little treats," and that's exactly what this is. There's something about the intimacy of a small cake that makes it feel more special than a giant sheet cake.
I remember trying to make a full sized cake for just two people once, and we ended up with leftovers for a week. The cake went dry, and the joy faded. That's why I'm so devoted to this specific version of a chocolate cake two.
It gives you that nostalgic, bakery style experience without the waste or the mountain of dirty dishes.
You can expect a result that's deep, dark, and incredibly moist. We're using ramekins here to keep the heat concentrated, which helps the cake rise evenly while staying fudgy in the middle. It's a quick win for anyone who wants a classic treat but doesn't have the time or energy for a multi layer project.
Making a Moist Chocolate Cake Two
The secret to why this recipe works is all about the balance of fats and acids. Since we're working with a small volume, every gram counts. If you use too much flour, it becomes a muffin; too little, and it collapses.
- Acidic Activation
- The buttermilk reacts with the baking soda to create tiny air bubbles, which gives the cake its lift.
- Yolk Richness
- By using only the egg yolk, we add lecithin, which creates a velvety texture and a tighter crumb.
- Cocoa Bloom
- Mixing the cocoa with melted butter helps release the flavor compounds, making the chocolate taste more intense.
- Moisture Retention
- The ratio of fat to flour is high here, ensuring the cake doesn't dry out in the oven.
Since this is a small batch recipe, you have a few ways to handle the heat. While the oven is the standard, some people prefer a stovetop steam method for an even denser result.
| Method | Time | Texture | Best For |
|---|---|---|---|
| Oven | 20 minutes | Classic, light crumb | Traditional cake feel |
| Stovetop | 15 minutes | Steamed, fudge like | Ultra moist craving |
| Microwave | 3 minutes | Spongy, quick | Emergency dessert |
The choice depends on how much time you have, but for a chocolate cake two, the oven provides that slightly toasted edge that contrasts so well with the smooth glaze.
Component Analysis
Understanding how these ingredients interact helps you avoid common mistakes. It's not just about following a list, it's about knowing why a specific item is there.
| Ingredient | Science Role | Pro Secret |
|---|---|---|
| Buttermilk | Tenderizes crumb | Use full fat for a richer mouthfeel |
| Cocoa Powder | Primary flavor | Sift it always to prevent bitter lumps |
| Egg Yolk | Emulsifier | Room temperature yolks blend smoother |
| Baking Soda | Leavening agent | Ensure it's fresh or the cake won't rise |
Necessary Ingredients and Swaps
I've found that sticking to the basics is the best way to keep this nostalgic. Don't overcomplicate the base, but feel free to tweak the fat source if you're in a pinch.
- 1/2 cup (65g) all purpose flour Why this? Provides the necessary structure for the cake (Substitute: 1:1 gluten-free flour)
- 1/3 cup (30g) unsweetened cocoa powder Why this? Deep, dark chocolate base (Substitute: Dutch processed cocoa for darker color)
- 1/3 cup (65g) granulated sugar Why this? Sweetness and moisture (Substitute: Coconut sugar for a caramel note)
- 1/2 tsp (2g) baking soda Why this? Reacts with buttermilk for lift (Substitute: 1.5 tsp baking powder)
- 1/4 tsp (1g) salt Why this? Balances the sugar (Substitute: Fine sea salt)
- 1/3 cup (80ml) buttermilk Why this? Adds tang and tenderness (Substitute: Milk with 1 tsp lemon juice)
- 2 tbsp (28g) melted unsalted butter Why this? Classic, rich flavor (Substitute: Coconut oil)
- 1 large egg yolk Why this? Adds richness and stability (Substitute: 1 tbsp flax meal + 3 tbsp water)
- 1/2 tsp (2.5ml) vanilla extract Why this? Enhances the chocolate (Substitute: Almond extract)
- 2 oz (55g) semi sweet chocolate, chopped Why this? For the mirror glaze (Substitute: Dark chocolate for less sweetness)
- 2 tbsp (30ml) heavy cream Why this? Thins the glaze to a pourable state (Substitute: Coconut cream)
Minimal Tools for Success
One of the best parts of this chocolate cake two is that you don't need a fancy stand mixer. I usually just use a hand whisk and a medium bowl. It keeps the cleanup fast and the process relaxing.
You'll need two 4 inch ramekins. If you don't have these, small oven safe glass jars or even a small loaf pan (though the bake time will change) can work. A fine mesh sieve is also a must, as cocoa powder is notorious for staying in clumps, which leads to those annoying bitter pockets in your finished cake.
Chef's Note: If you're in a rush, you can melt your butter and chocolate in the same bowl using a microwave, just be sure to stir every 20 seconds to avoid burning the cocoa solids.
Step by step Baking Guide
Right then, let's get into the process. The goal here is to avoid overworking the batter. Once the flour goes in, we want to be gentle.
- Grease two 4 inch ramekins with butter and dust with a pinch of cocoa powder to prevent sticking. Note: This ensures the cake slides out easily.
- Sift the flour, cocoa powder, sugar, baking soda, and salt into a medium mixing bowl to remove lumps.
- Whisk in the buttermilk, melted butter, egg yolk, and vanilla extract. Stir until just combined, stopping as soon as the flour streaks disappear. Note: Overmixing creates a tough cake.
- Divide the batter evenly between the two prepared ramekins.
- Bake at 350°F (175°C) for 18-22 minutes until a toothpick inserted in the center comes out with a few moist crumbs.
- Heat the heavy cream in the microwave until simmering, then pour it over the chopped semi sweet chocolate.
- Let the chocolate and cream sit for 2 minutes, then stir until glossy and smooth.
- Pour the glaze over the cooled cakes for a mirror like finish.
Wait for the cakes to cool for at least 10 minutes before glazing. If the cake is too hot, the glaze will just soak in rather than sitting on top in that velvety layer we're looking for.
Fixing Common Baking Mistakes
Even with a simple recipe, things can go sideways. Most issues with a chocolate cake two come down to temperature or mixing.
Troubleshooting Common Issues
| Issue | Solution |
|---|---|
| Why Your Cake Sank | A sinking center usually happens if the oven door was opened too early or if the baking soda is expired. When you let cold air in, the structure collapses before it's set. |
| Why Your Cake is Dry | Overbaking is the primary culprit here. Because these are small cakes, the window between "fudgy" and "dry" is only about 3 minutes. Always start checking at the 18 minute mark. |
| Why Your Glaze is Lumpy | This happens when the cream isn't hot enough to melt the chocolate completely. If this happens, just pop the glaze back in the microwave for 10 seconds and stir again. |
Common Mistakes Checklist
- ✓ Did you sift the cocoa? (Lumps = bitter spots)
- ✓ Is the buttermilk room temp? (Cold liquids can seize melted butter)
- ✓ Did you stop mixing early? (Prevents toughness)
- ✓ Did you check doneness at 18 mins? (Avoids dryness)
- ✓ Is the glaze smooth before pouring? (Ensures mirror finish)
Adapting for Different Diets
Scaling a chocolate cake two is a bit trickier than a big cake because the egg yolk is hard to split. If you want to double the recipe, simply double everything and use two egg yolks. If you're scaling down to one cake, beat one egg yolk in a small bowl and use only half of it by weight.
For those avoiding gluten, a high-quality 1:1 gluten-free blend works wonders here. Since there's no kneading involved, you don't have to worry about gluten development. If you're feeling adventurous with toppings, some crushed Homemade Oreos on top of the glaze add a brilliant crunch.
If you want to go vegan, replace the buttermilk with soy milk and a teaspoon of apple cider vinegar. Use a "flax egg" (ground flaxseed and water) in place of the yolk. Note that the texture will be slightly denser, more like a brownie than a cake.
Keeping Cakes Fresh
Since this is a small chocolate cake two, it's usually gone in one sitting. But if you have leftovers, store them in an airtight container in the fridge for up to 3 days. The fridge keeps the glaze stable and prevents it from melting into a puddle.
To reheat, I recommend 10 seconds in the microwave. This softens the butter in the crumb, bringing back that velvety feel without overcooking the cake.
For zero waste, if you have a tiny bit of leftover glaze, don't throw it away. Drizzle it over some sliced strawberries or stir it into a cup of hot milk for a quick chocolate drink. You can also freeze the unglazed cakes for up to 2 months, wrapping them tightly in parchment paper and foil to avoid freezer burn.
Serving and Pairing Ideas
This cake is rich, so it pairs best with something acidic or fresh. A handful of raspberries or a dollop of unsweetened whipped cream cuts through the chocolate intensity.
Some people believe that you need a professional stand mixer to get a bakery style crumb. This is a myth. For small batches, a hand whisk is actually better because you have more control and are less likely to overmix. Another common myth is that you must use expensive couverture chocolate for the glaze.
While it's nice, a good quality semi sweet baking bar works perfectly for this recipe.
If you're looking for something even airier, you might enjoy a Chocolate Souffle, but for a reliable, comforting treat, this cake is the way to go. It's the kind of dessert that feels like a hug in a ramekin, making it a timeless choice for any small celebration.
Recipe FAQs
How to prevent the cake from sticking to the ramekins?
Grease with butter and dust with cocoa powder. This creates a non-stick barrier that ensures the cake slides out easily after baking.
What can I serve with these small chocolate cakes?
Fresh berries or vanilla ice cream. For another rich treat, these pair well with a slice from our homemade cheesecakes.
Why did my cake sink in the center?
The oven door was likely opened too early. This lets in cold air, which causes the structure to collapse before it has fully set.
Is it true that I should whisk the batter until it is completely smooth for the best texture?
No, this is a common misconception. Stop stirring as soon as the flour streaks disappear to avoid overworking the batter and toughening the cake.
How to make the chocolate glaze smooth and glossy?
Heat heavy cream until simmering and pour it over chopped semi sweet chocolate. Let the mixture sit for 2 minutes before stirring until glossy and smooth.
Why is my chocolate cake coming out dry?
You likely overbaked it. Because these are small cakes, the window between fudgy and dry is very narrow, so start checking them at the 18-minute mark.
How to tell when the cakes are fully baked?
Insert a toothpick into the center of the cake. It is done when the toothpick comes out with a few moist crumbs attached.
Chocolate Cake For Two