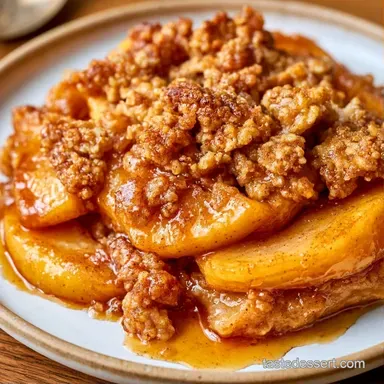
Apple Pear Cobbler with Maple Syrup
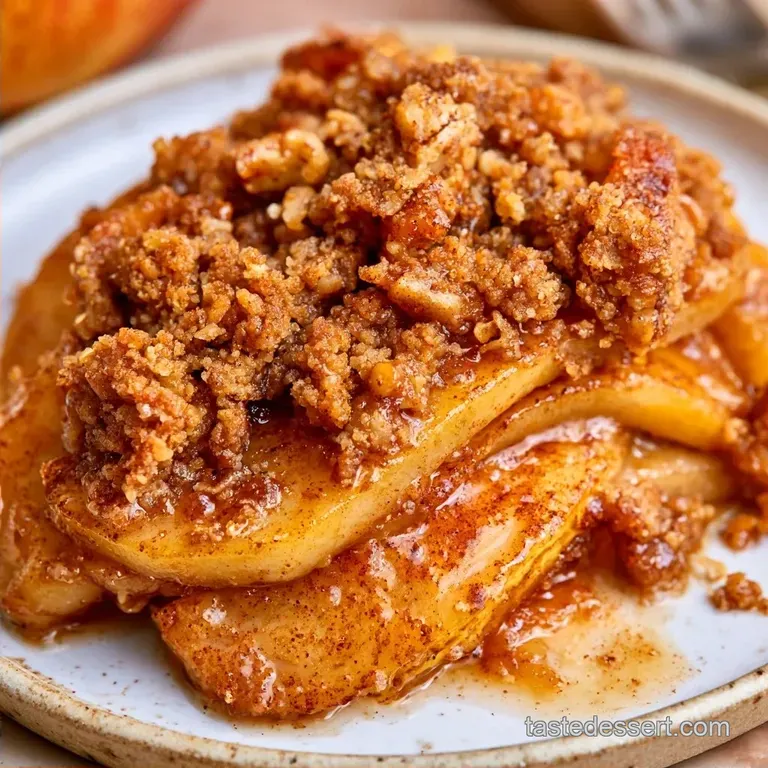
- Time: 20 minutes prep + 65 minutes oven time
- Taste Profile: Tangy fruit topped with a mahogany, crumbly crust
- Perfect for: Autumn potlucks or Sunday family dinners
The scent of cinnamon and simmering fruit filling the room is the hallmark of autumn. I remember my grandmother's kitchen always smelling this way in October, with a hot dish on the counter and a chilly breeze outside. It's a fragrance that feels like a warm embrace.
Discard the notion that you need an intricate, rolled-out pie crust or mounds of white sugar for a dessert to feel "authentic." Many believe a cobbler requires a thick batter to be filling, but that usually just overshadows the fruit.
This Apple Pear Cobbler puts the fruit center stage. By pairing a simple biscuit crust with natural maple syrup, you get a dessert that tastes like a precious family legacy without being sugary.
Easy Apple Pear Cobbler Recipe
The fruit balance: Pairing the acidity of Granny Smith apples with the floral sweetness of Bosc pears creates a complex taste. It doesn't need much added sugar because the pears do the heavy lifting.
The biscuit lift: Using cold butter and minimal mixing keeps the topping light. This prevents the crust from becoming a dense brick, keeping it flaky and tender.
If you're in a rush and want something even faster, a Peach Dump Cake is a great alternative, but for a nostalgic feel, the hand mixed biscuit here is the way to go.
The Recipe Specs
Right then, let's look at the plan. This isn't a "throw it together and hope" kind of dish. I like to follow a flow so I'm not scrubbing three different bowls while the oven is heating up.
- 1. Fruit Prep
- 10 mins (peeling, slicing, and tossing)
- 2. Topping Mix
- 10 mins (cutting in butter and adding milk)
- 3. Bake
- 65 mins (total oven time, including resting)
Fast vs. Classic Approach:
| Feature | Fast Method (Dump) | Classic Method (This Recipe) |
|---|---|---|
| Topping | Cake mix | Hand mixed biscuit |
| Texture | Dense and spongy | Crumbly and flaky |
| Effort | 5 mins prep | 20 mins prep |
Precision Checkpoints:
- Oven Temp: 375°F (190°C)
- Pan Size: 9x13 inch baking dish
- Bake Time: 45-55 minutes
What Each Ingredient Does
Bosc pears are highly recommended for this dish. They maintain their structure far better than Bartlett or Anjou varieties, ensuring you get distinct pieces rather than a puree.
| Ingredient | What It Does | Best Swap |
|---|---|---|
| Granny Smith Apples | Adds tartness and maintains form | Braeburn apples (slightly sweeter) |
| Bosc Pears | Provides floral sweetness and stays firm | Anjou pears (softer texture) |
| Maple Syrup | Natural sweetener with rich depth | Honey (adds a floral note) |
| Cold Butter | Generates steam for a flaky crust | Frozen coconut oil (vegan, less flavor) |
The Right Tools
You don't need specialized equipment, though a few items make the process smoother. I use a wide mixing bowl for the fruit to ensure the slices don't bruise during tossing.
A pastry cutter is great for the topping, but two forks work just as well. I recommend skipping the food processor for the butter, as over-processing the fat can ruin the flakiness. A glass or ceramic baker measuring 9x13 inches is ideal to keep the fruit from overflowing.
Bringing It Together
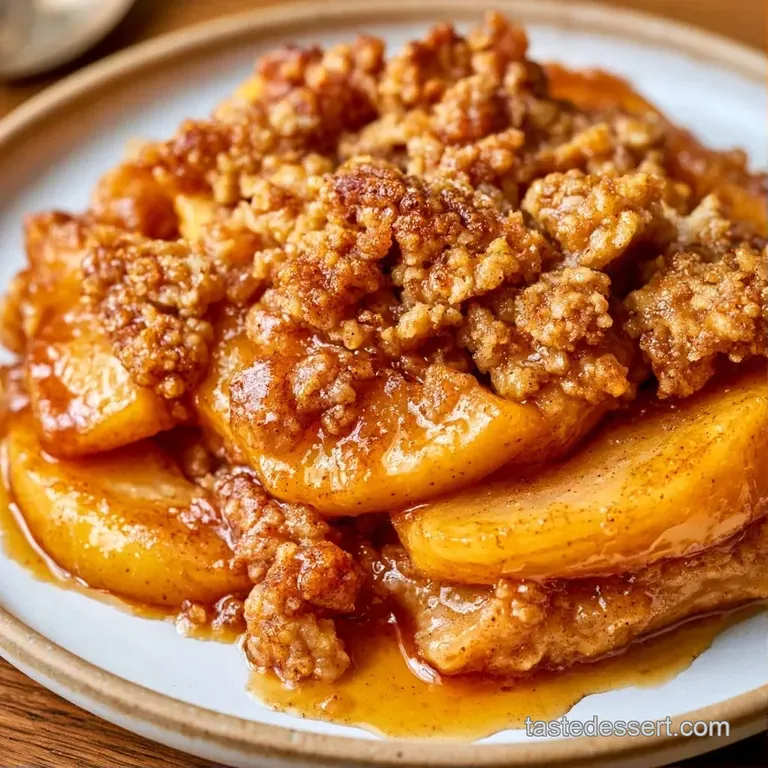
Time to get started. Maintaining a chilly temperature for your butter is essential. If it softens too much before baking, you'll miss out on those airy pockets that create a superior crust.
Phase 1: Preparing the Fruit Base
- Set your oven to 375°F (190°C).
- Combine the sliced pears and apples with cornstarch, cinnamon, lemon juice, and maple syrup in a big mixing bowl. Note: The cornstarch prevents the filling from becoming too runny.
- Pour the fruit into a 9x13 inch baking pan, smoothing it out. Ensure it's a flat layer so the topping cooks evenly.
Phase 2: Mixing the Biscuit Topping
- Blend the flour, salt, and baking powder in a bowl.
- Work in the chilled butter cubes with a fork or pastry blender until the mixture resembles coarse crumbs with pea sized lumps of butter.
- Mix in the milk until a shaggy dough forms. Note: Do not overmix, or the biscuit will be tough.
Phase 3: Baking to Golden Perfection
- Plop small mounds of dough onto the fruit, leaving some space for steam to vent.
- Apply a light coating of honey to the top for a richer hue.
- Bake for 45–55 minutes until the fruit edges are bubbling and the crust is mahogany colored and golden brown.
Chef's Tip: To get a better rise, pop your butter in the freezer for 10 minutes before you cut it into cubes. This keeps it firm while you mix.
Fixing Common Issues
Even a straightforward Apple Pear Cobbler can have its share of hiccups. Usually, a quick adjustment to your temperature or mixing method solves the problem.
Resolving a Soggy Crust
If the topping remains doughy or underbaked, it's typically due to overmixing the dough or excess fruit moisture. To remedy this, bake for an additional 5-10 minutes on the bottom oven rack. This ensures the base crisps up without over-browning the surface.
Avoiding Scorched Fruit
If the fruit around the edges is browning too quickly before the topping is set, shield the pan's perimeter with aluminum foil strips. This prevents the maple syrup sugars from burning while the biscuits finish baking.
Keeping the Topping Afloat
When the biscuit layer sinks into the fruit, it often means there wasn't enough room for steam to vent. For future batches, drop the dough in separate "dollops" rather than smoothing it into a solid layer.
Quick Decision Shortcut:
- More tang? → fold in 1 tsp lemon zest
- Extra crunch? → sprinkle 1 tbsp coarse sugar on top
- Warmer flavor? → add 1/4 tsp ground cloves
Serving Suggestions
Since this dessert is decadent and warm, a bit of balance is key to offsetting the sugar. Adding vanilla bean ice cream is the traditional approach, letting it melt perfectly between the pieces of fruit.
If you prefer a more sophisticated finish, opt for unsweetened whipped cream or a drizzle of salted caramel. For a seasonal autumn twist, a chilled glass of cider complements the cinnamon beautifully. That cold contrast really emphasizes the warmth of the fruit.
Keeping It Fresh
Because of the high moisture content in the fruit, this Apple Pear Cobbler may soften if not stored properly.
In the Fridge: Store leftovers in a covered glass container for up to 3 days. Keep plastic wrap from touching the crust to prevent it from becoming gummy.
In the Freezer: Individual portions can be frozen for up to 2 months. Encase each square in parchment paper followed by a layer of foil.
Reheating for Crispiness: Skip the microwave. To restore the crunch of the biscuit topping, set your oven or air fryer to 350°F and heat for 5-8 minutes.
Eco-Friendly Tip: Save your apple and pear peels. Keep them in a bag in the freezer; once you have a full batch, simmer them with water and a cinnamon stick to create a simple, fragrant syrup for pancakes.
Other Tasty Twists
Once you've got the hang of this Apple Pear Cobbler, you can start playing with the flavors. It's a very forgiving recipe.
For an Added Crunch
Fold 1/2 cup of rolled oats into the biscuit dough. This turns the topping into something closer to a crumble, adding a nutty texture that pairs well with the Bosc pears.
For a Zesty Twist
Add a pinch of ground ginger to the fruit mixture. Ginger and pear are a match made in heaven, and it gives the dessert a slight heat that cuts through the maple syrup.
For a Different Fruit Mix
If you don't have pears, this method works great with peaches or nectarines. If you love fruit bakes, you might also enjoy a Cake Mix Apple Crisp for a faster weeknight version.
The beauty of a homemade Apple Pear Cobbler is that it doesn't have to be flawless to be cherished. A few uneven biscuit lumps just prove it was made by hand in a real kitchen. Enjoy it warm, share it with people you love, and don't be afraid to go back for seconds.
Recipe FAQs
Do apples and pears pair well together?
They create a balanced blend of tart acidity and floral sweetness.
Tip: Use Bosc pears as they hold their shape better during the baking process.
What's the best way to use apples and pears quickly?
Toss sliced fruit with maple syrup and cinnamon for a simple sauté or bake.
Tip: Add a squeeze of lemon juice to keep the fruit from browning while you prep.
How do I ensure the crust stays tender?
Cut cold butter into the flour until you see pea-sized lumps and avoid overmixing the dough.
Tip: Use a pastry cutter or forks to keep the butter from melting before it hits the oven.
Is it true that a great cobbler only needs three ingredients?
That's a myth. A proper cobbler requires a fruit base and a structured biscuit topping containing flour, butter, and leavening.
Tip: Stick to the full list of ingredients to prevent the topping from becoming gummy.
Which fruits make an old-fashioned cobbler taste best?
Tart Granny Smith apples paired with sweet pears provide the most nostalgic flavor profile.
Tip: Try drizzling the finished bake with butterscotch sauce for extra richness.
Can I make this dessert in less time?
Prep is fast, but the fruit needs 45 to 55 minutes at 375°F to soften and bubble.
Tip: Slice the fruit thinly to ensure they cook through evenly and quickly.
Apple Pear Cobbler with Maple Syrup